We’re uploading lots of pictures to our instagram account as we go, but there’s something to be said for using words… ;)
So, this will be the first in a series of posts documenting our Ambulance build-out. After this they’ll be short daily(ish) summaries, but I need to catch you up on what’s happened so far and that’s going to take a bit. Apologies for the length.
Anyone who’s wondering “why, an ambulance” should read this post. If you are thinking “makes sense to me” then don’t bother. ;)
With that out of the way. Let’s build!
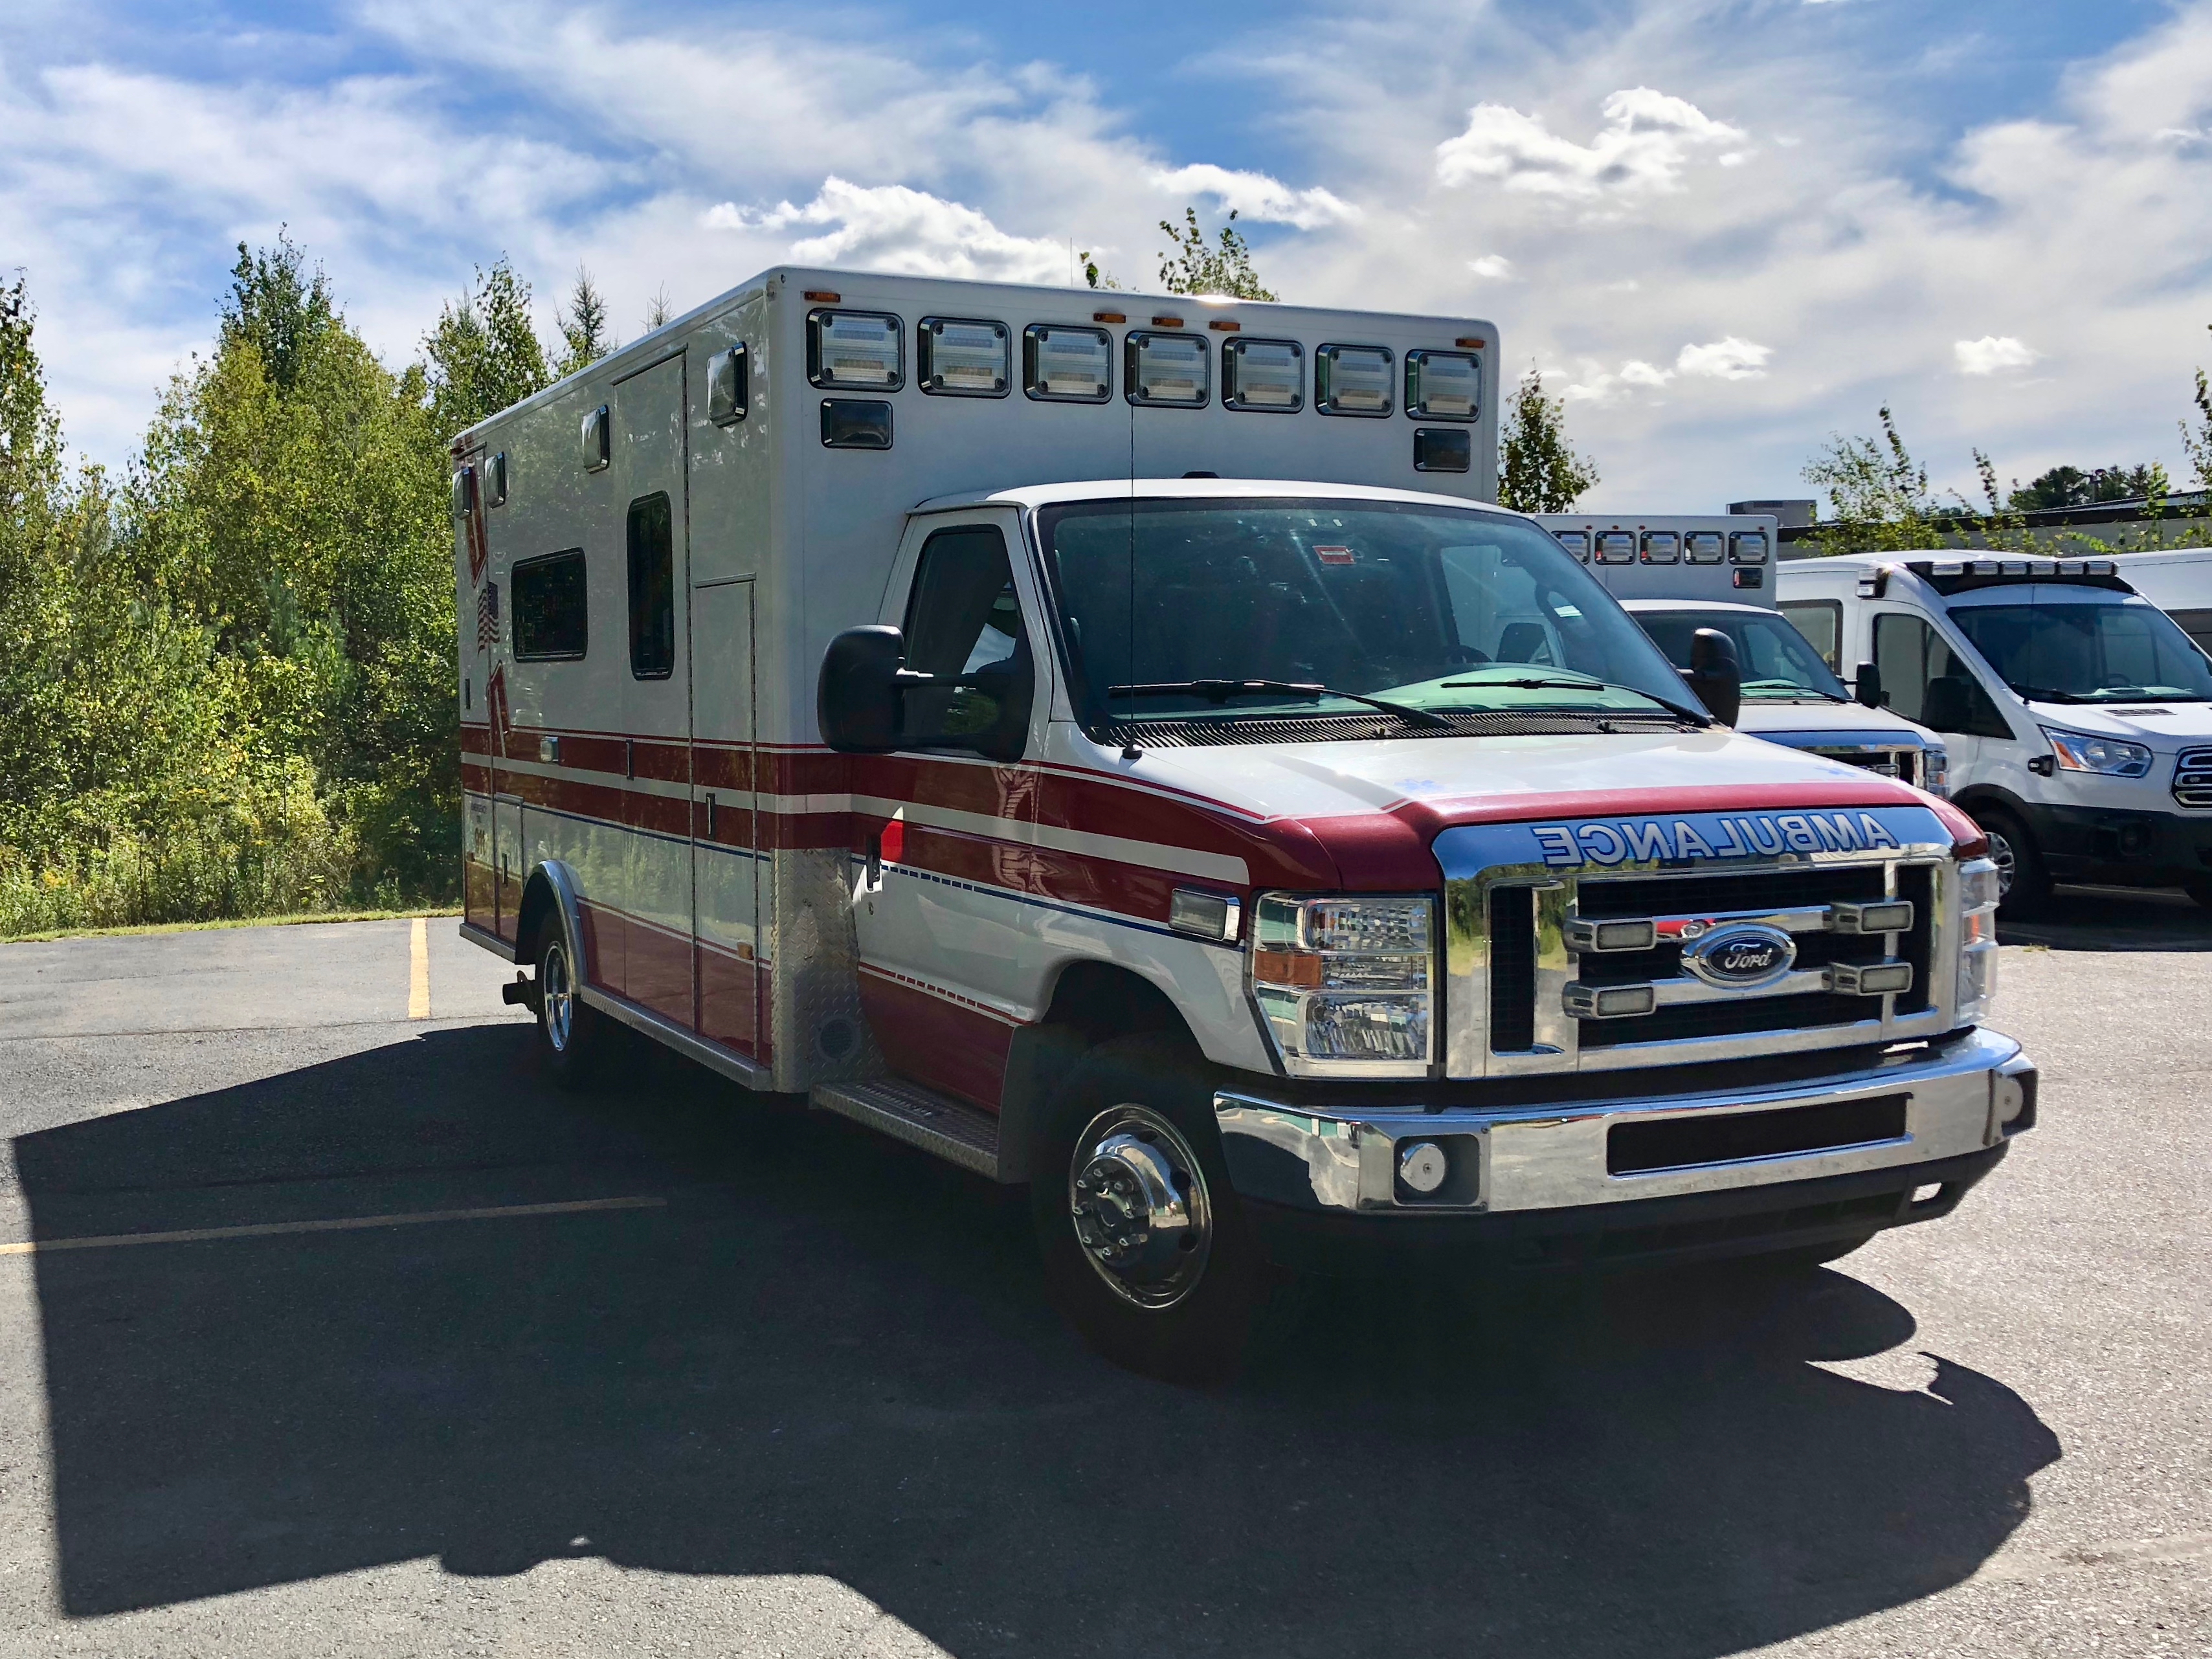
corporate runaways ambulance
Getting the ambulance to our house, and getting it insured was a major exercise in patience, frustration, perseverance, and stress. So, starting the day and seeing it in our driveway was just all kinds of happy-making.
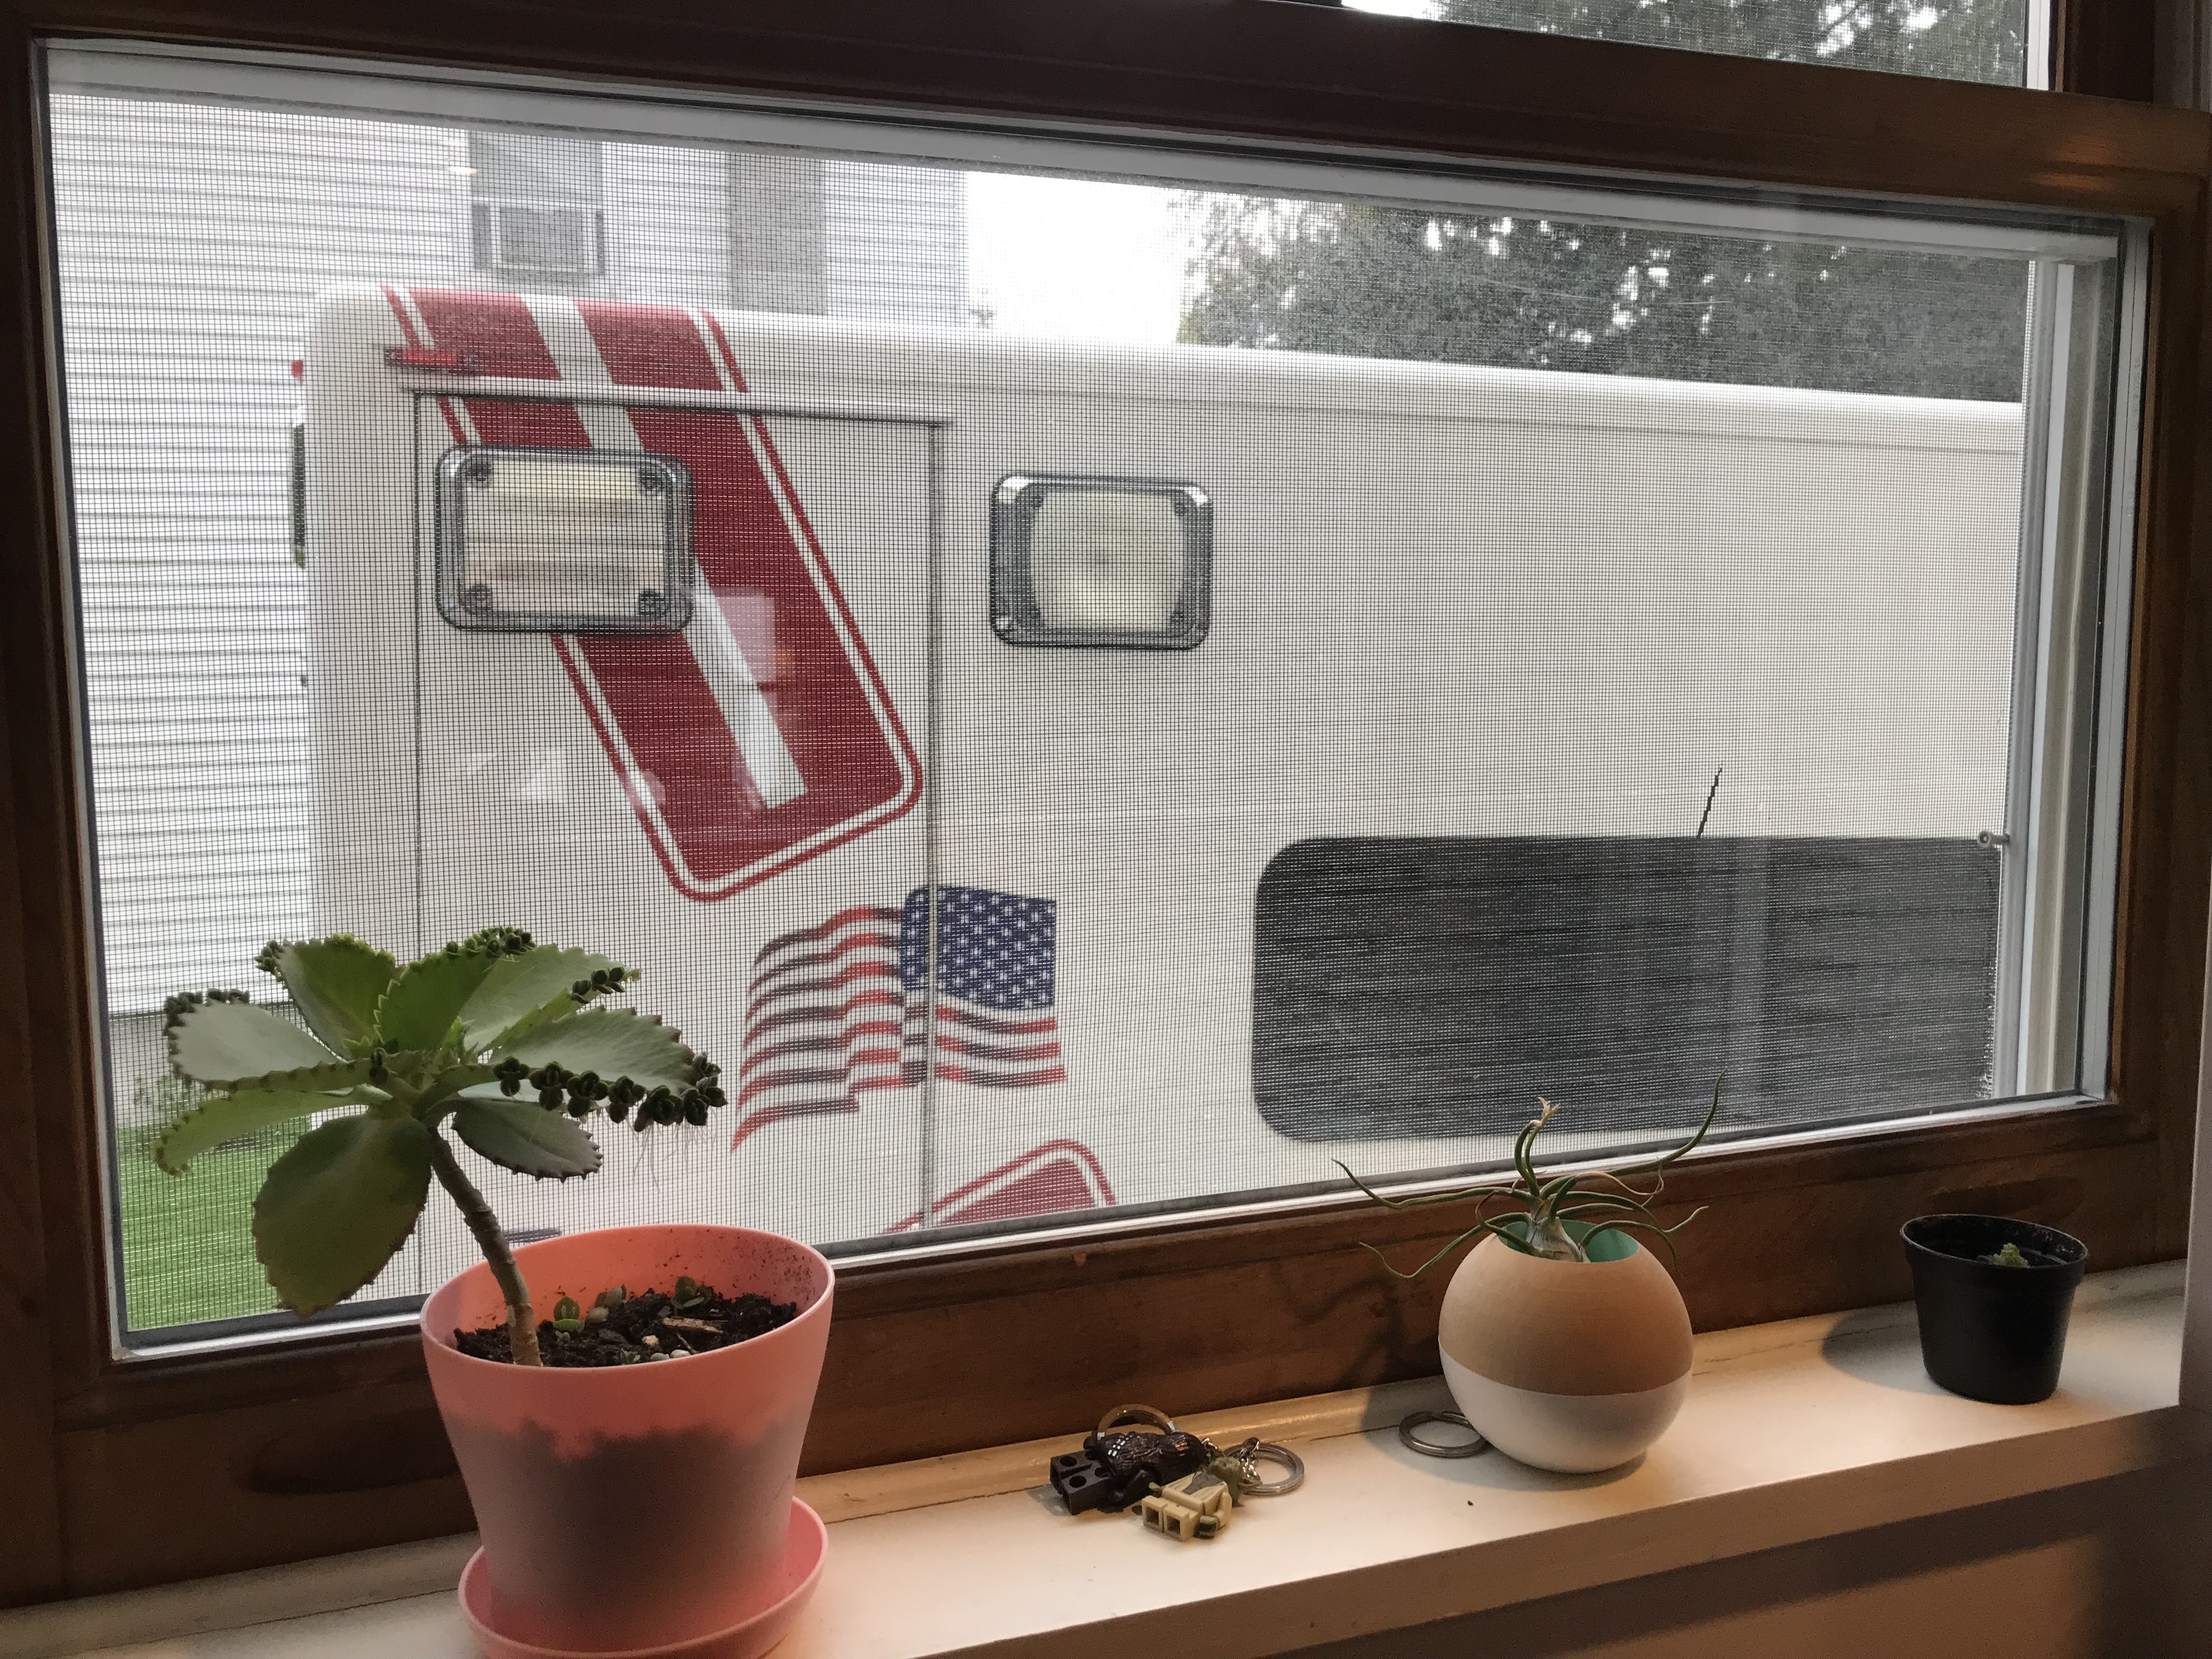
ambulance in driveway
But, the first day of any ambulance build must always start with cleaning. If you can get your hands on Rapicide use that. I’m not sure if it’s a legally controlled substance, but practically speaking you need someone in the medical industry to get it for you. We don’t have any direct contacts there, so we used bleach. Because it’s an effing ambulance we used a 50% bleach 50% water mix, which is crazy high, but ambulances have good ventilation so we figured we could risk it.
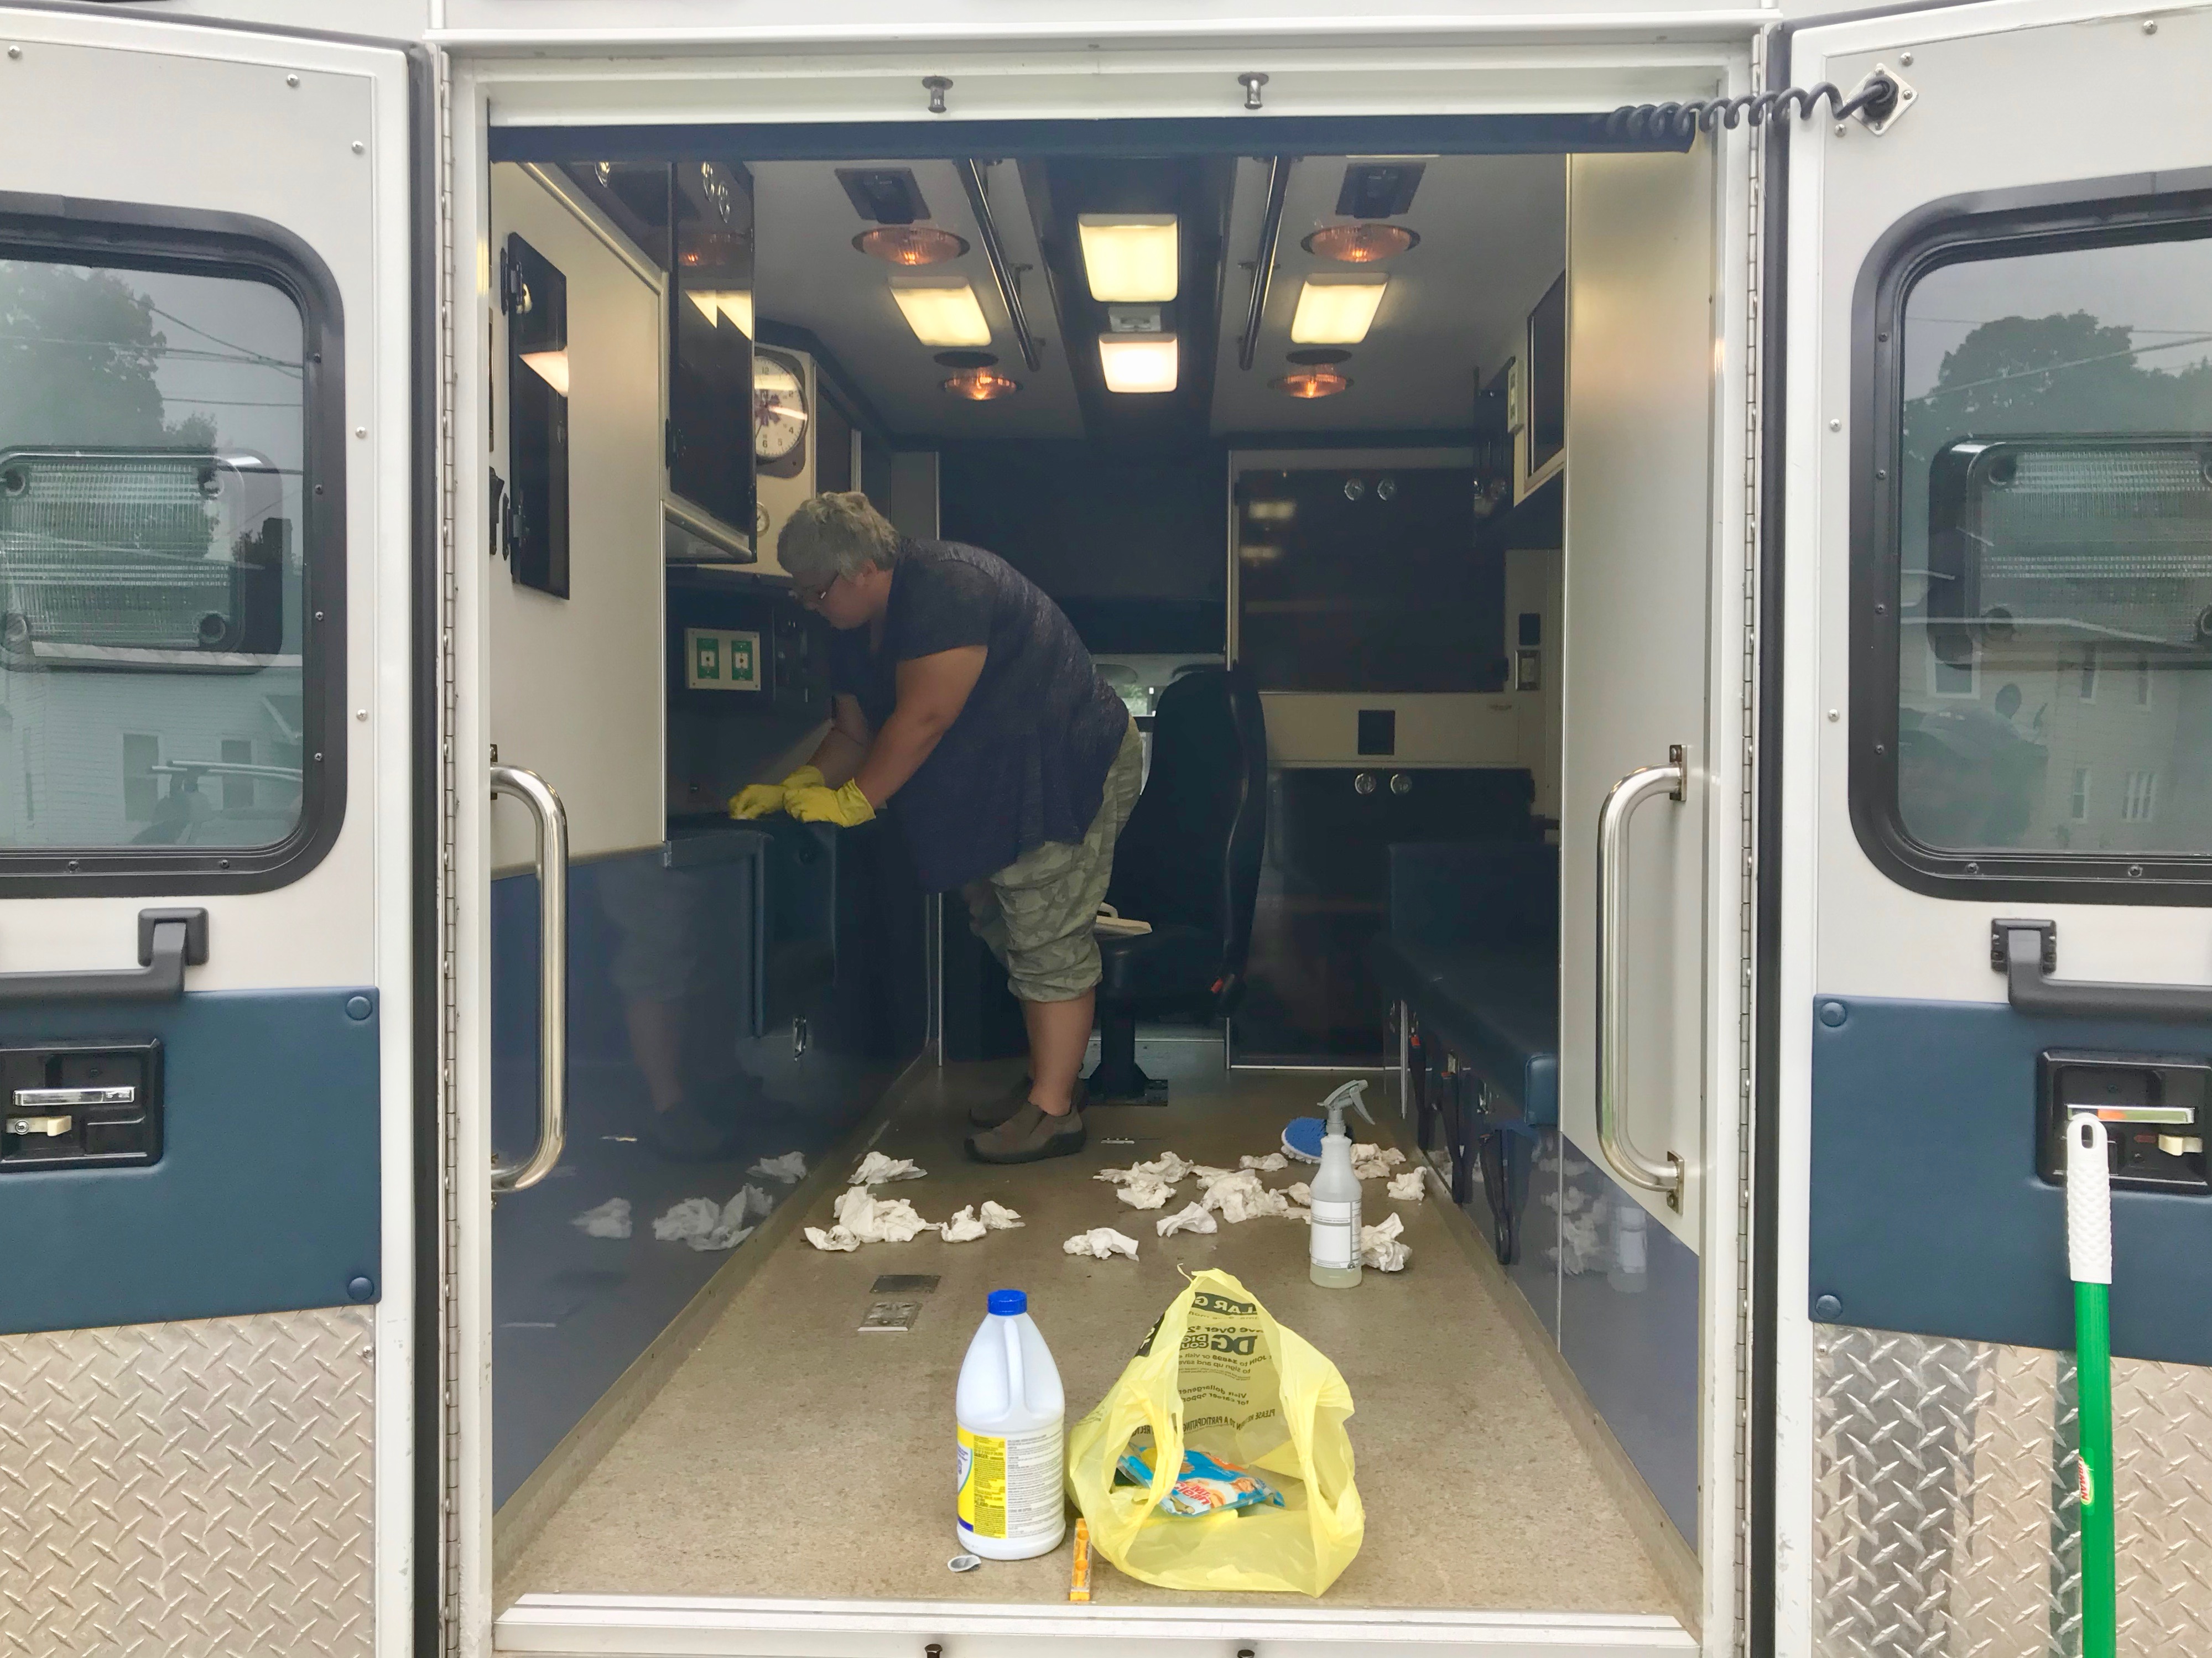
bleaching all the things
The problem with our theory, was that yes it does have good ventilation but that doesn’t help much when your head is in a cabinet filled with bleach fumes. Dachary was not feeling so hot by the end of the cleaning. We spent the next couple days working on The Box (a tale for another day) while we aired out the bleach scent.

airing out the bleach
We went back in after 2 days and wiped everything down with water, then mopped. Unfortunately the bleach scent seemed to get absorbed into the vinyl flooring. The ambulance had a weird plasticky smell to begin with, and now it was plasticky plus bleach. Yuck.
We had been pondering putting Pergo flooring on top of the vinyl. It’d be easier, and we’d have a waterproof barrier on the bottom, but it was now clear that the flooring had to go.
We headed over to the house of some friends with good brains, lots of experience, and All The Tools. A wonderful combination. We figured we’d use their tools to attack the flooring and their brains to sanity-check our plans for the bed build.
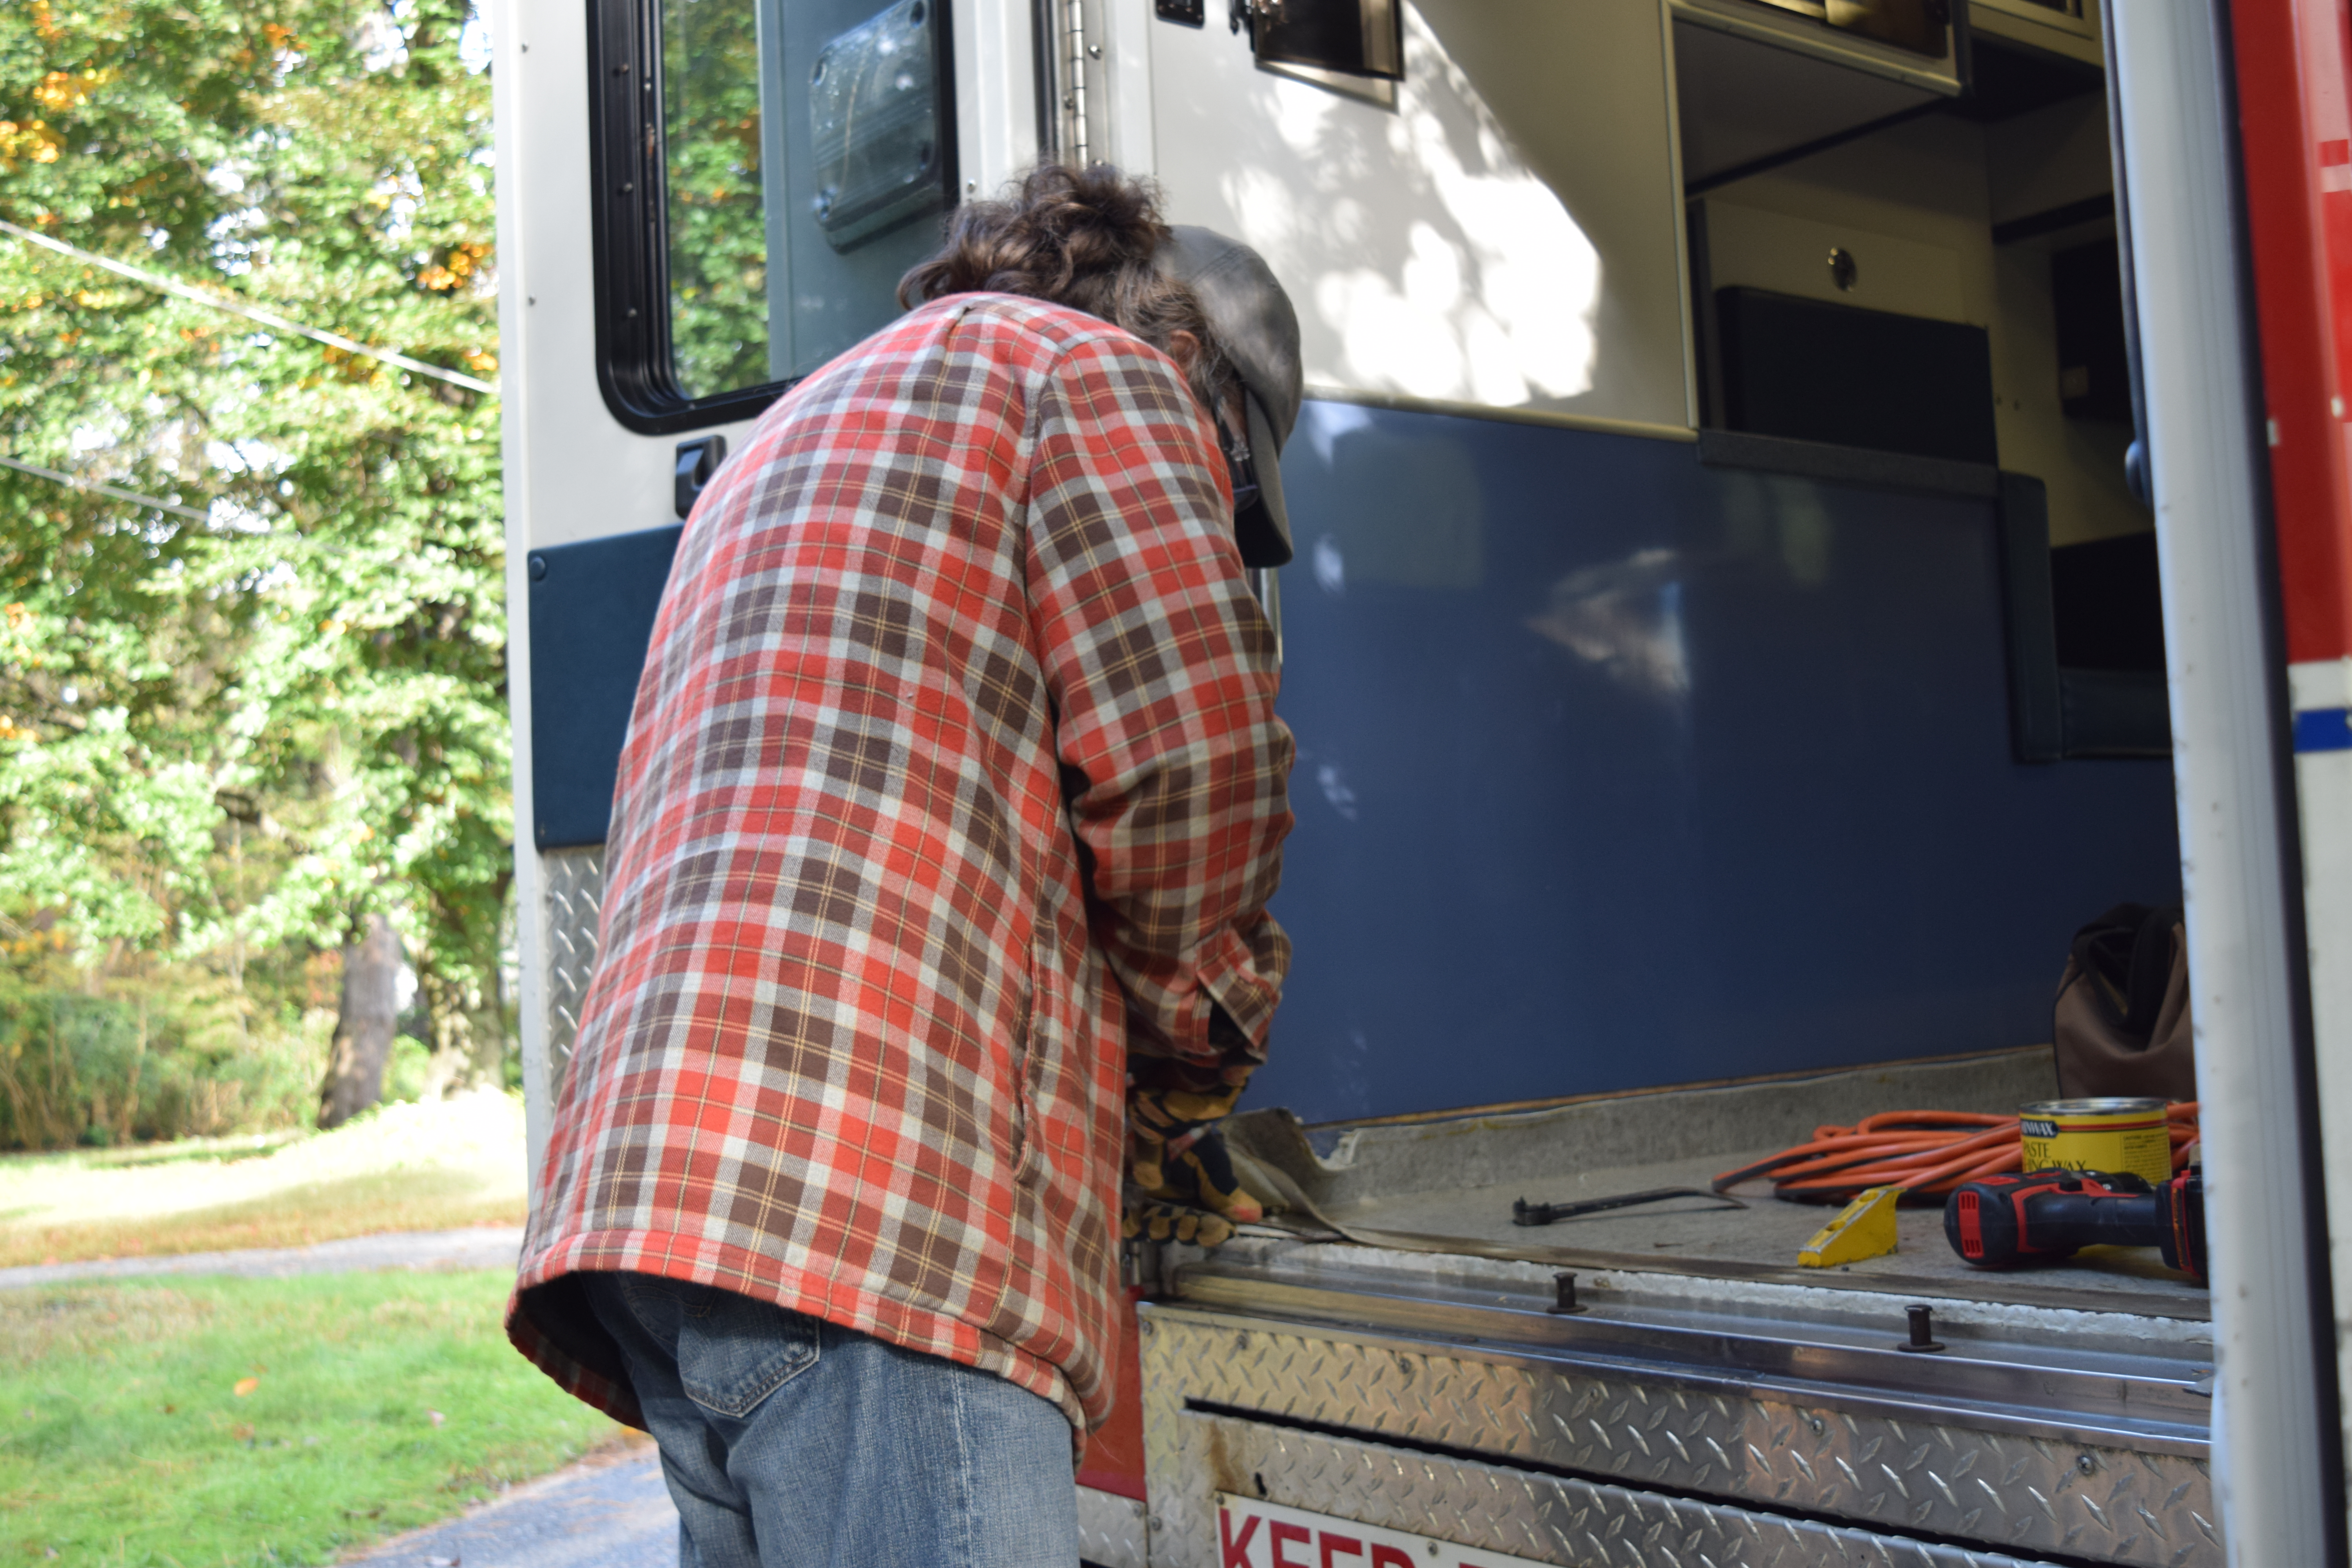
initial flooring removal
The initial work on the flooring really got our hopes up. It came off of the formica siding so easily. Unfortunately, it didn’t come off of the plywood flooring with anything resembling ease. The first day left us with very little progress.
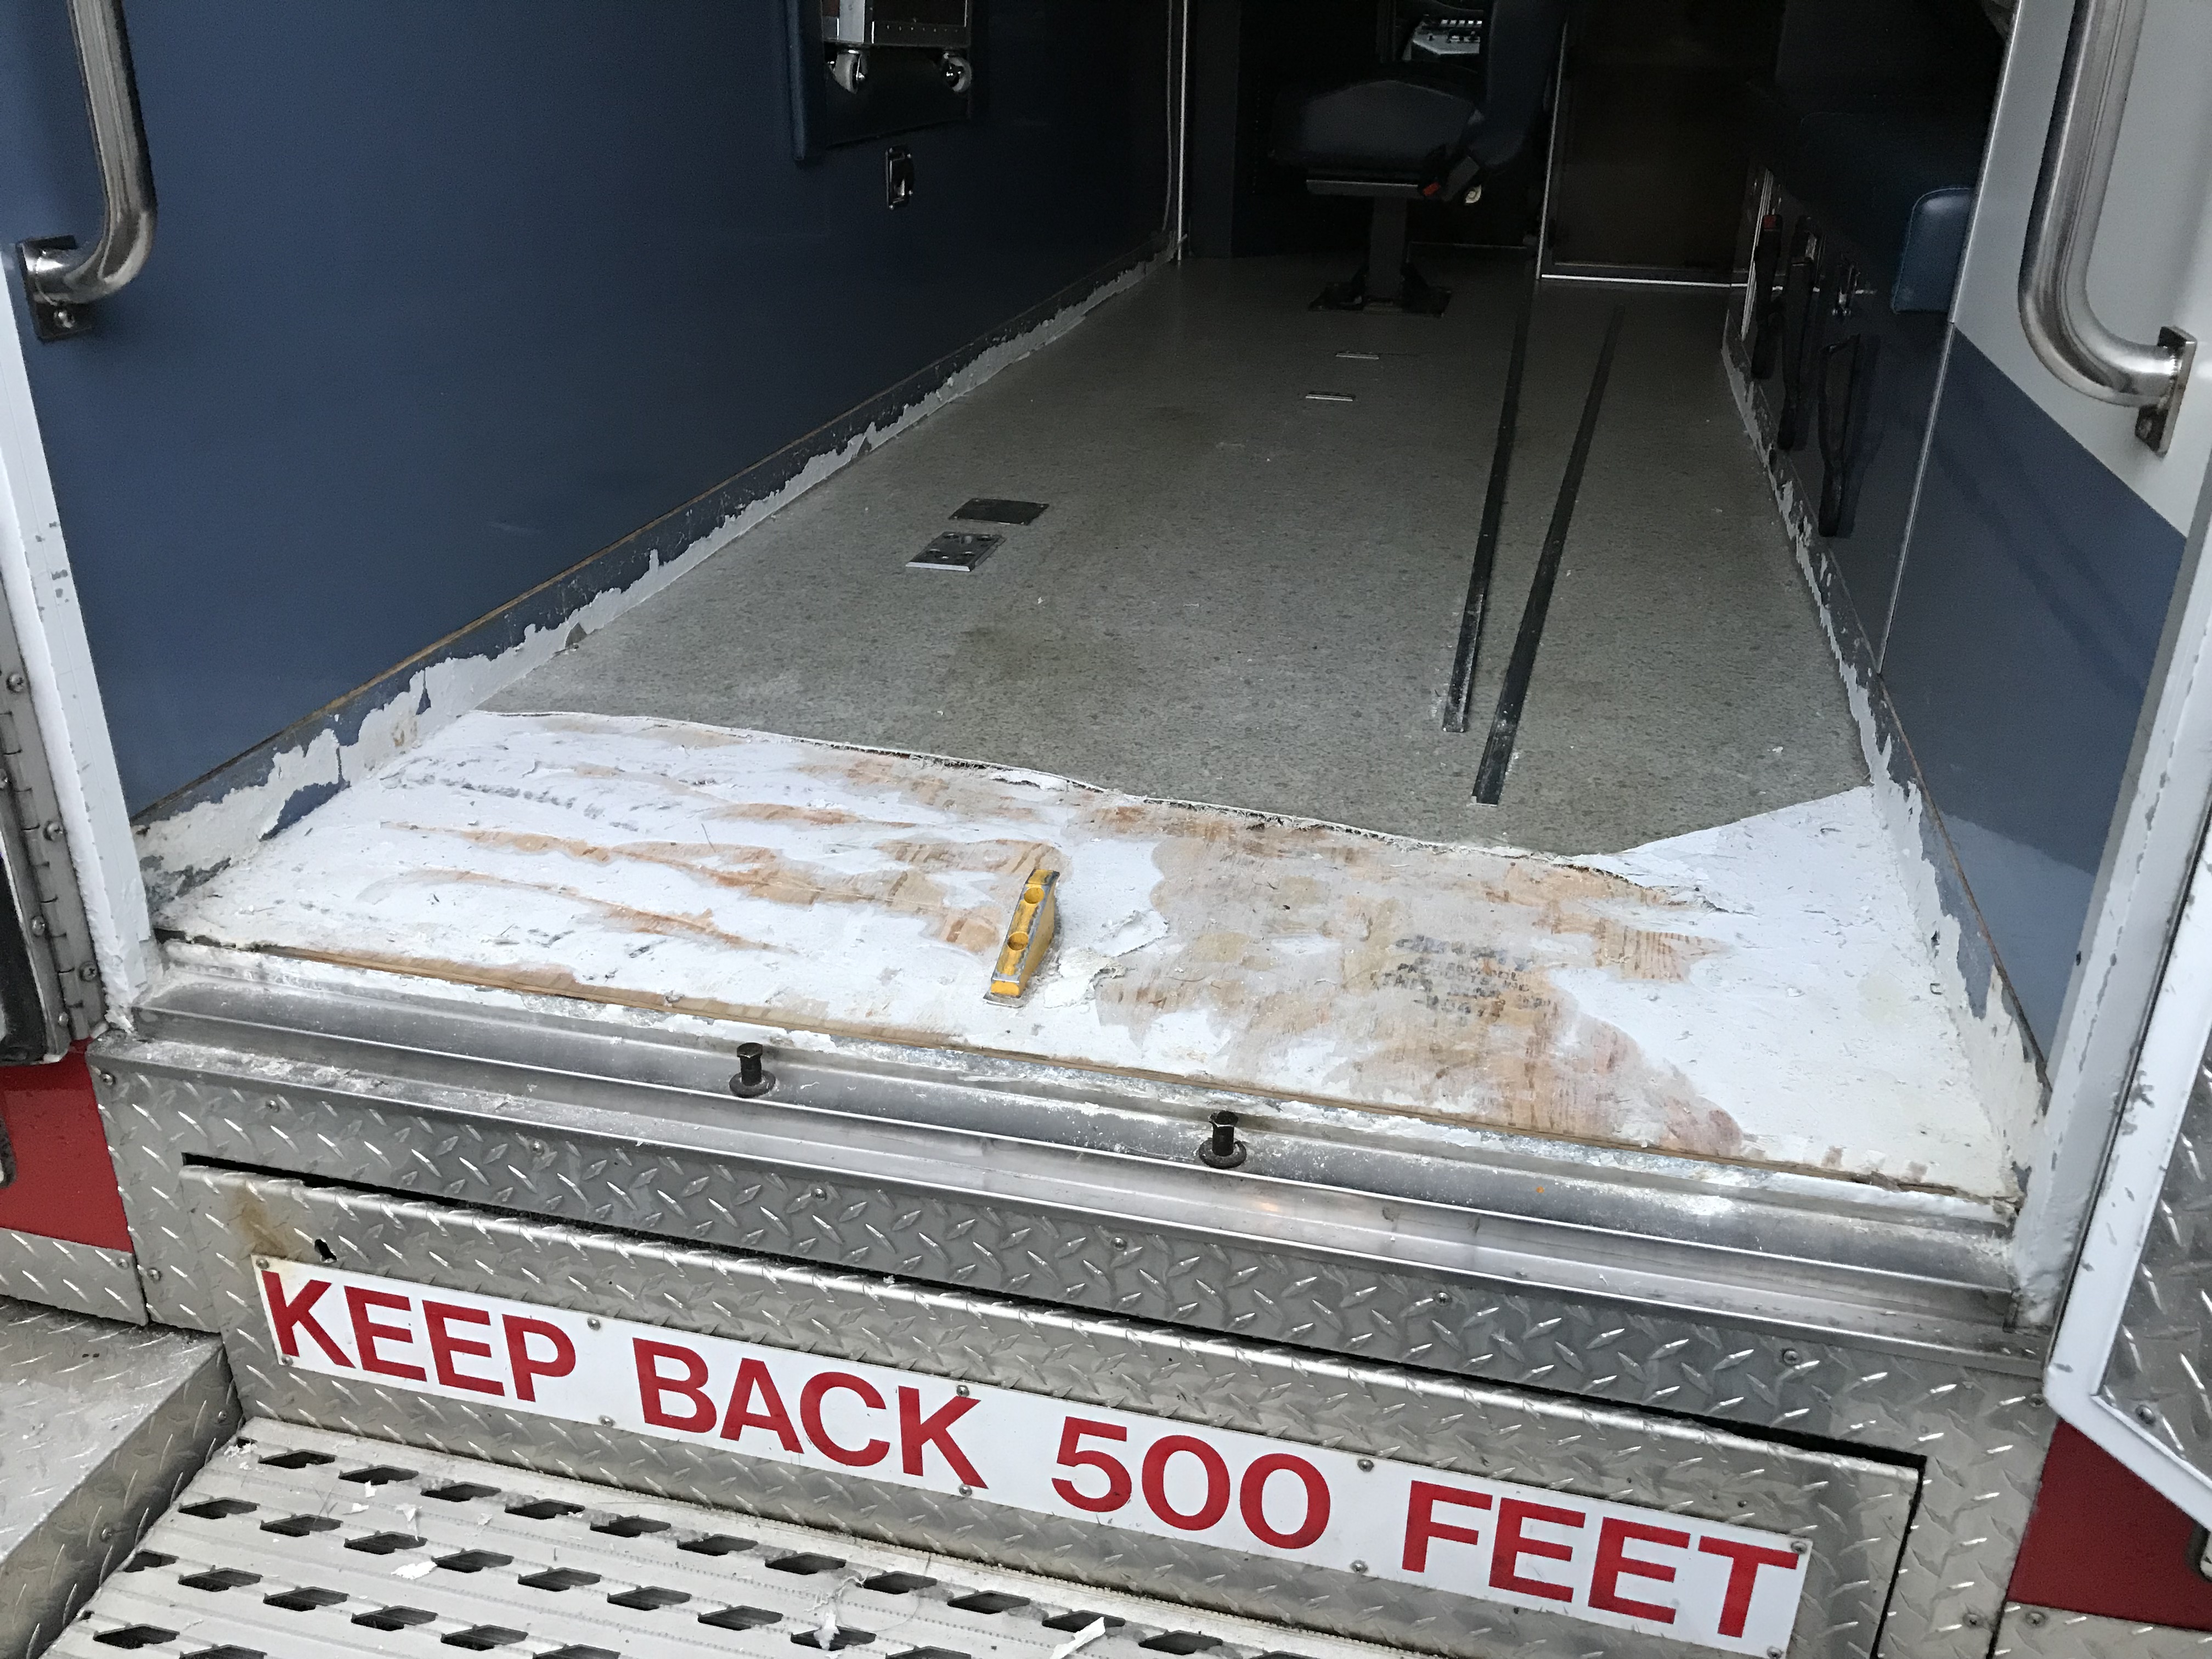
first day’s flooring progress
We tried, a lot of things, including some sci-fi looking power hammer thing which was faster, but tended to try and dig holes in the floor. The thing we eventually found to work not only well, but relatively quickly, was to take a oscillating multi-tool with a straight wedge shaped blade, and have one person run that between the vinyl and the plywood while the other person pulled up and back really hard on the vinyl. Once we figured that out the rest of the flooring went pretty quickly. Also, always go with the grain. The multi-tool can easily start digging through a layer of the plywood.
Along the way we paused to attack the stretcher catcher.
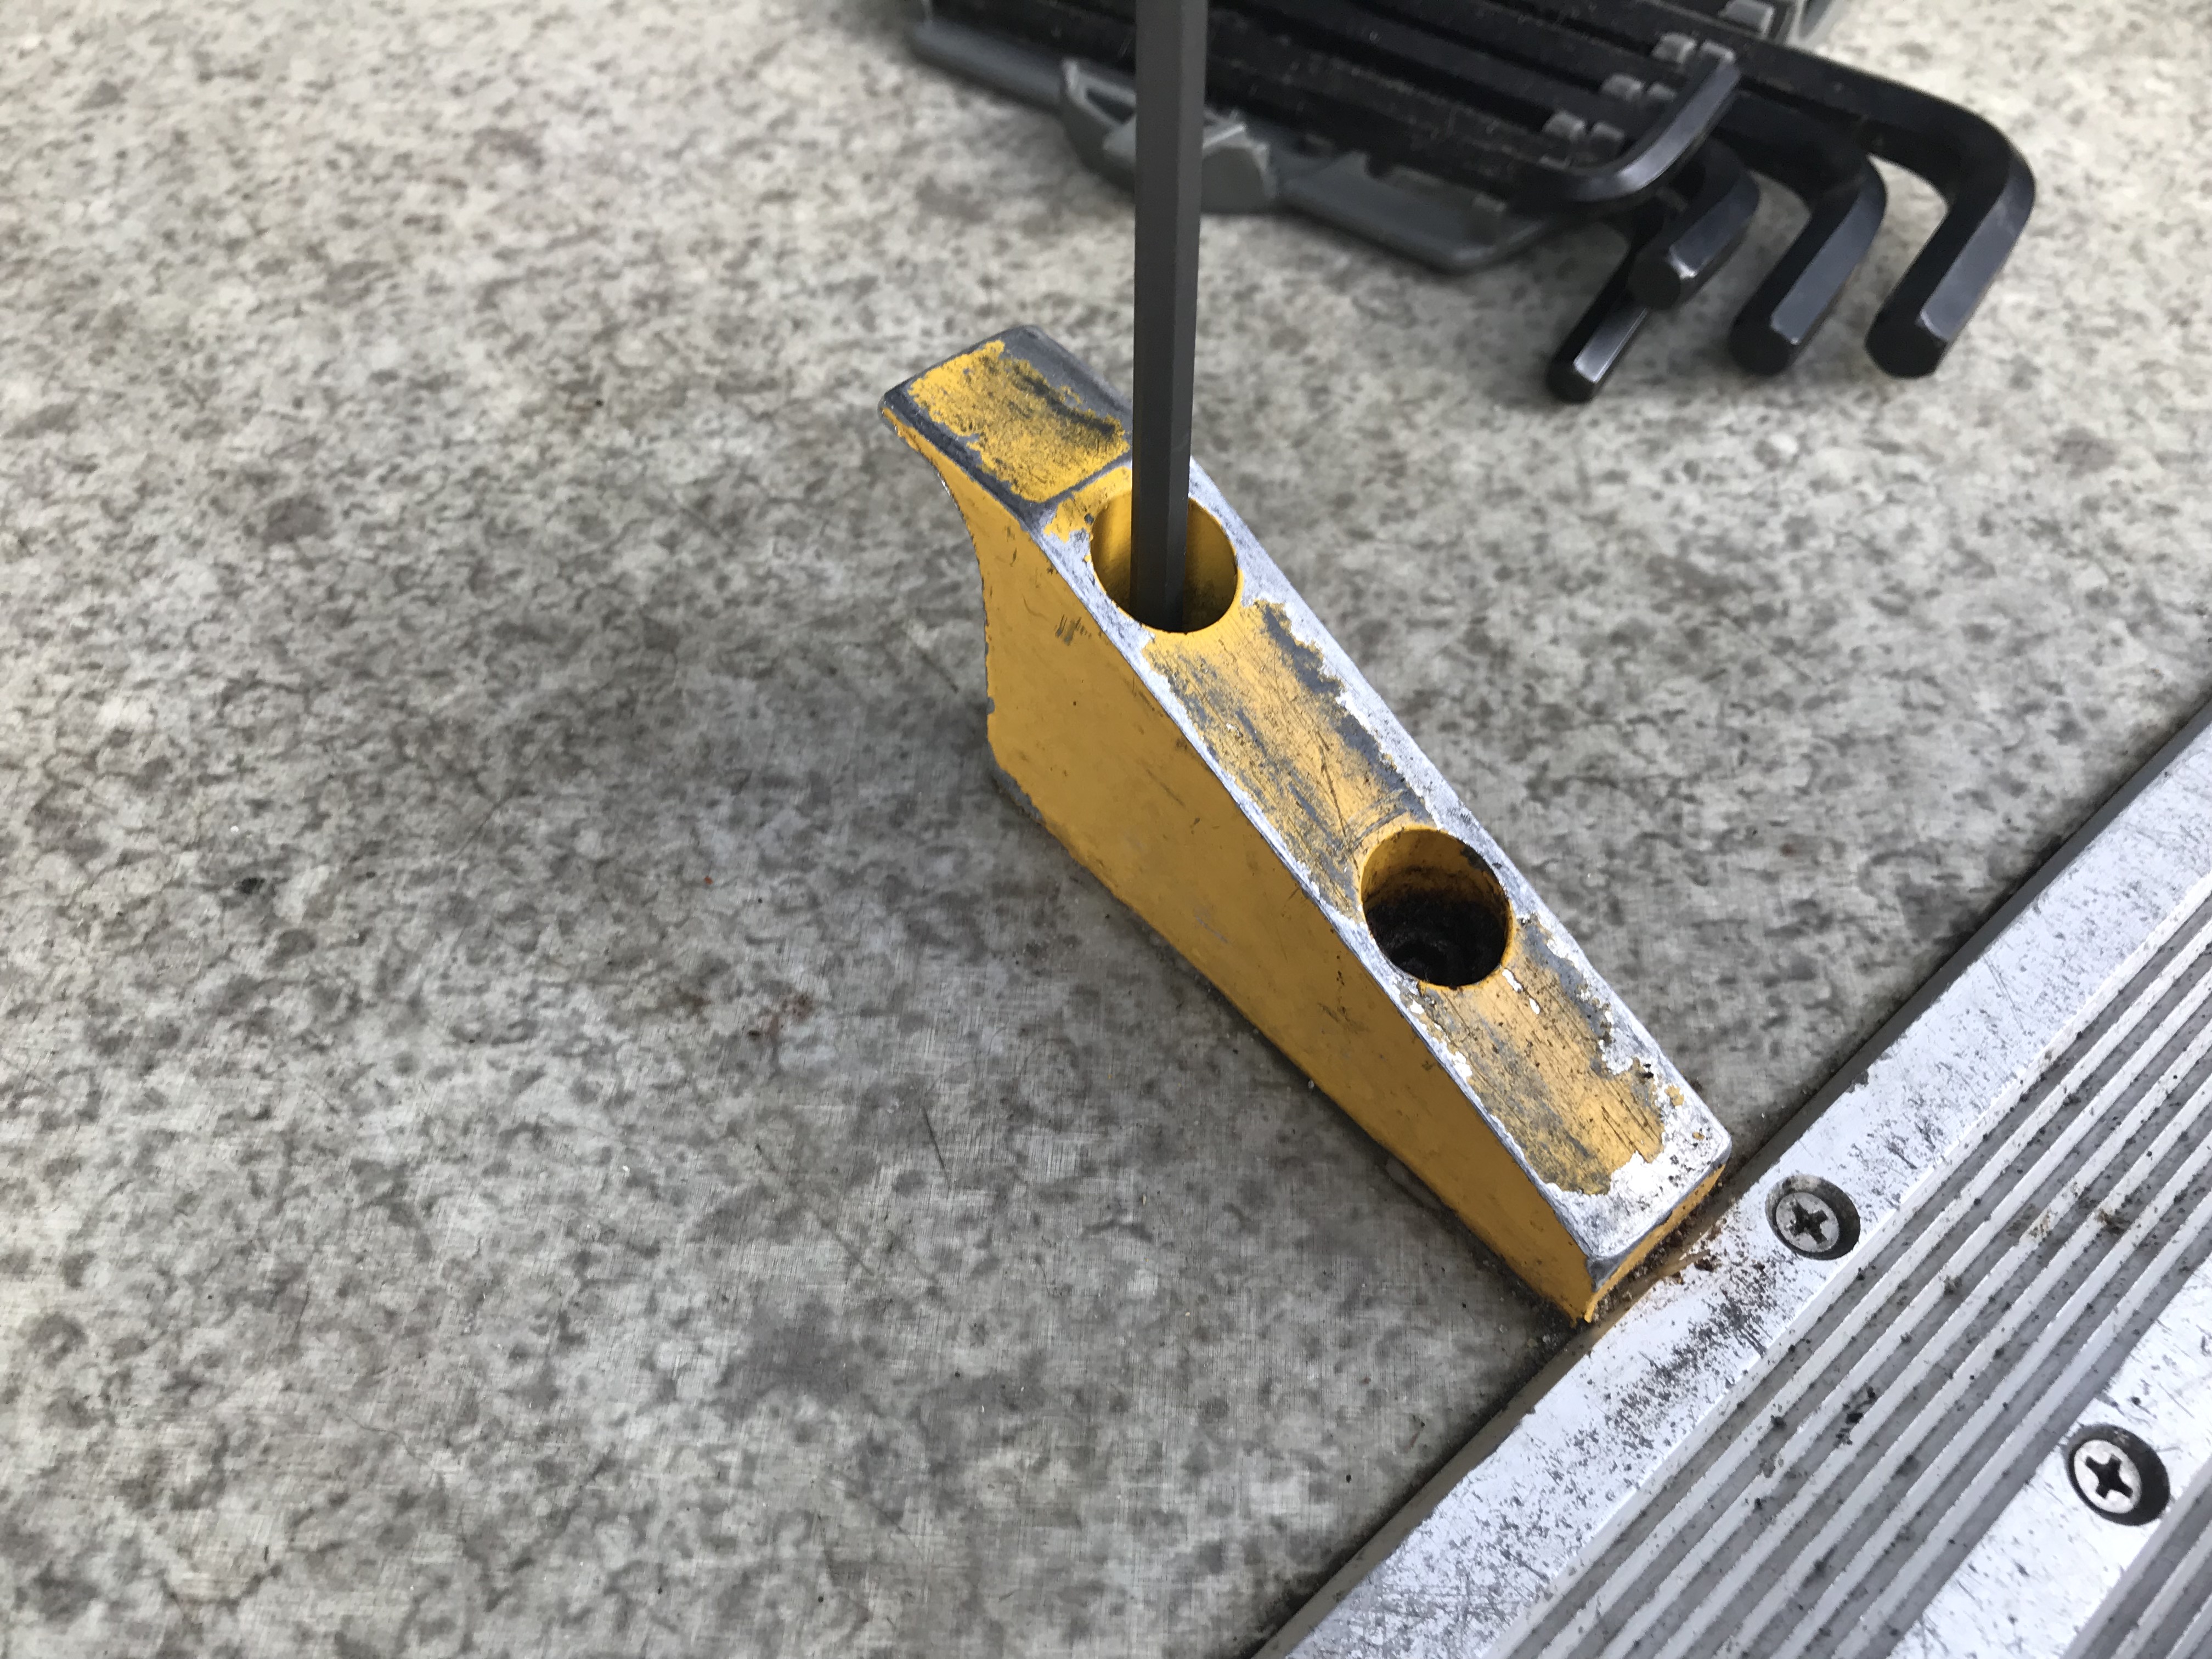
stretcher catcher
This had 2 bolts running through it. One was frozen solid, the other we were able to free with a pneumatic socket gun followed by a pneumatic hammer to shove the bolt up. The other one was mostly useless, but we were able to bang it up a little bit. Then we pried the free end up, and chopped the bolts off with an angle grinder.
We also stopped to check out the antennas. Fortunately this friend, and another nearby one, are ham radio geeks like us, and we’d noticed that it has five antenna mounts on the roof, plus one on the cab.
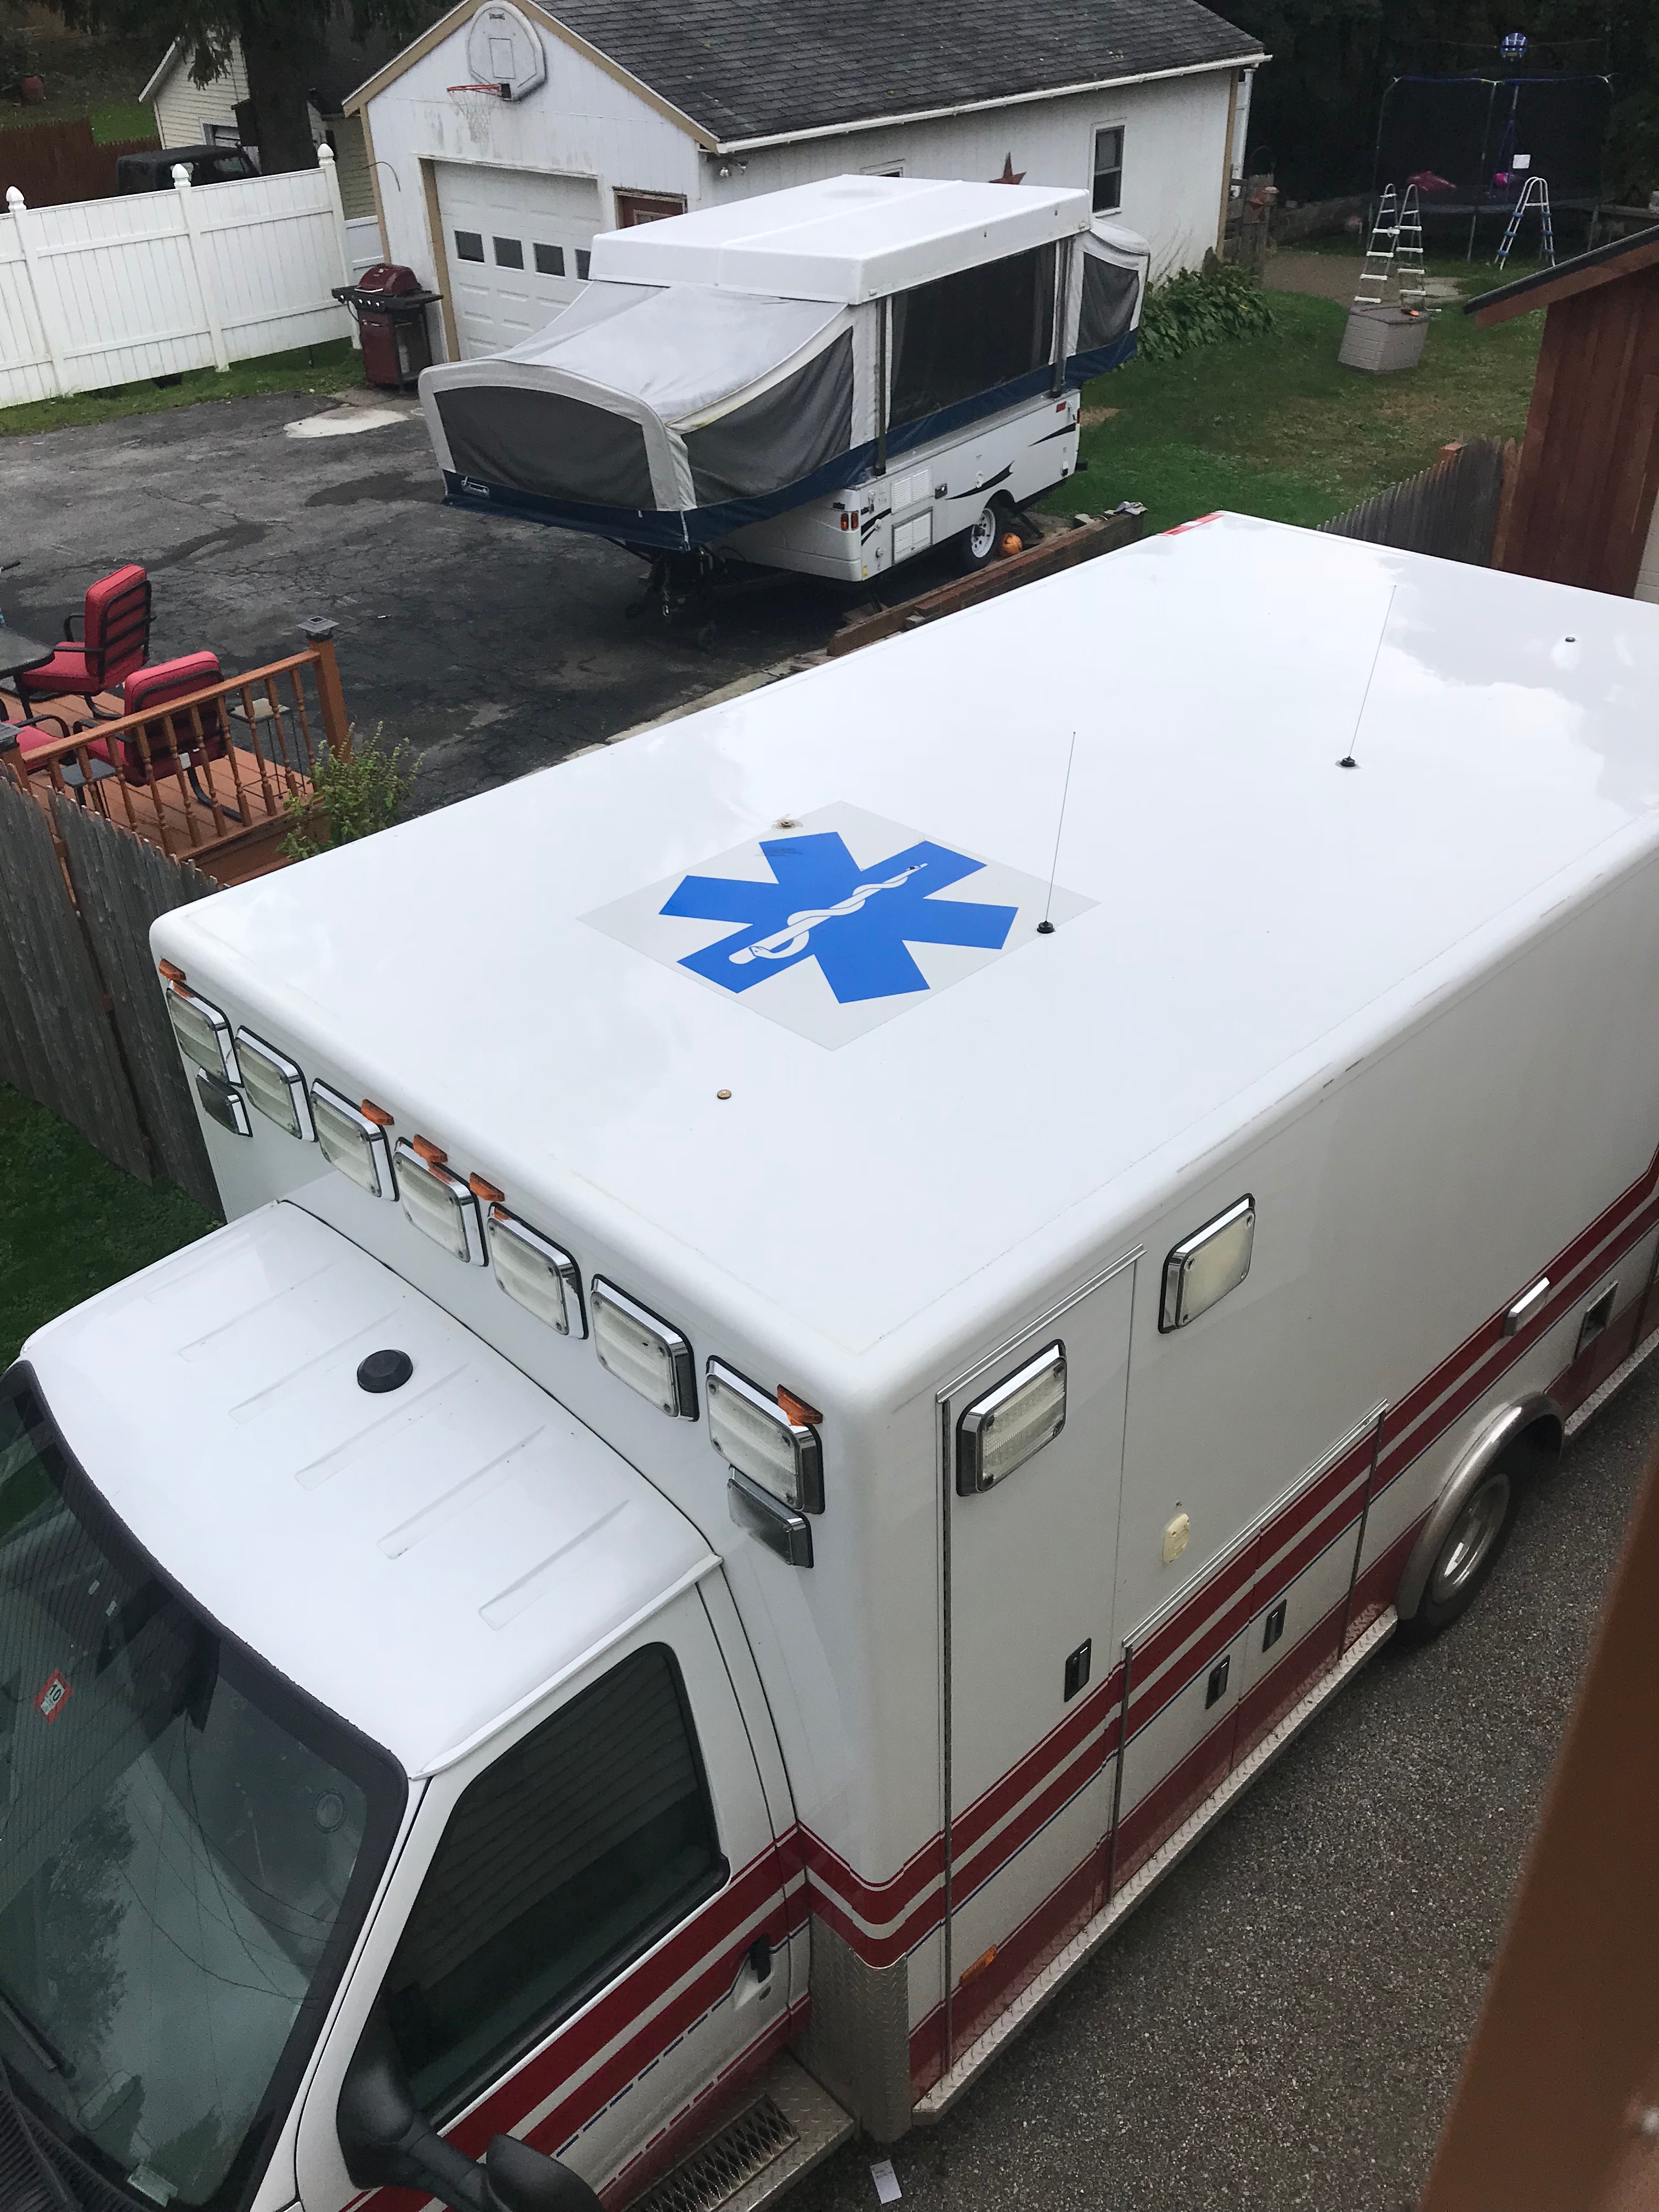
view of roof and antenna mounts
Four of those looked to be in a straight line, and we wondered if we might be able to create a phased array out of them. For non-radio geeks this means taking a series of short antennas in a row, and getting results equivalent to one tall antenna, as long as you’re pointed at whatever you want to listen to. This would have been very cool.
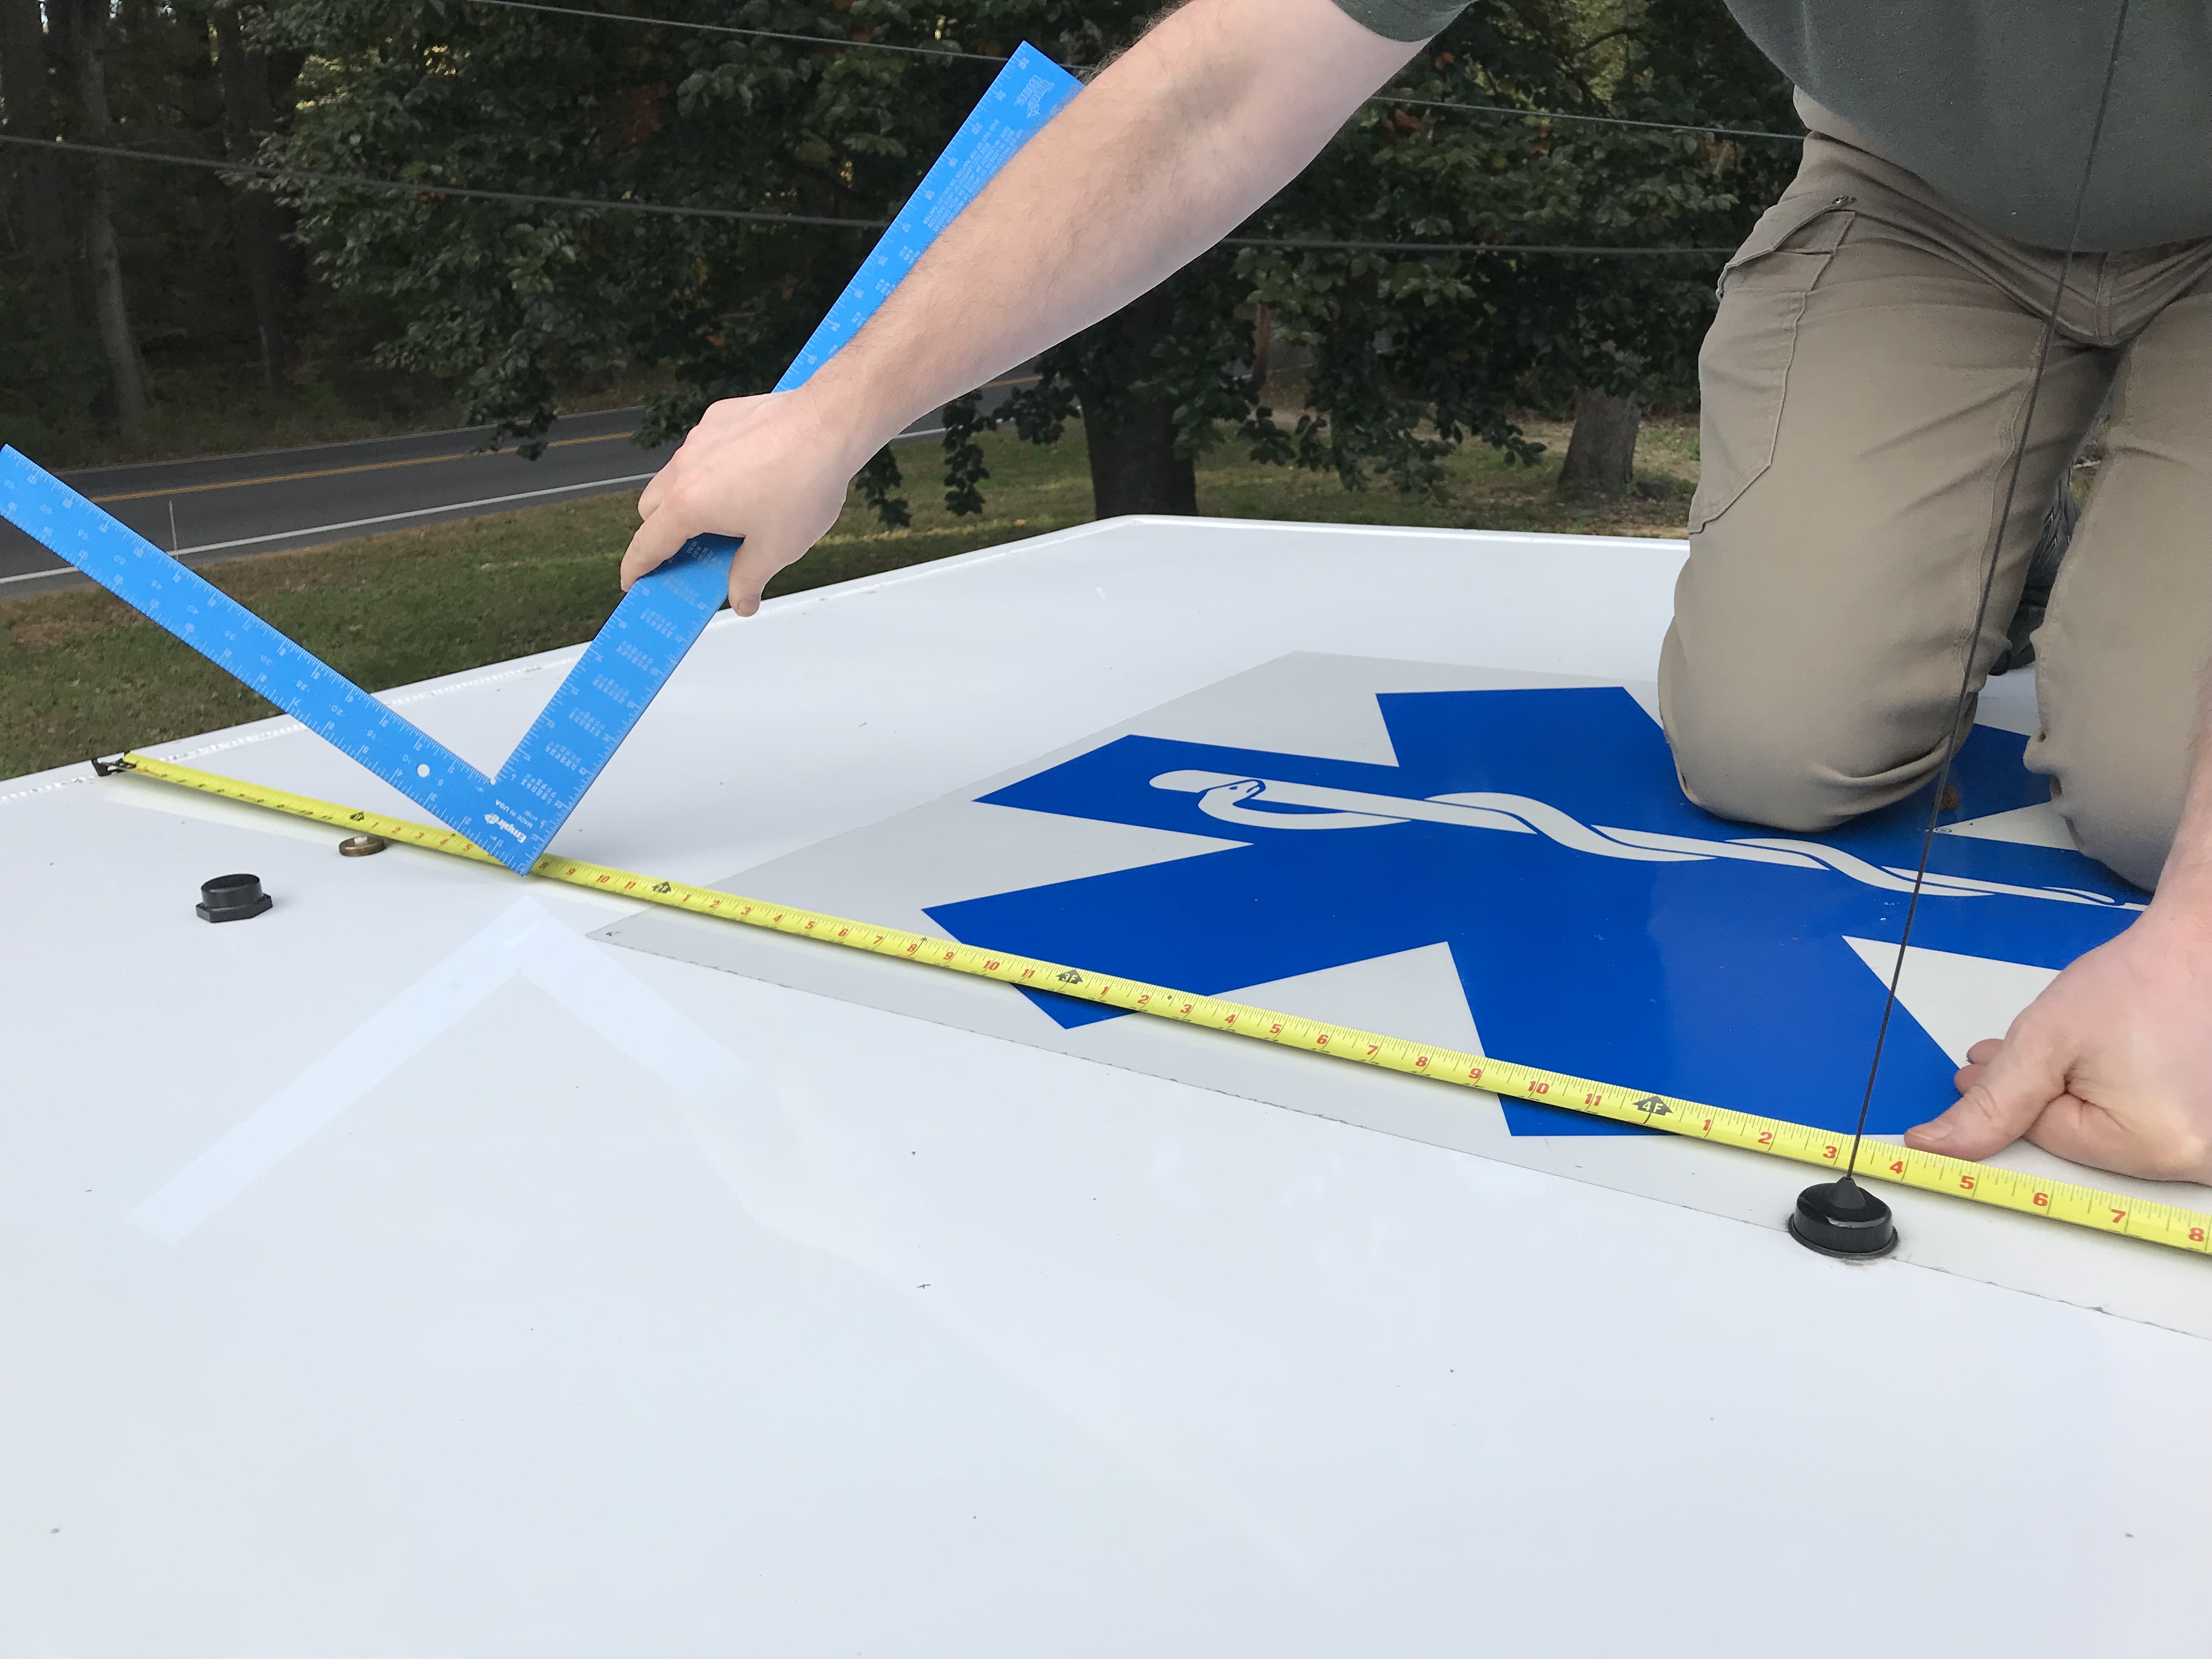
unaligned antennas
Unfortunately, the antennas were just kind-of in a row. Also, they’re not all the same mount. They’re mostly NMOs and something we’re not sure about. We spent some time “ringing out” the two antenna cables inside the vehicle and found the one in the box was connected. The one in the cab wasn’t connected to anything. There’s another one in the cab with no end, and we know that it has been used as an ambulance loaner vehicle recently, so our theory is that whoever had it last literally ripped their radio out without disconnecting it first, and ripped the end of the good cable. So, we’ll have to put an end on it before we can test it.
The antenna (only one antenna for 5 mounts up there) was, unsurprisingly, appropriate for public service bands but not for ham usage. That’s an easy enough fix, but I really want to know where the cables are that connect to the other 4.
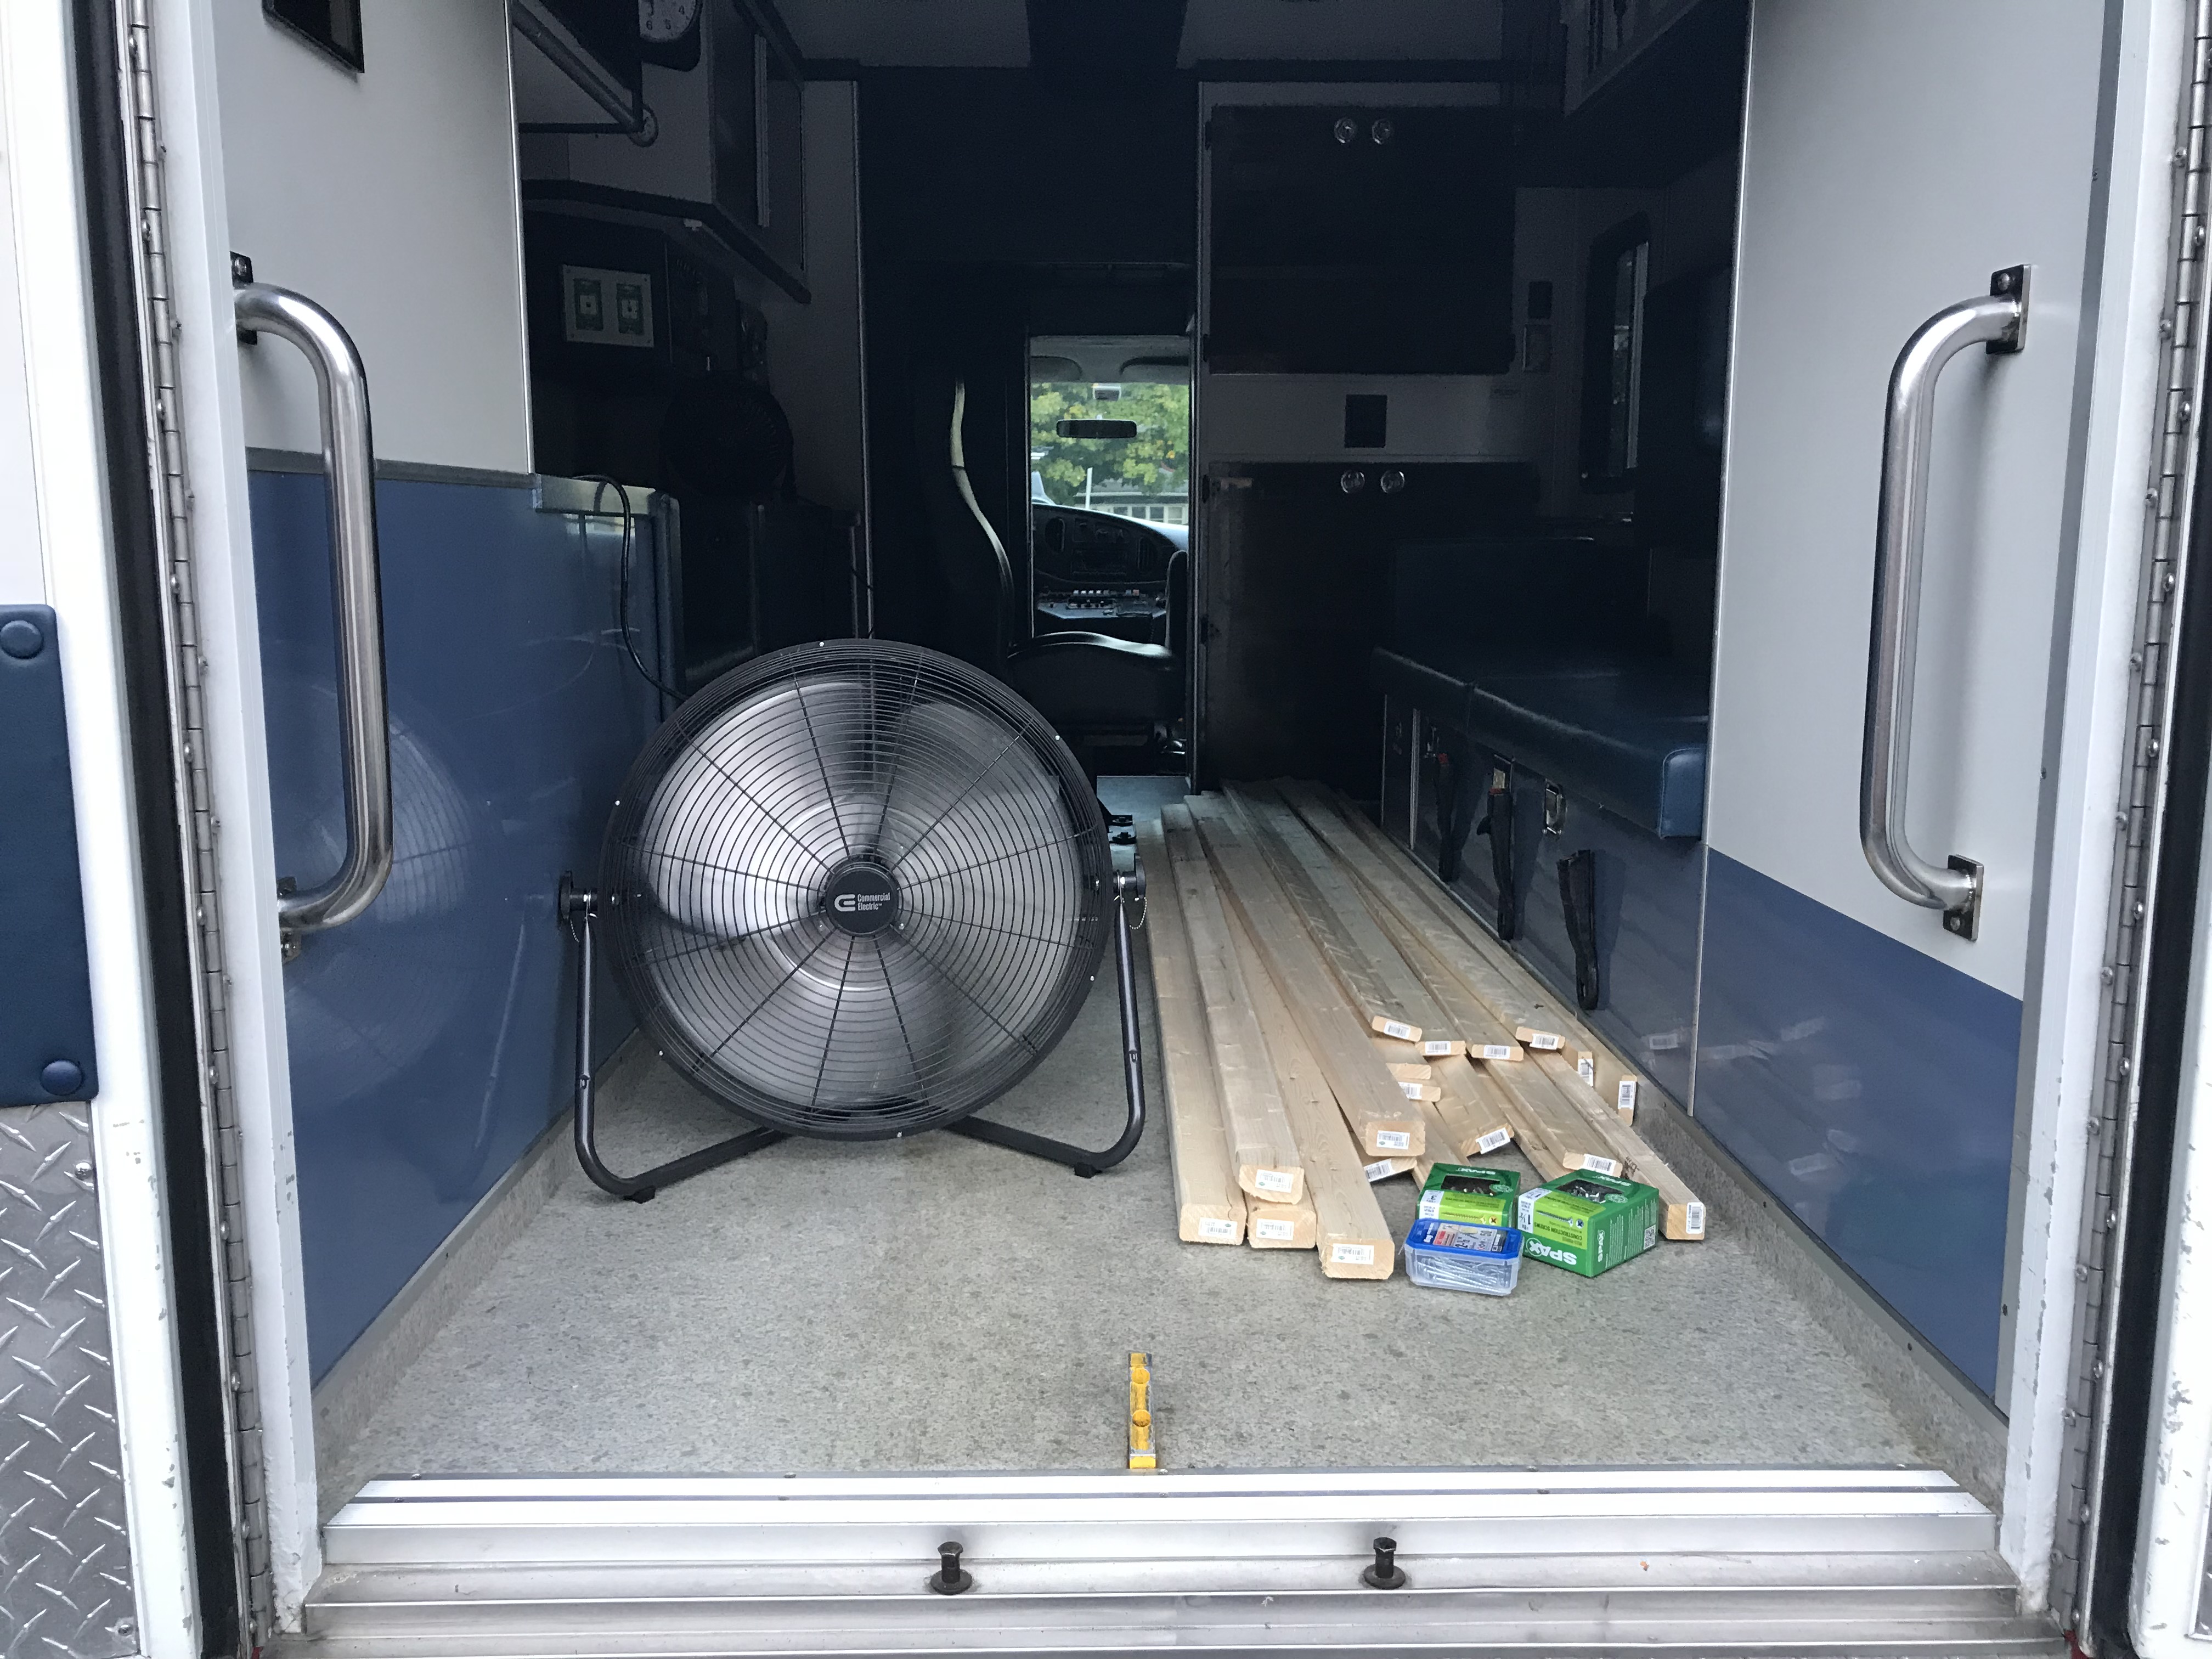
When we eventually finished removing the vinyl flooring the horrible smells were completely gone. There was a new smell of the revealed glue that was holding the vinyl down, but it wasn’t bad, and we’re pretty confident that when we put down the underlayment, and the Pergo on top of that we won’t smell it, just like we didn’t smell it when the vinyl was there. 🤞
.
.
.
Eventually we bid our hosts farewell and headed home. On the way we picked up a lovely piece of wood that will become the most beautiful countertop I have ever owned. We’re going to cut the pieces, then bring it back to the wood shop who will do the finish. We thought about doing it ourselves but we’ve got enough things to do and they do excellent work, and have the epoxy to fill the cracks and the experience to not mar the surface with ham-fisted inexperienced work. It’s just too nice of a piece of wood to do that to. Some maple tree (I think it’s maple) spent decades growing to be able to give us this. We’re going to have over eight feet of gorgeous countertop when this is done.
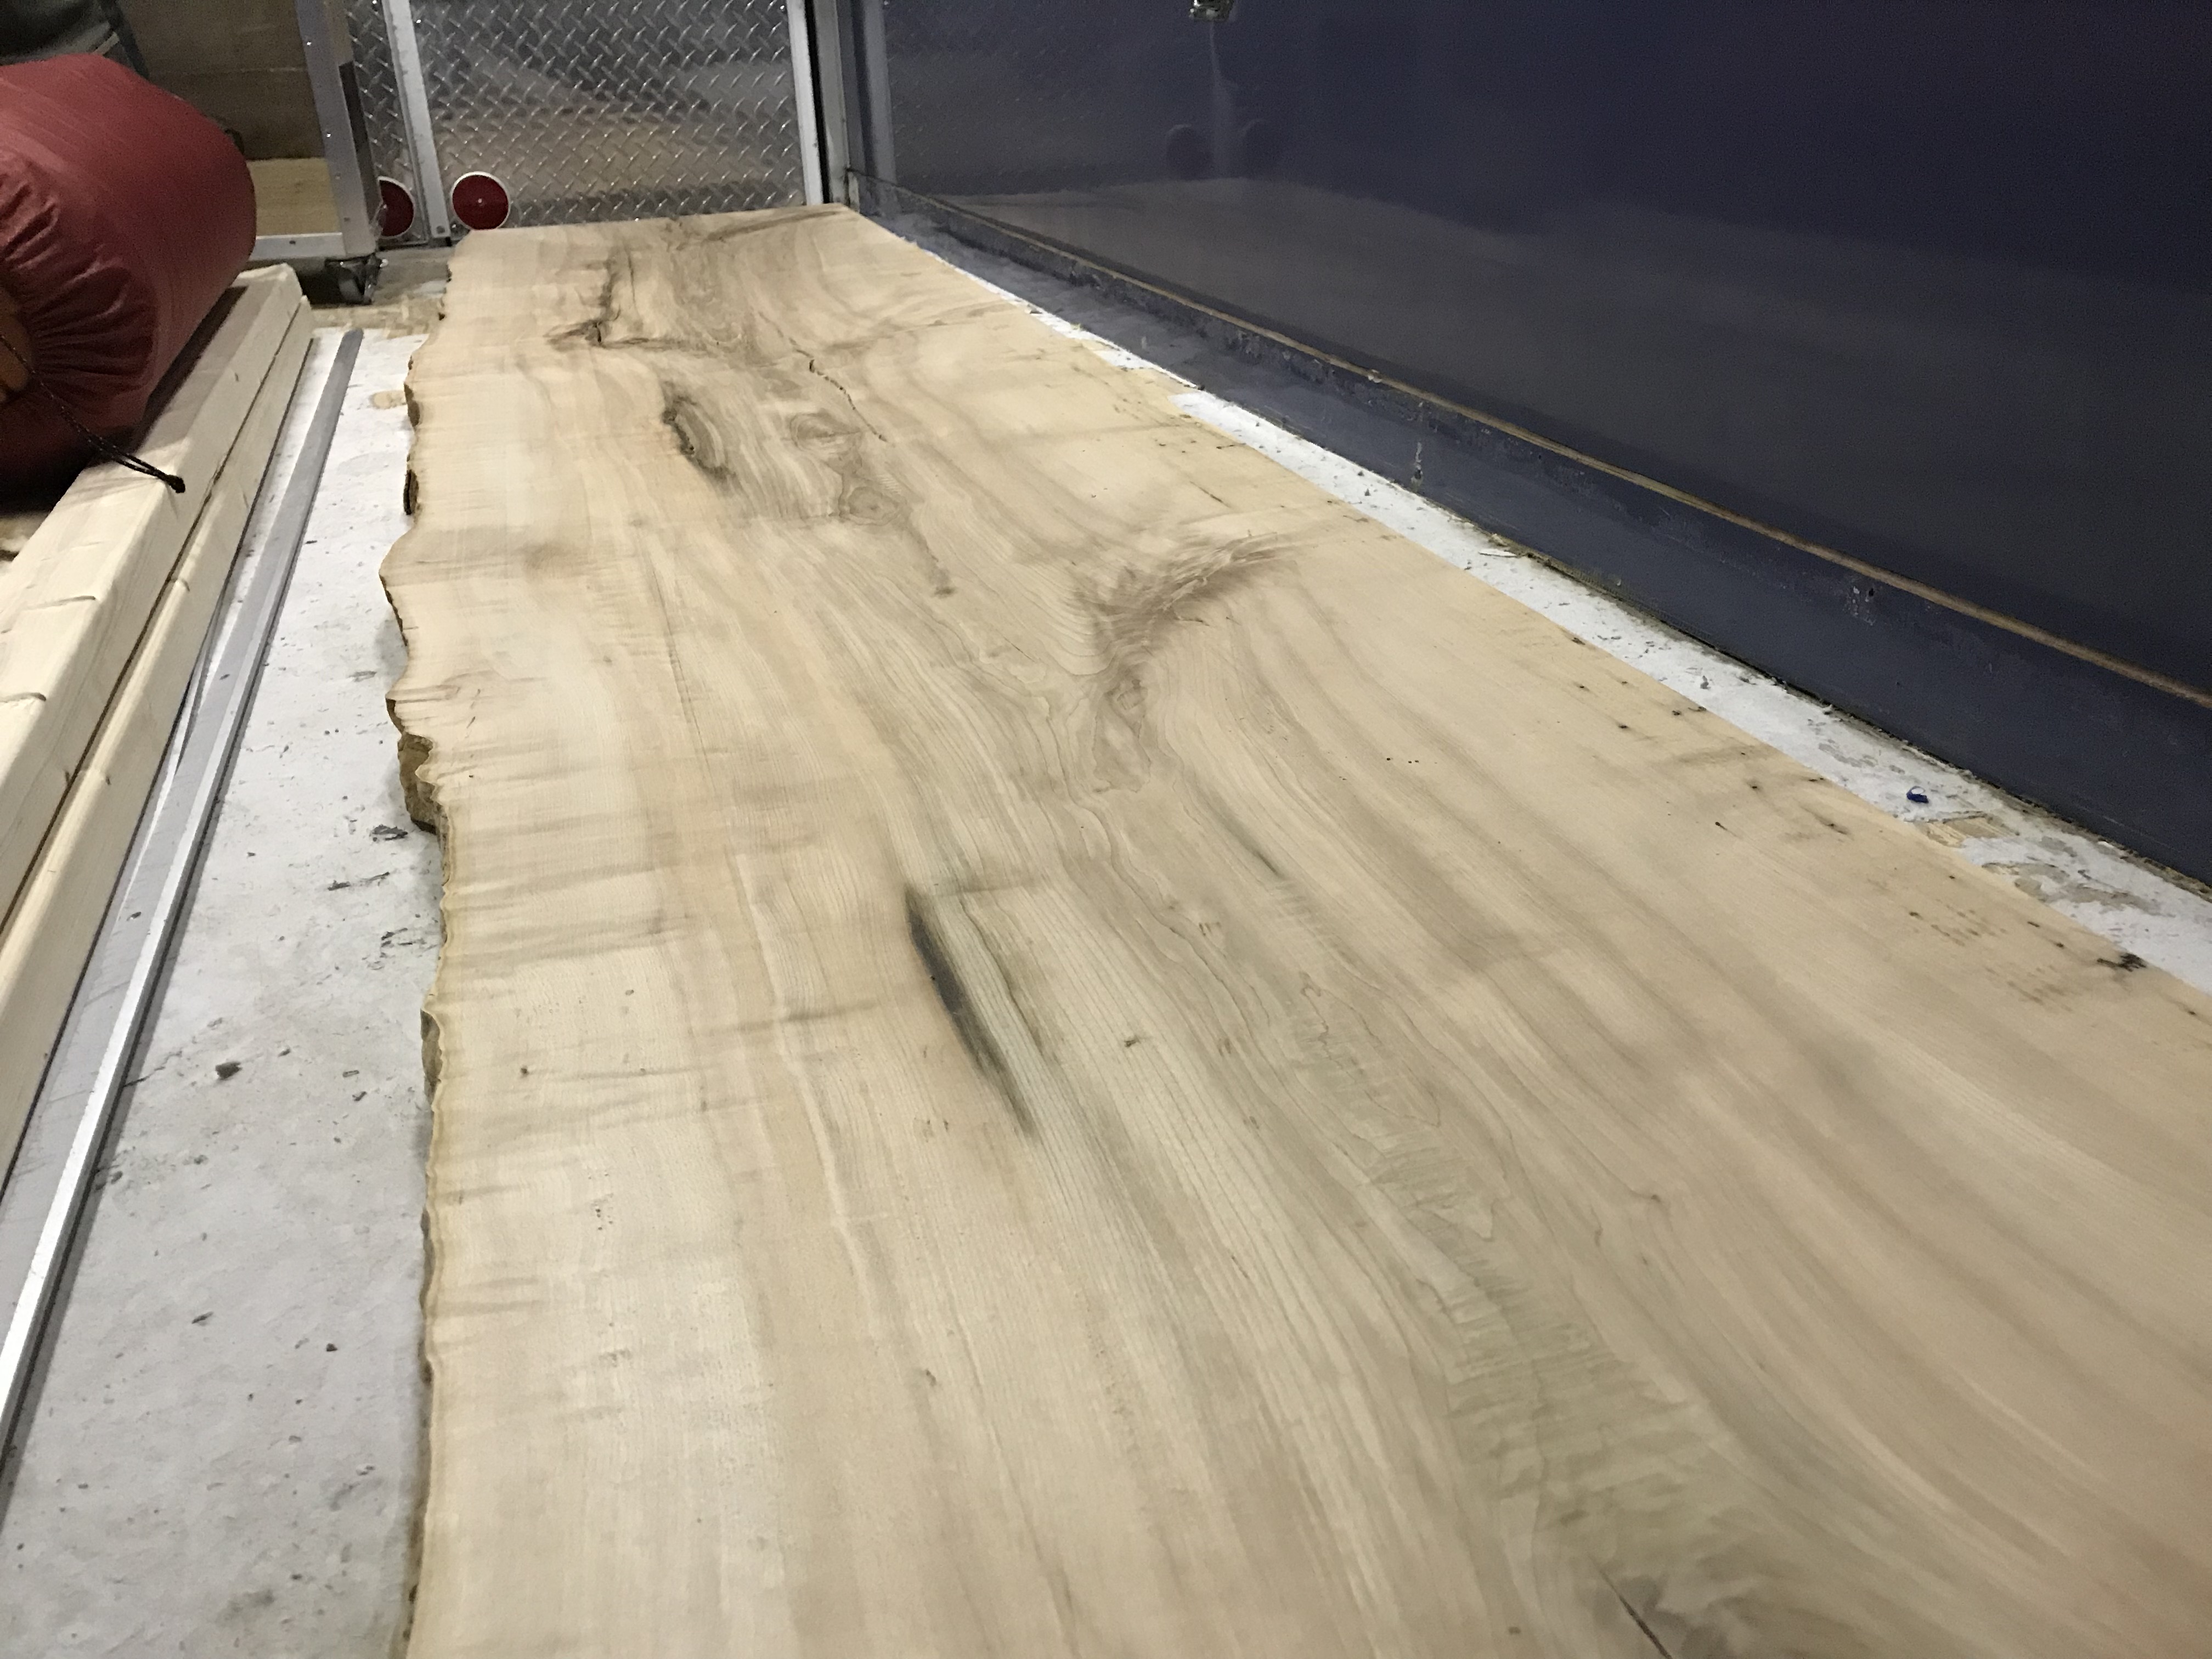
raw maple board for countertop
As a bonus, it’s only about 100 pounds of extra weight. We’re just going to route a groove into it so that it can sit in and hook over the edge of the counters that are there.
We got it (Dachary suggests the ambulance is a him, I say her. Debate continues.) home, removed the metal box under the CPR Assist seat, took it to be inspected, and then took it to the local Ford dealer to give it a head-to-toe evaluation. This was supposed to take about 2 and a half hours. I asked them to fix the parking break while they were at it, because it was useless.
FIVE DAYS LATER we reclaimed the ambulance. During that time were chomping at the bit to work on it, but instead had to spend our days doing less interesting but still necessary tasks around the house. Dachary also spent some time soldering the wiring harness for the new “head unit” (modern stereo) we’re putting in. And I cut out some cardboard templates of things.
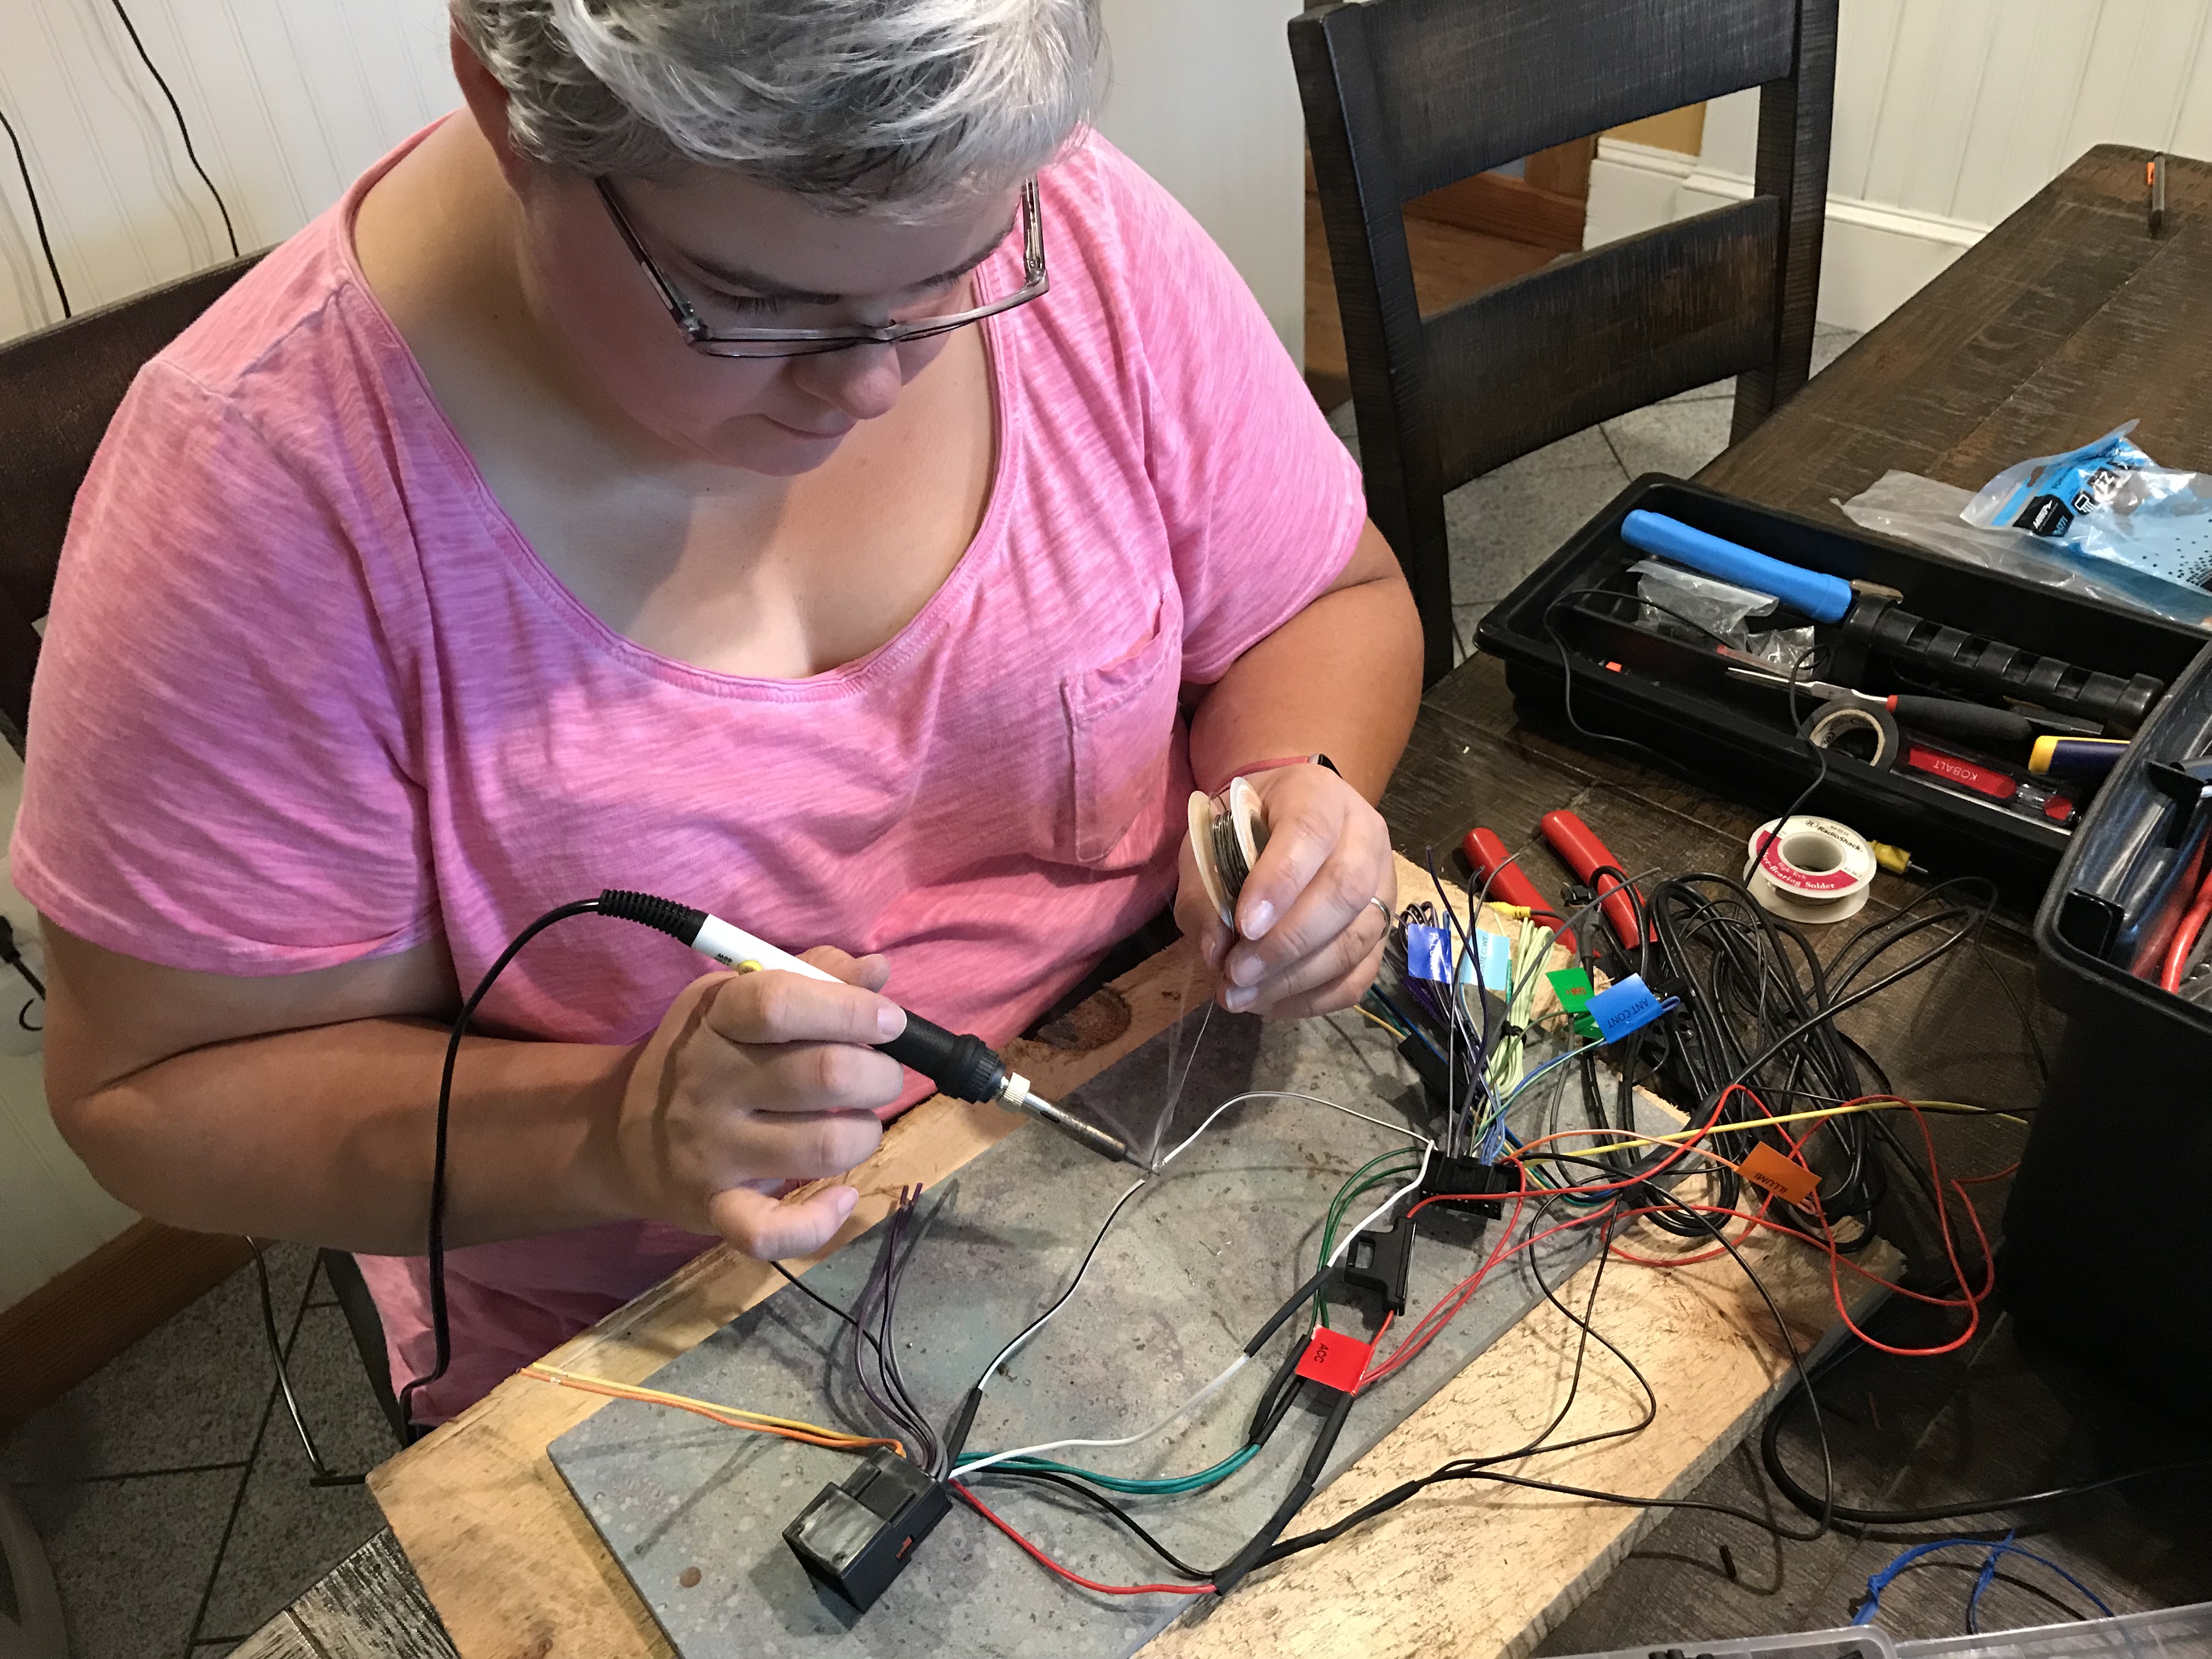
dachary solders wiring harness
It should have taken a day, maybe two, because you have to take apart the rear differential to replace the parking brake shoes on an E–450, and then they discovered that whoever was in there last used RTV instead of the appropriate gaskets, and they didn’t have those on hand. It wasn’t all bad news though. They were very surprised to find that literally nothing was wrong with it. They couldn’t find a single other thing to bill us for. While we were settling the bill the guy just kept commenting about how “clean” it was and how surprised he was about how well it’d been maintained. Ron, over at Sugarloaf Ambulance / Rescue vehicles in Wilton Maine, is pretty awesome.
Side note: he says that he gets a pile of used ambulances every December for some reason, so if you’re looking for one…
Anyway. We got it back, and finally got to work on the insides, but it was already sunset, and I had some work to do in the evening so I threw on our new seat covers.
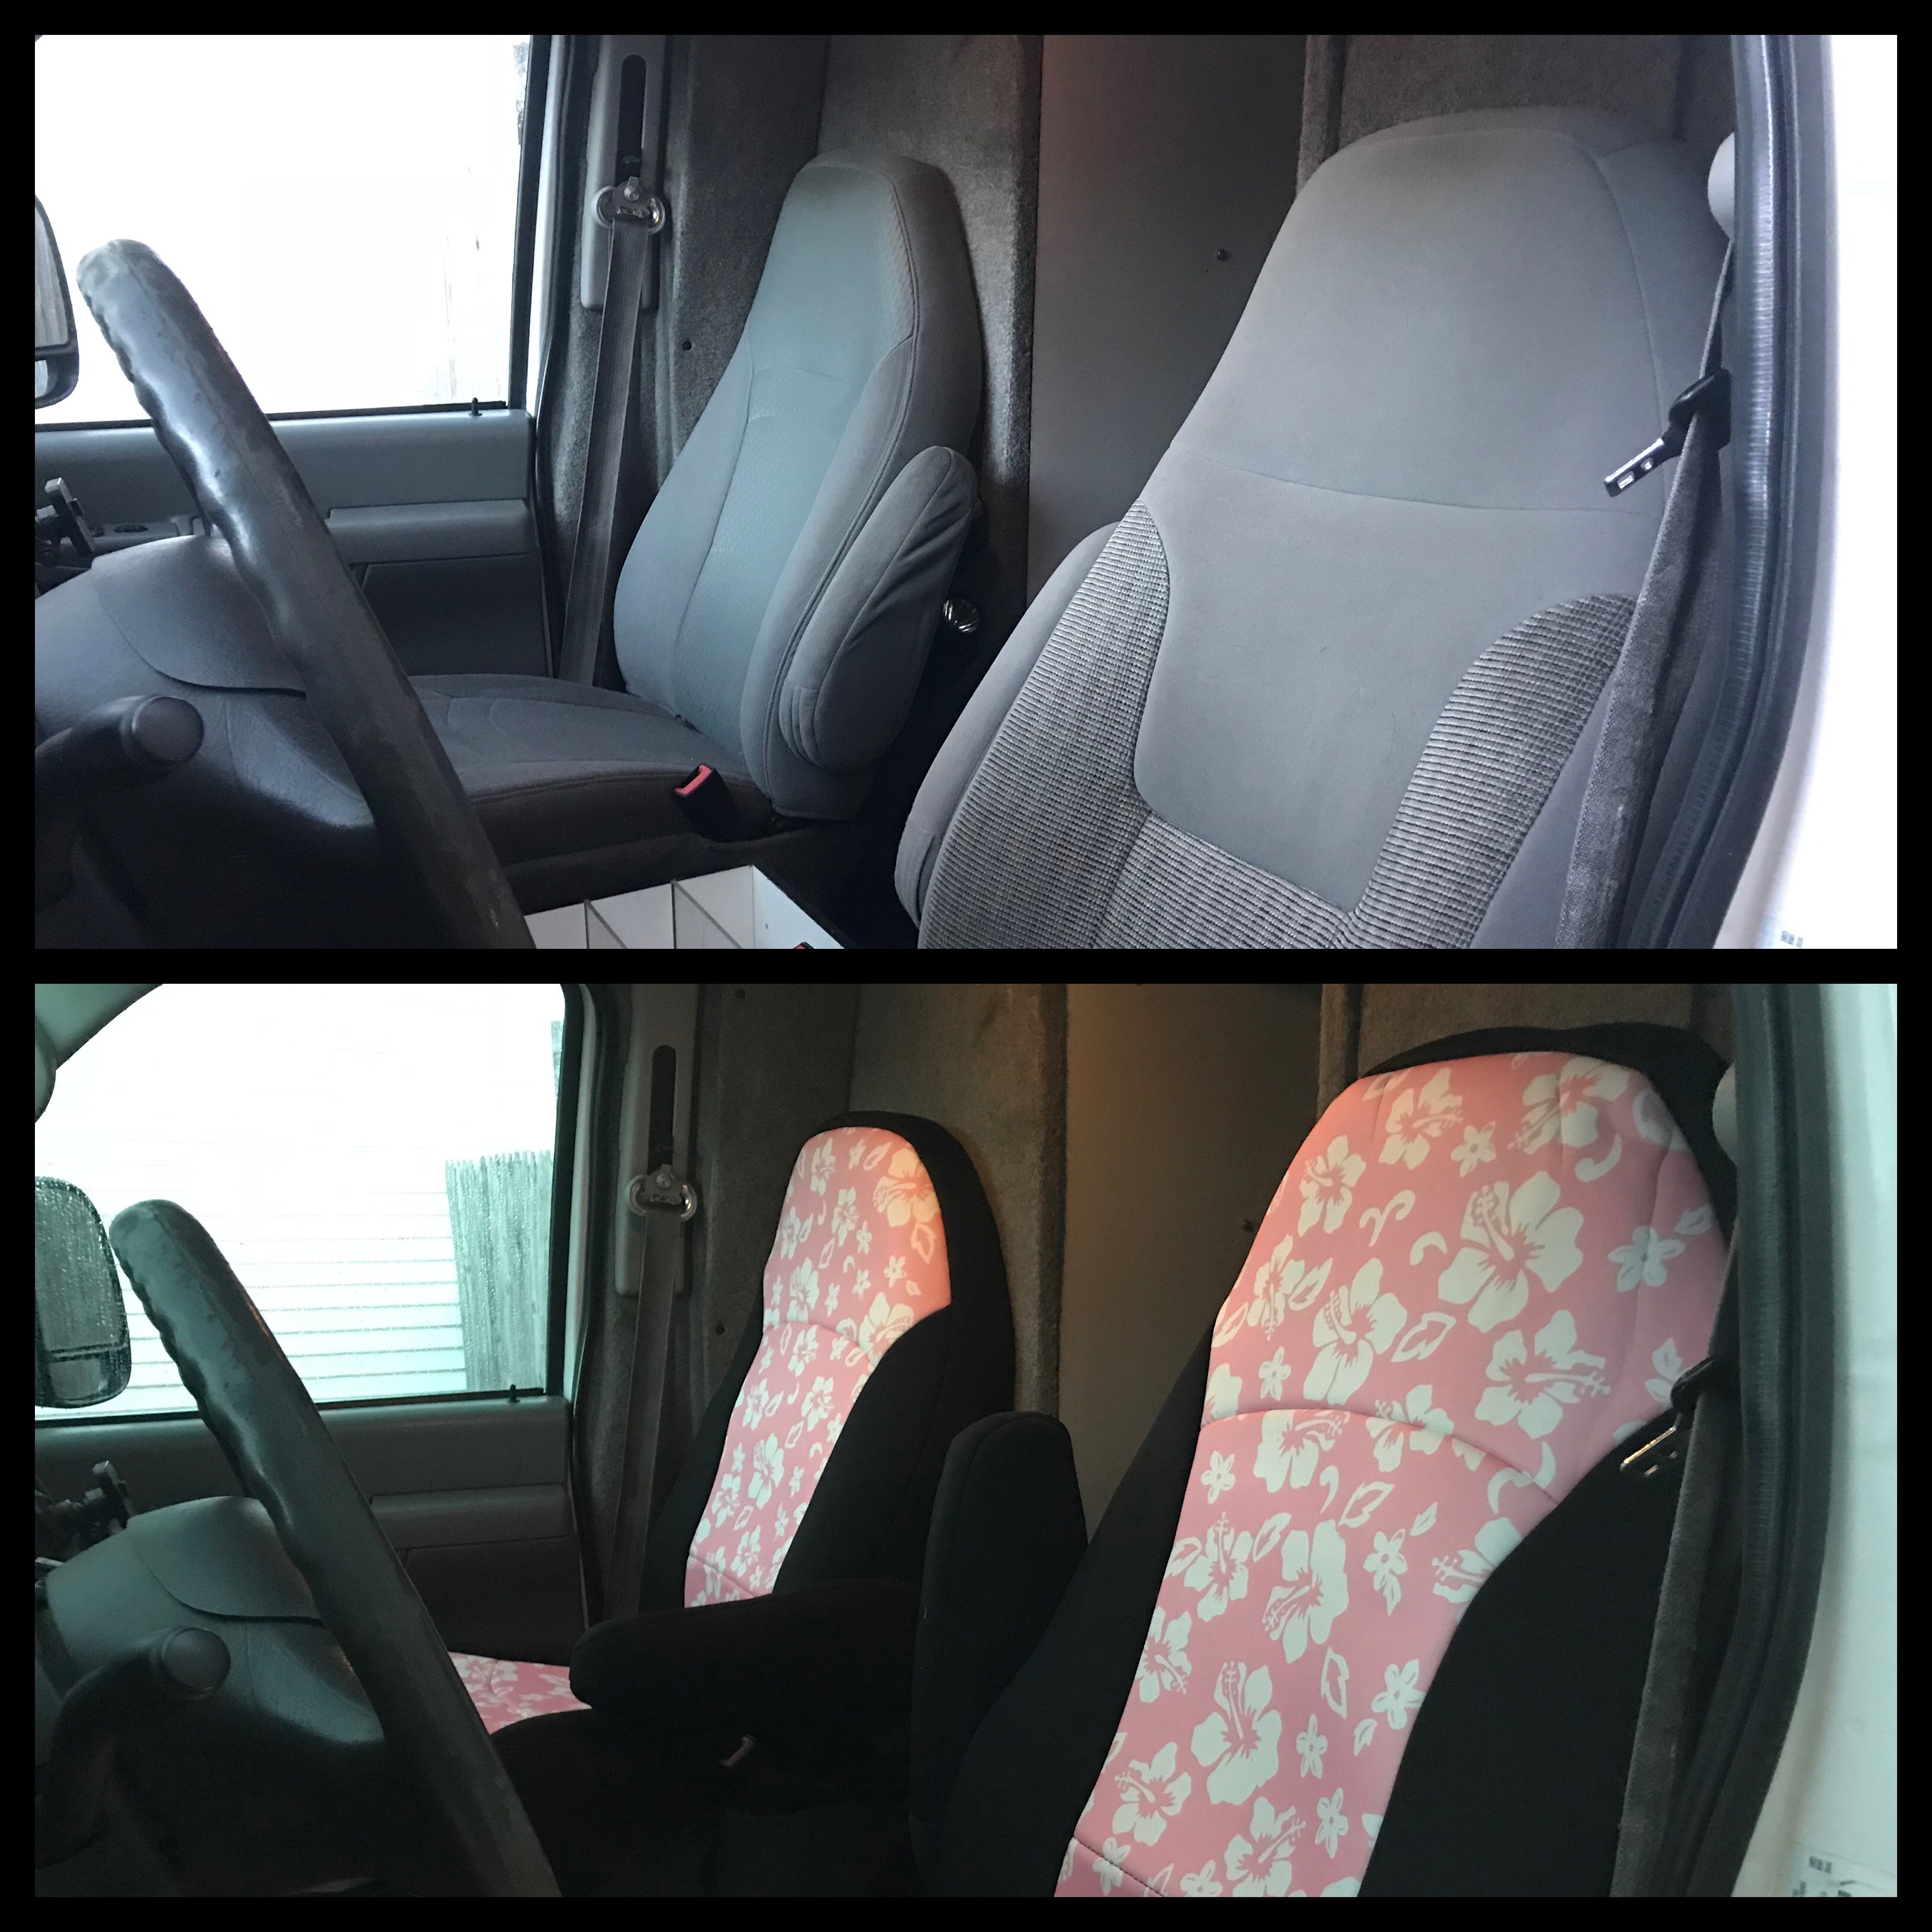
seat cover before and after
Next was removing the foam from the bench seat. We’re making a pull-out bed. We planned on attaching to the hinged lid of the bench so that we could easily lift it up when we needed to get under it. This meant removing approximately 40,000 staples and then slicing the foam away from the board where the adhesive didn’t want to let go, which was mostly everywhere.
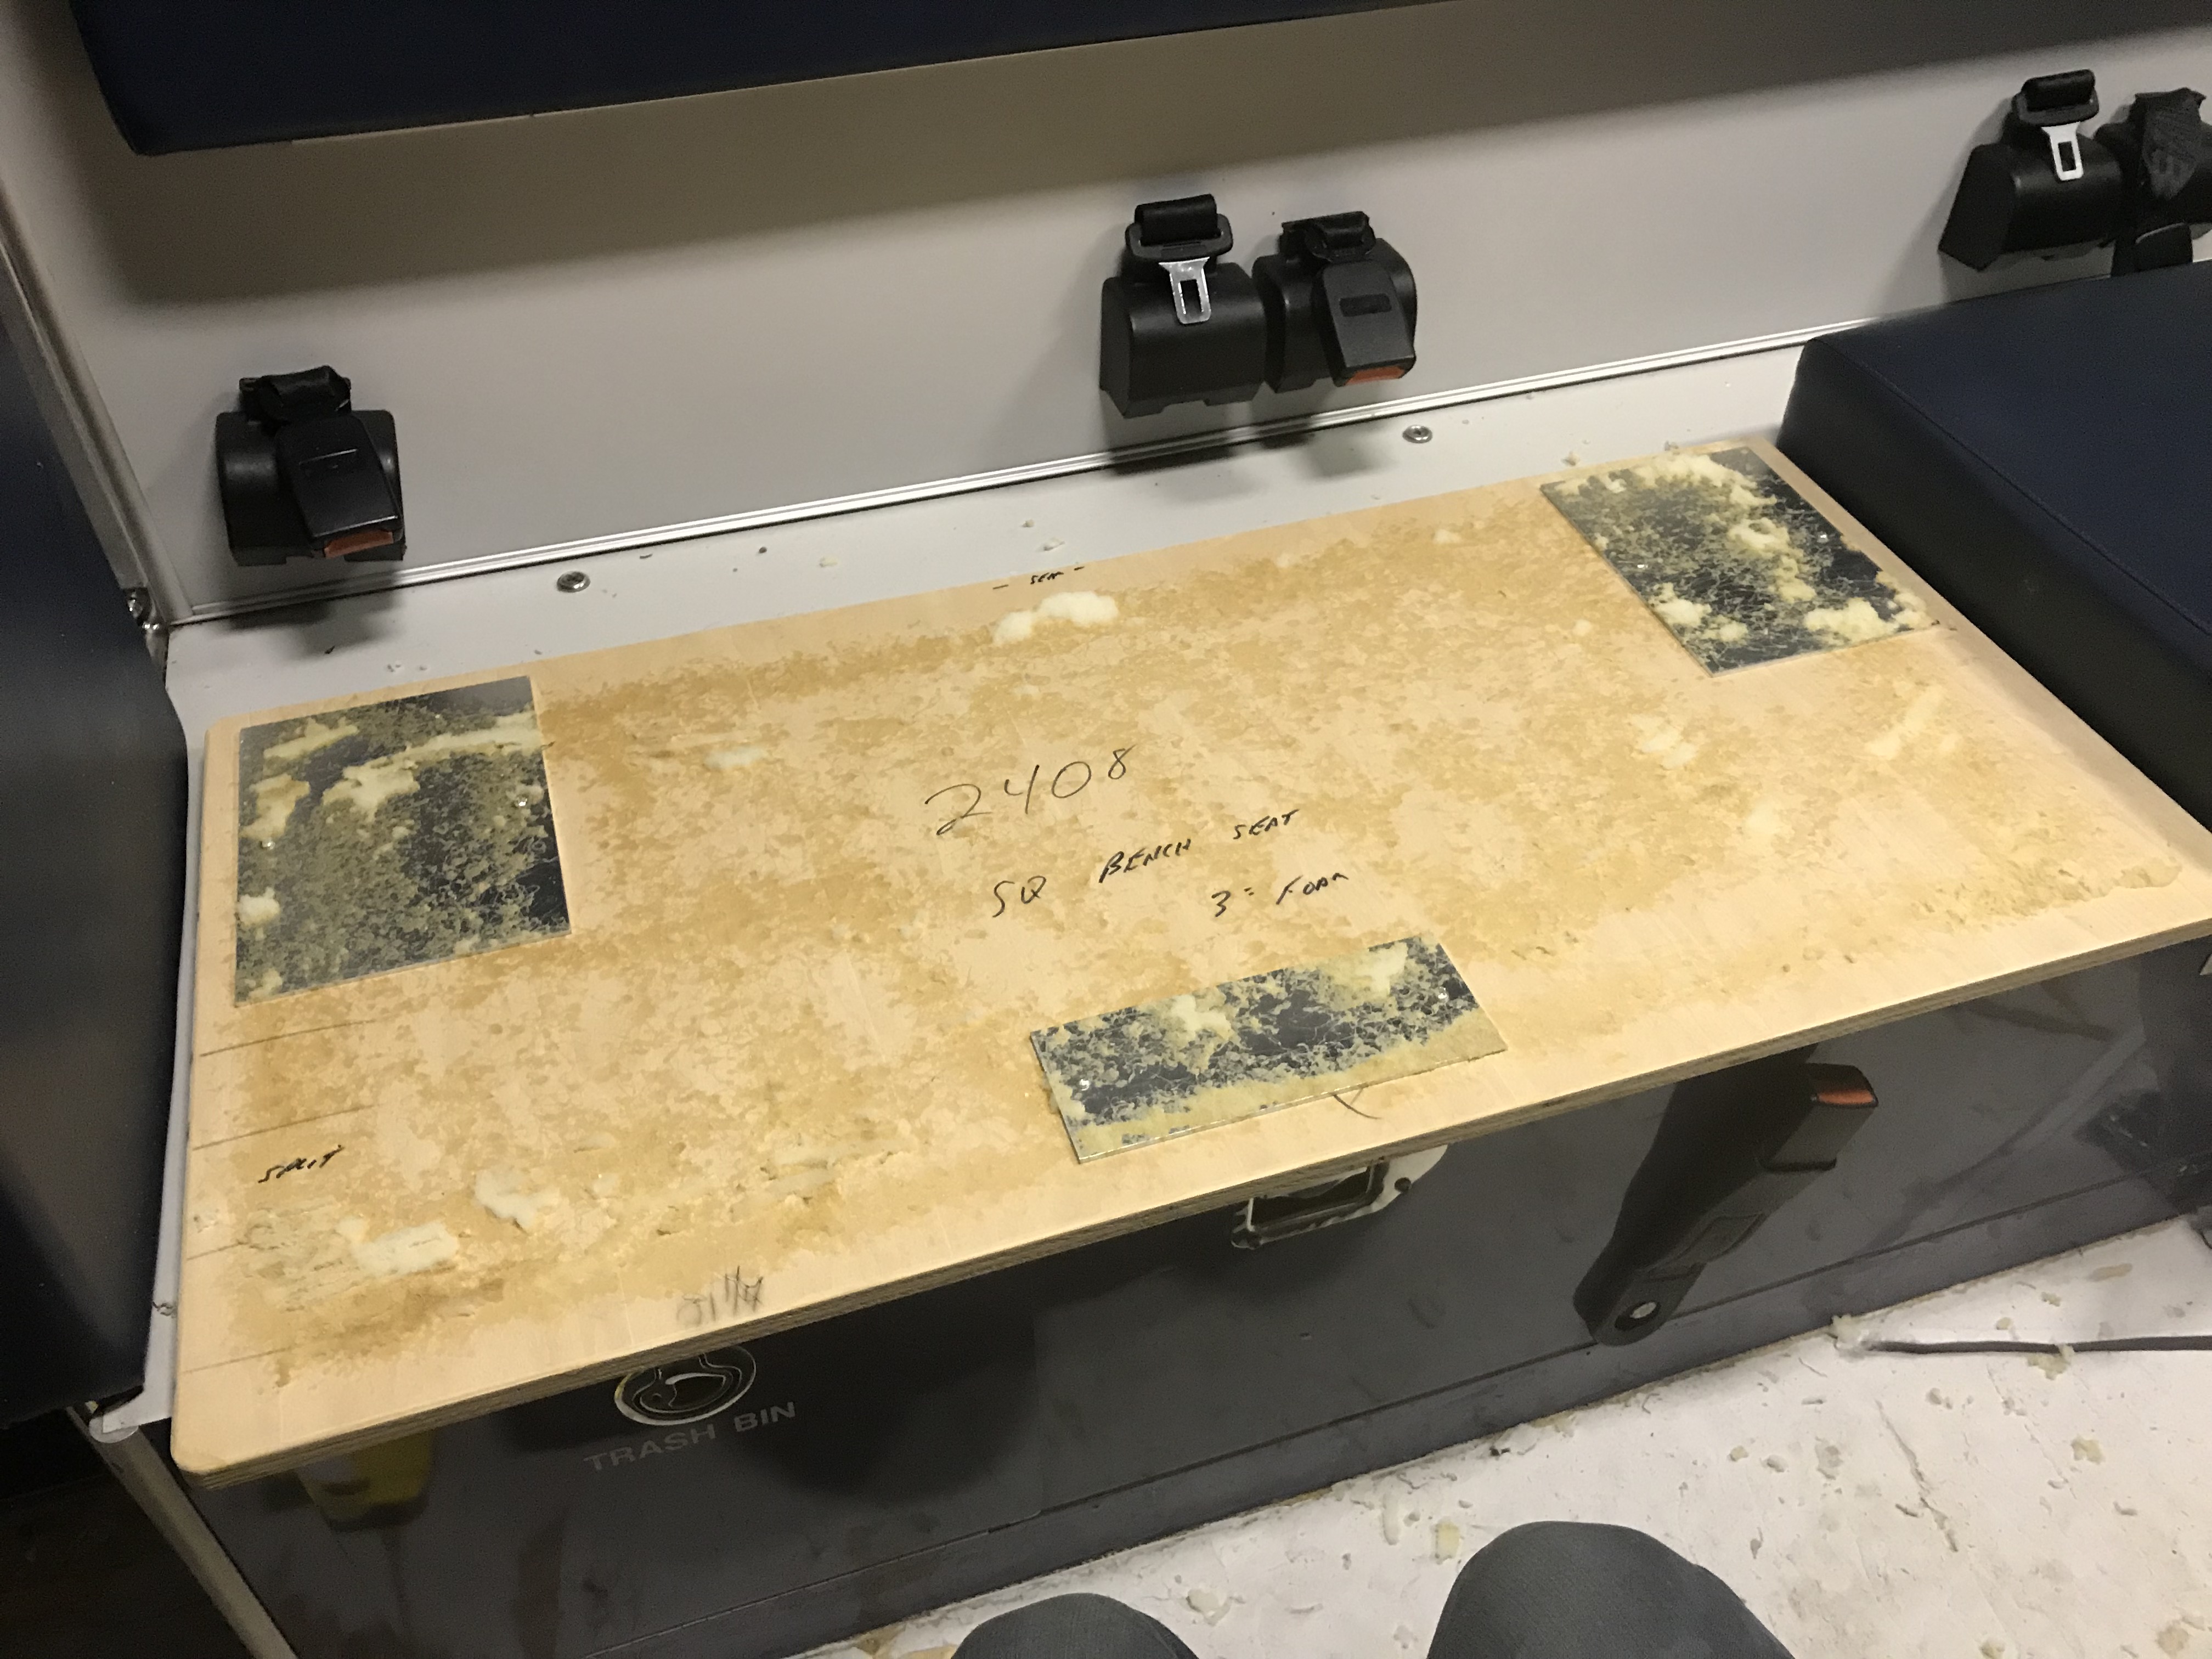
bench seat with cushion removed
The next day Dachary came out, with the cardboard bed frame template we had made. We decided it was still poking out too far into the walkway and wanted to retrieve every inch we could. That meant hinged lids had to go entirely. Cardboard for the win! Much happier to discover that now than after we’d built the bed.
![dachary holding bed frame template]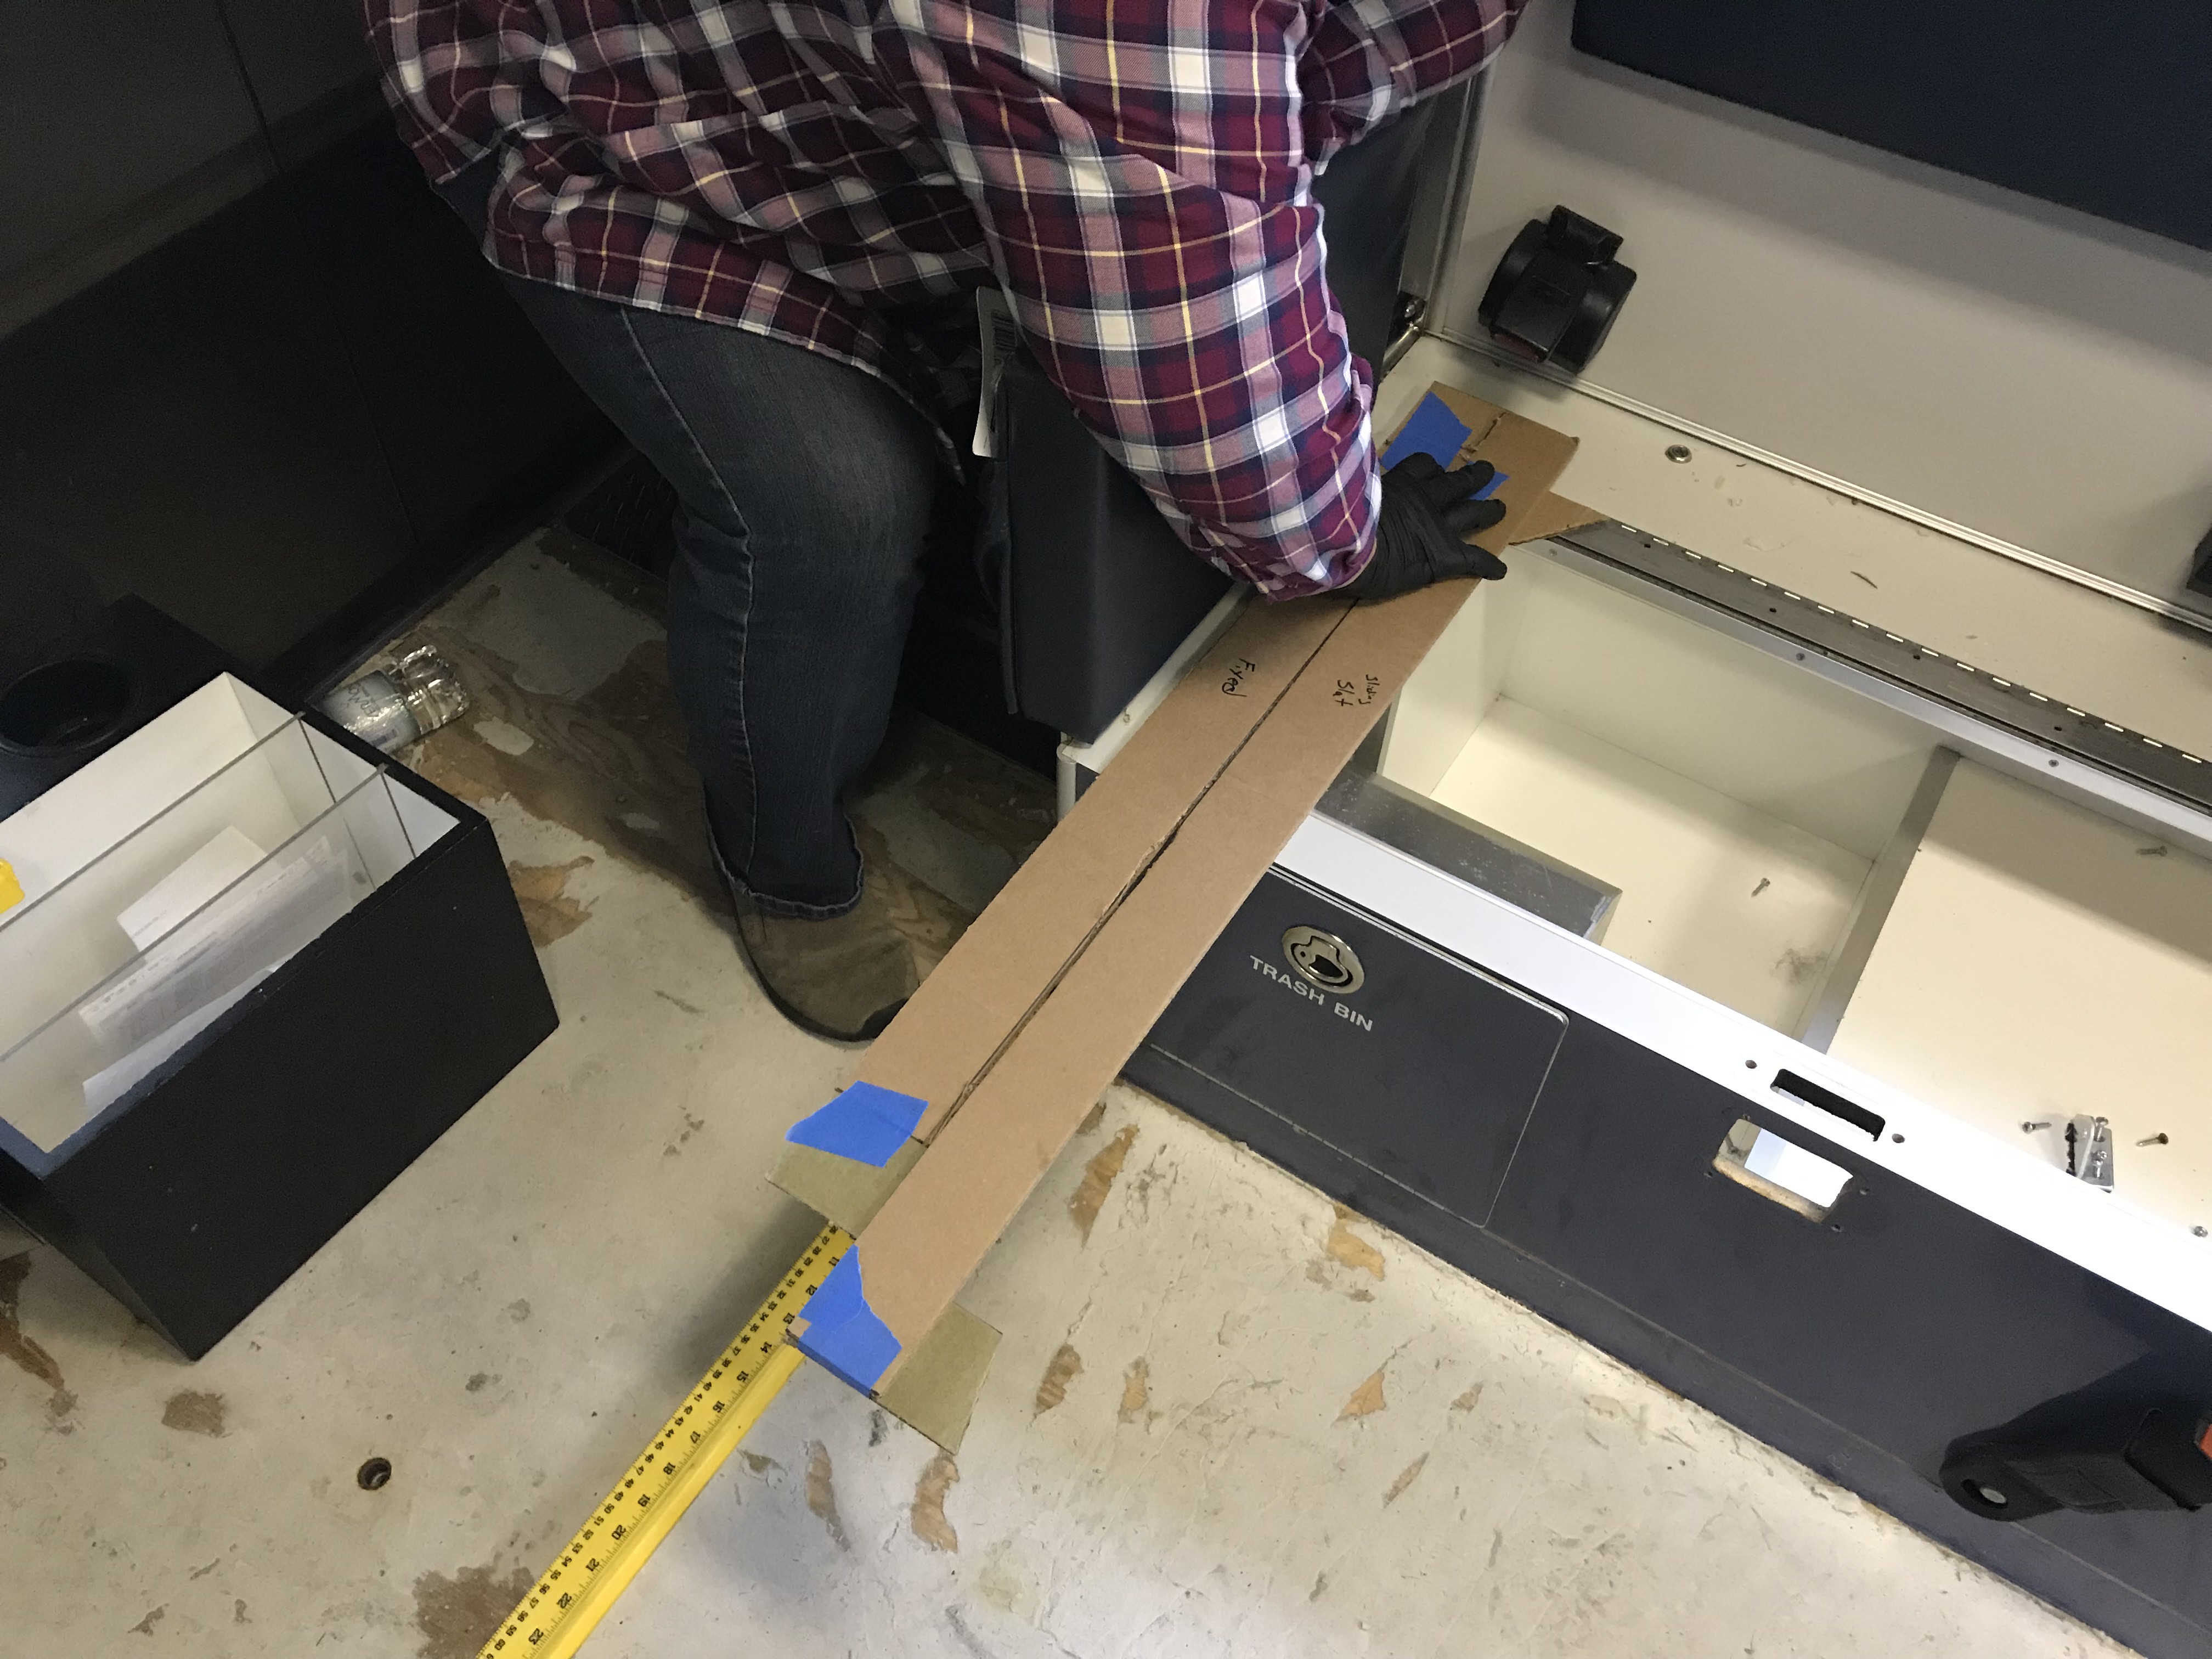
dachary holding bed frame template 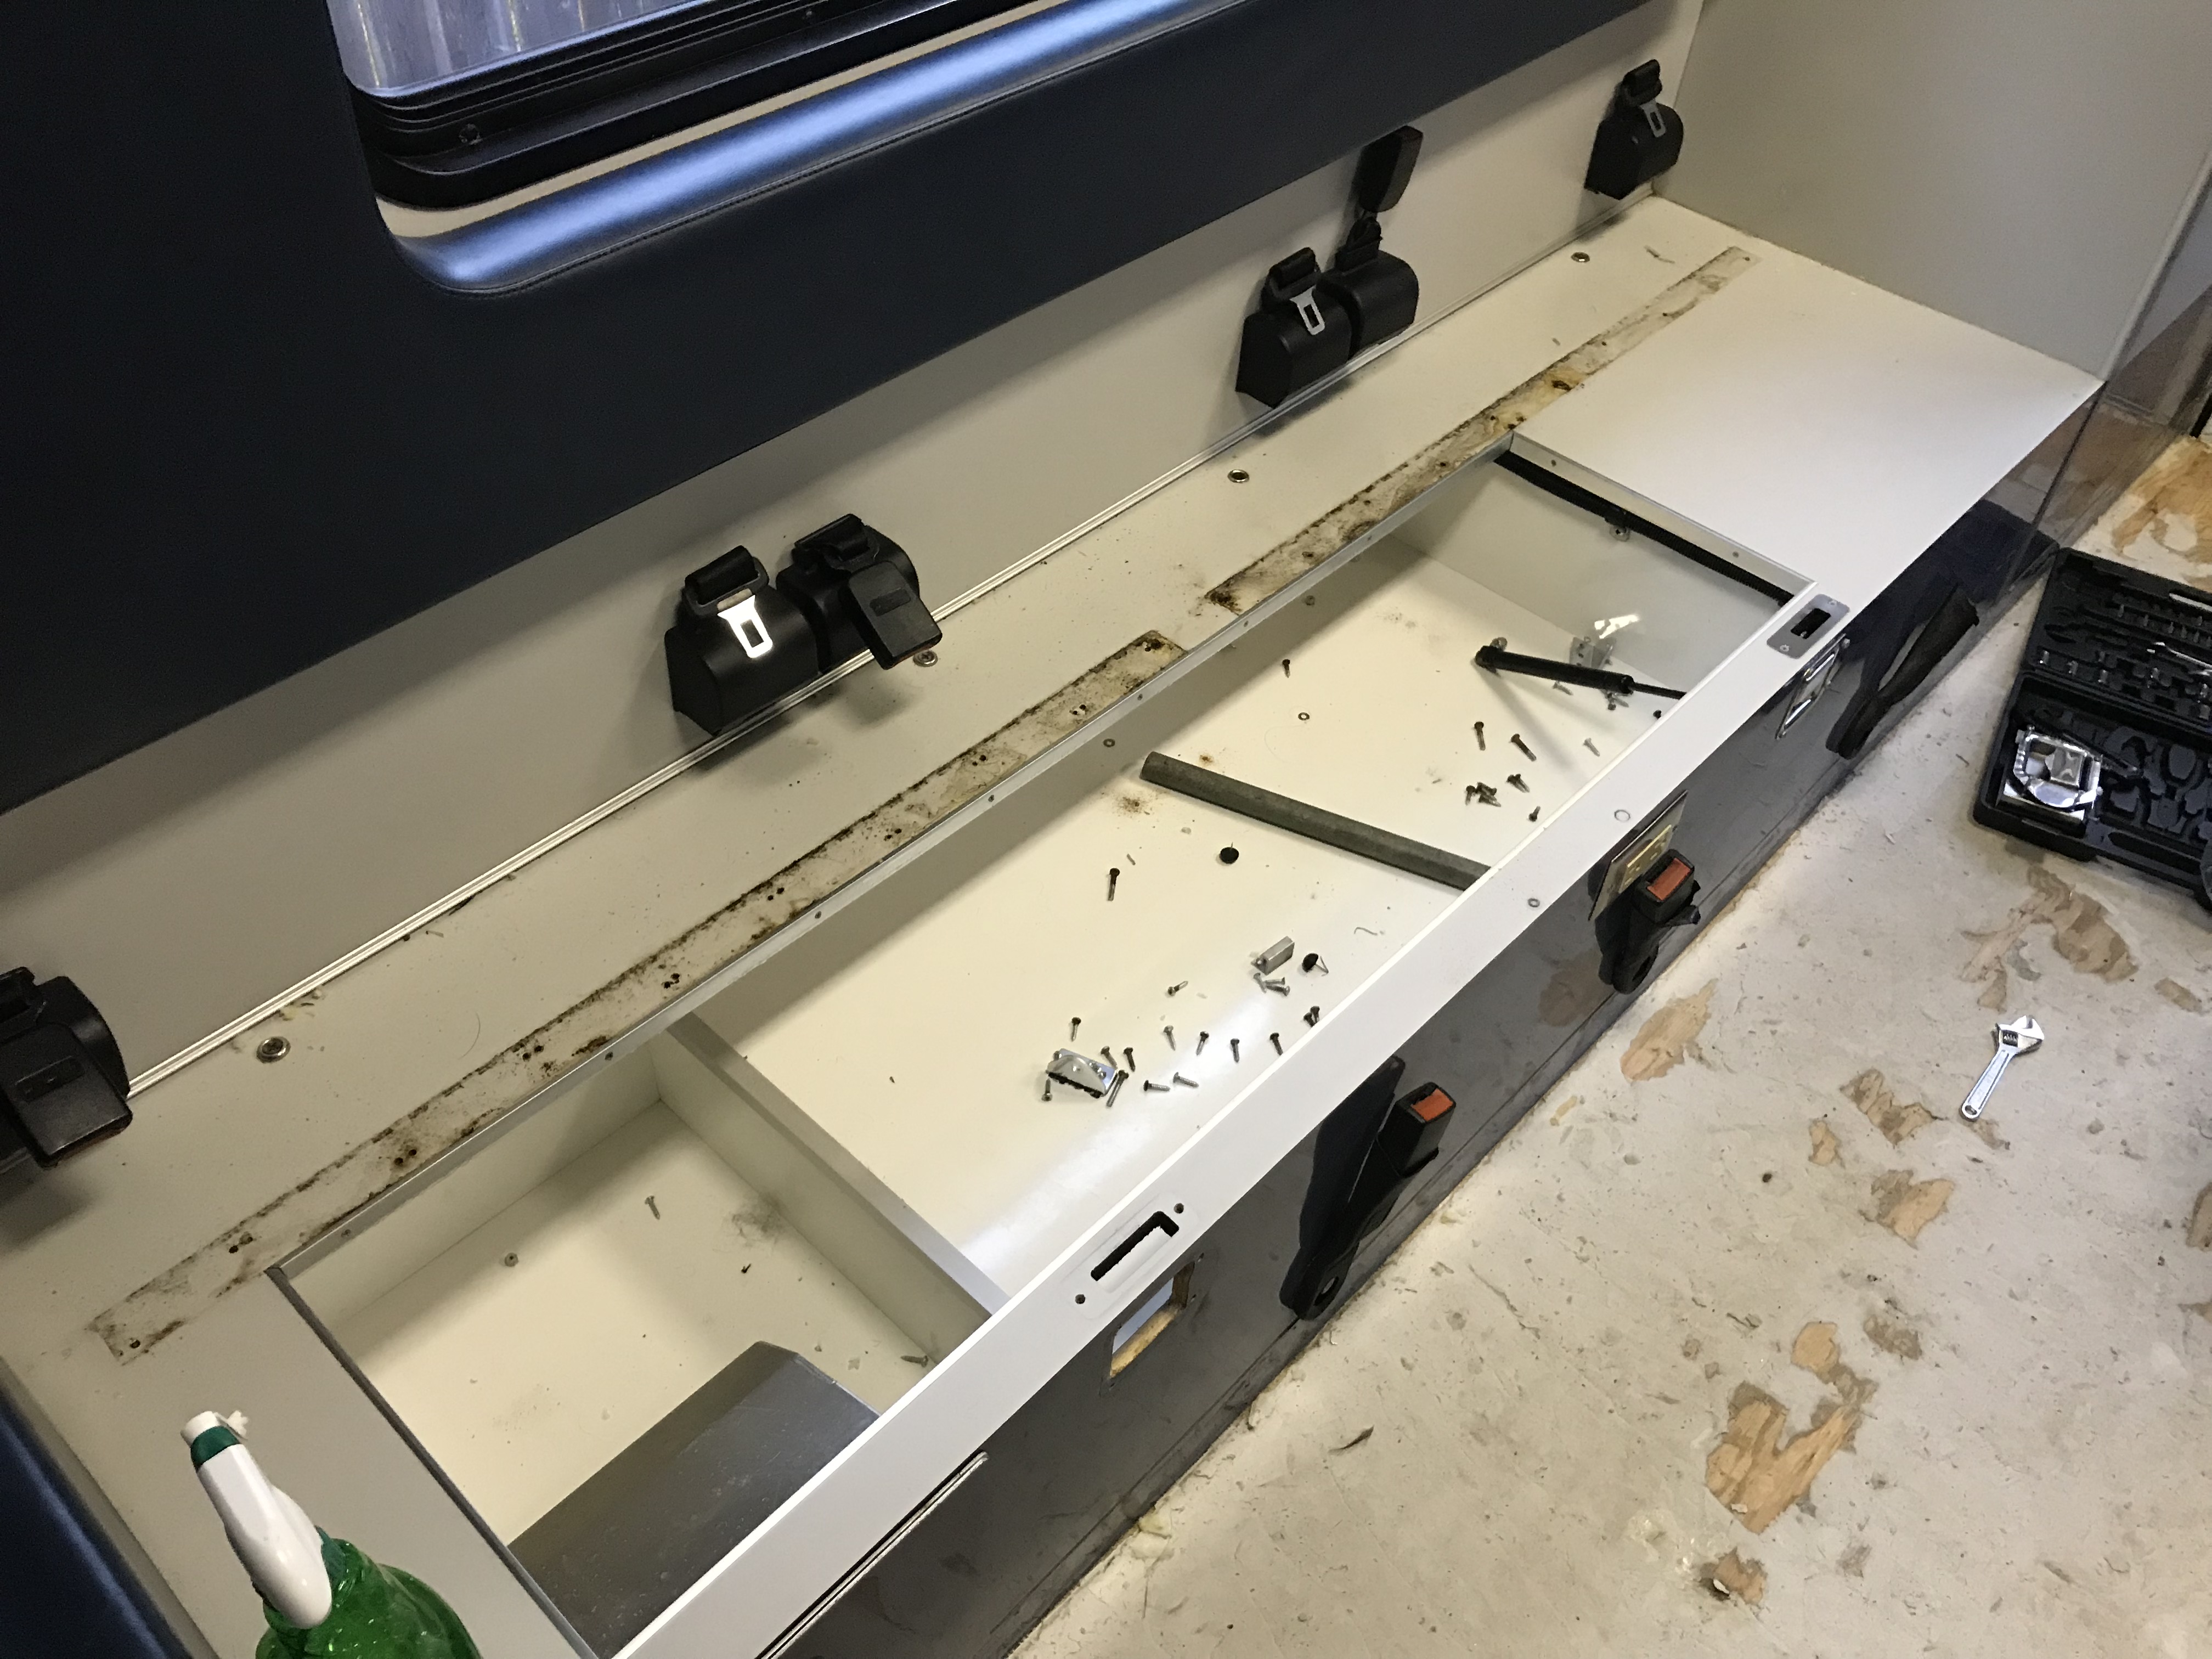
It also meant “scene safety BSI” (Body Substance Isolation) as our First Responder instructor has drilled into us. We don’t know what fluids caused that grossness where the hinge was, and we don’t want to know. Gloves. More cleaner, and taking care to make sure there’s no transfer. Yuck.
The next day we taped up the cardboard templates of the sink, range, fridge, and cat flap.
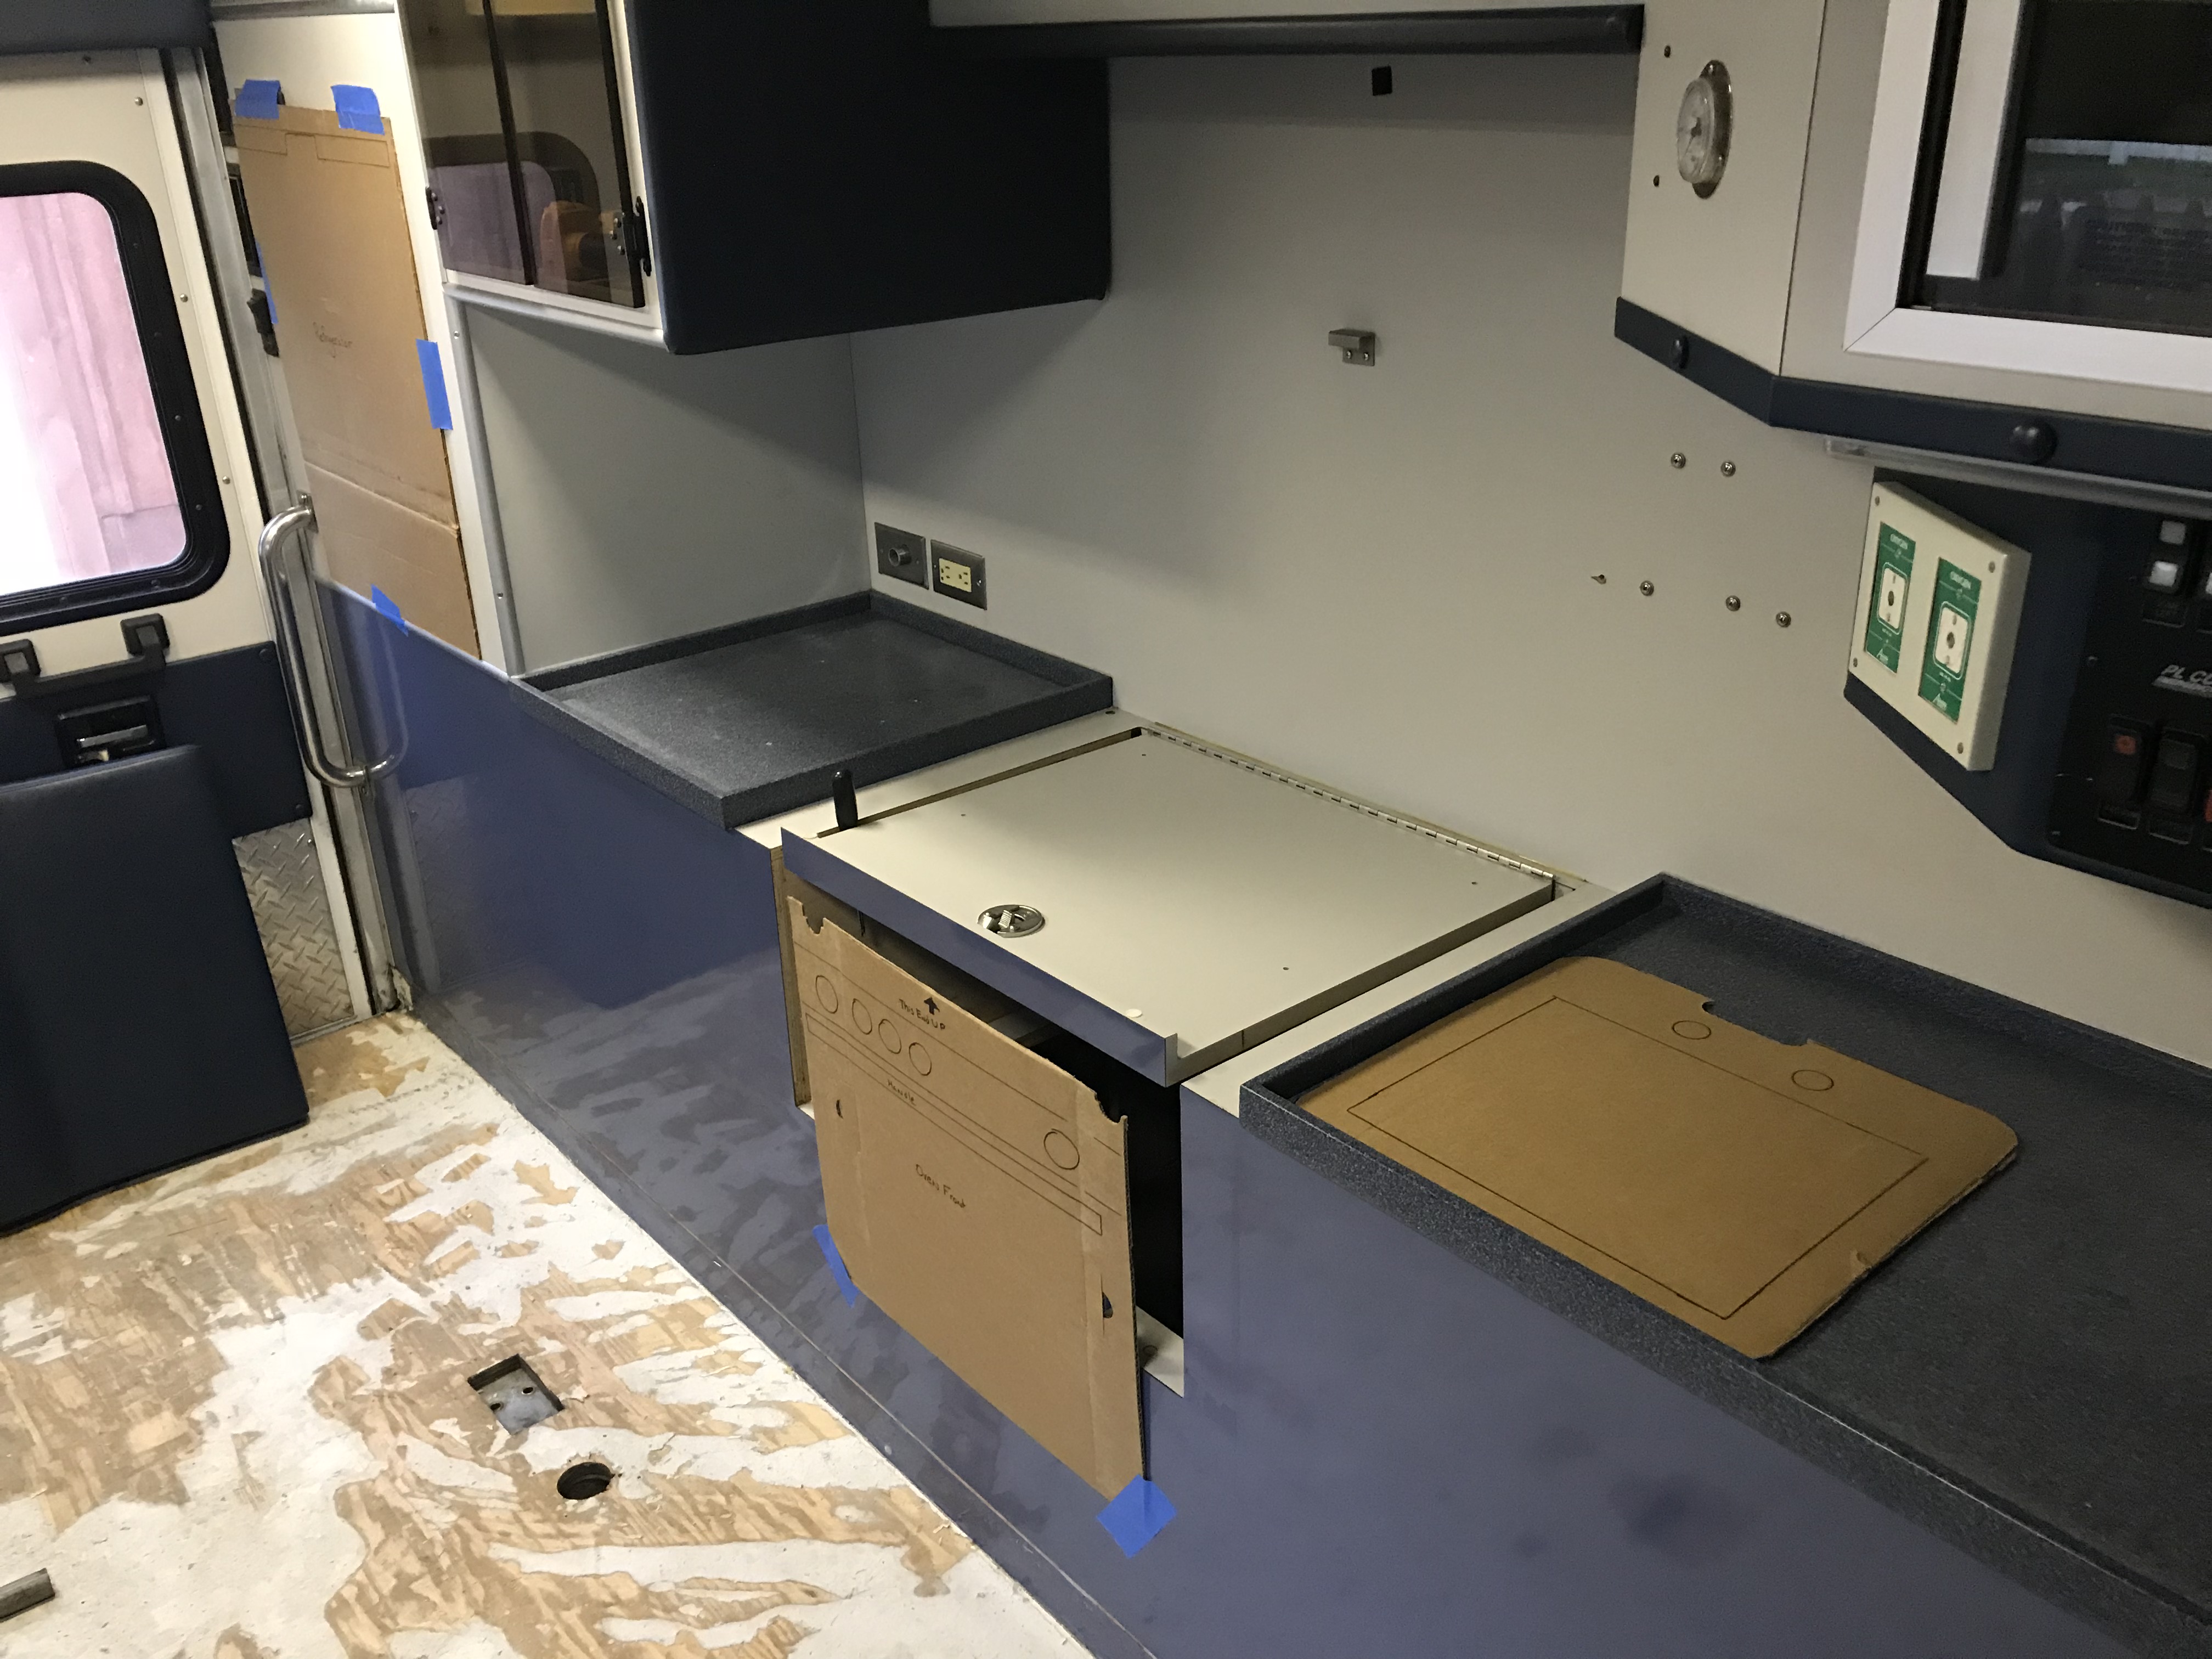
cardboard templates of sink, range, and fridge
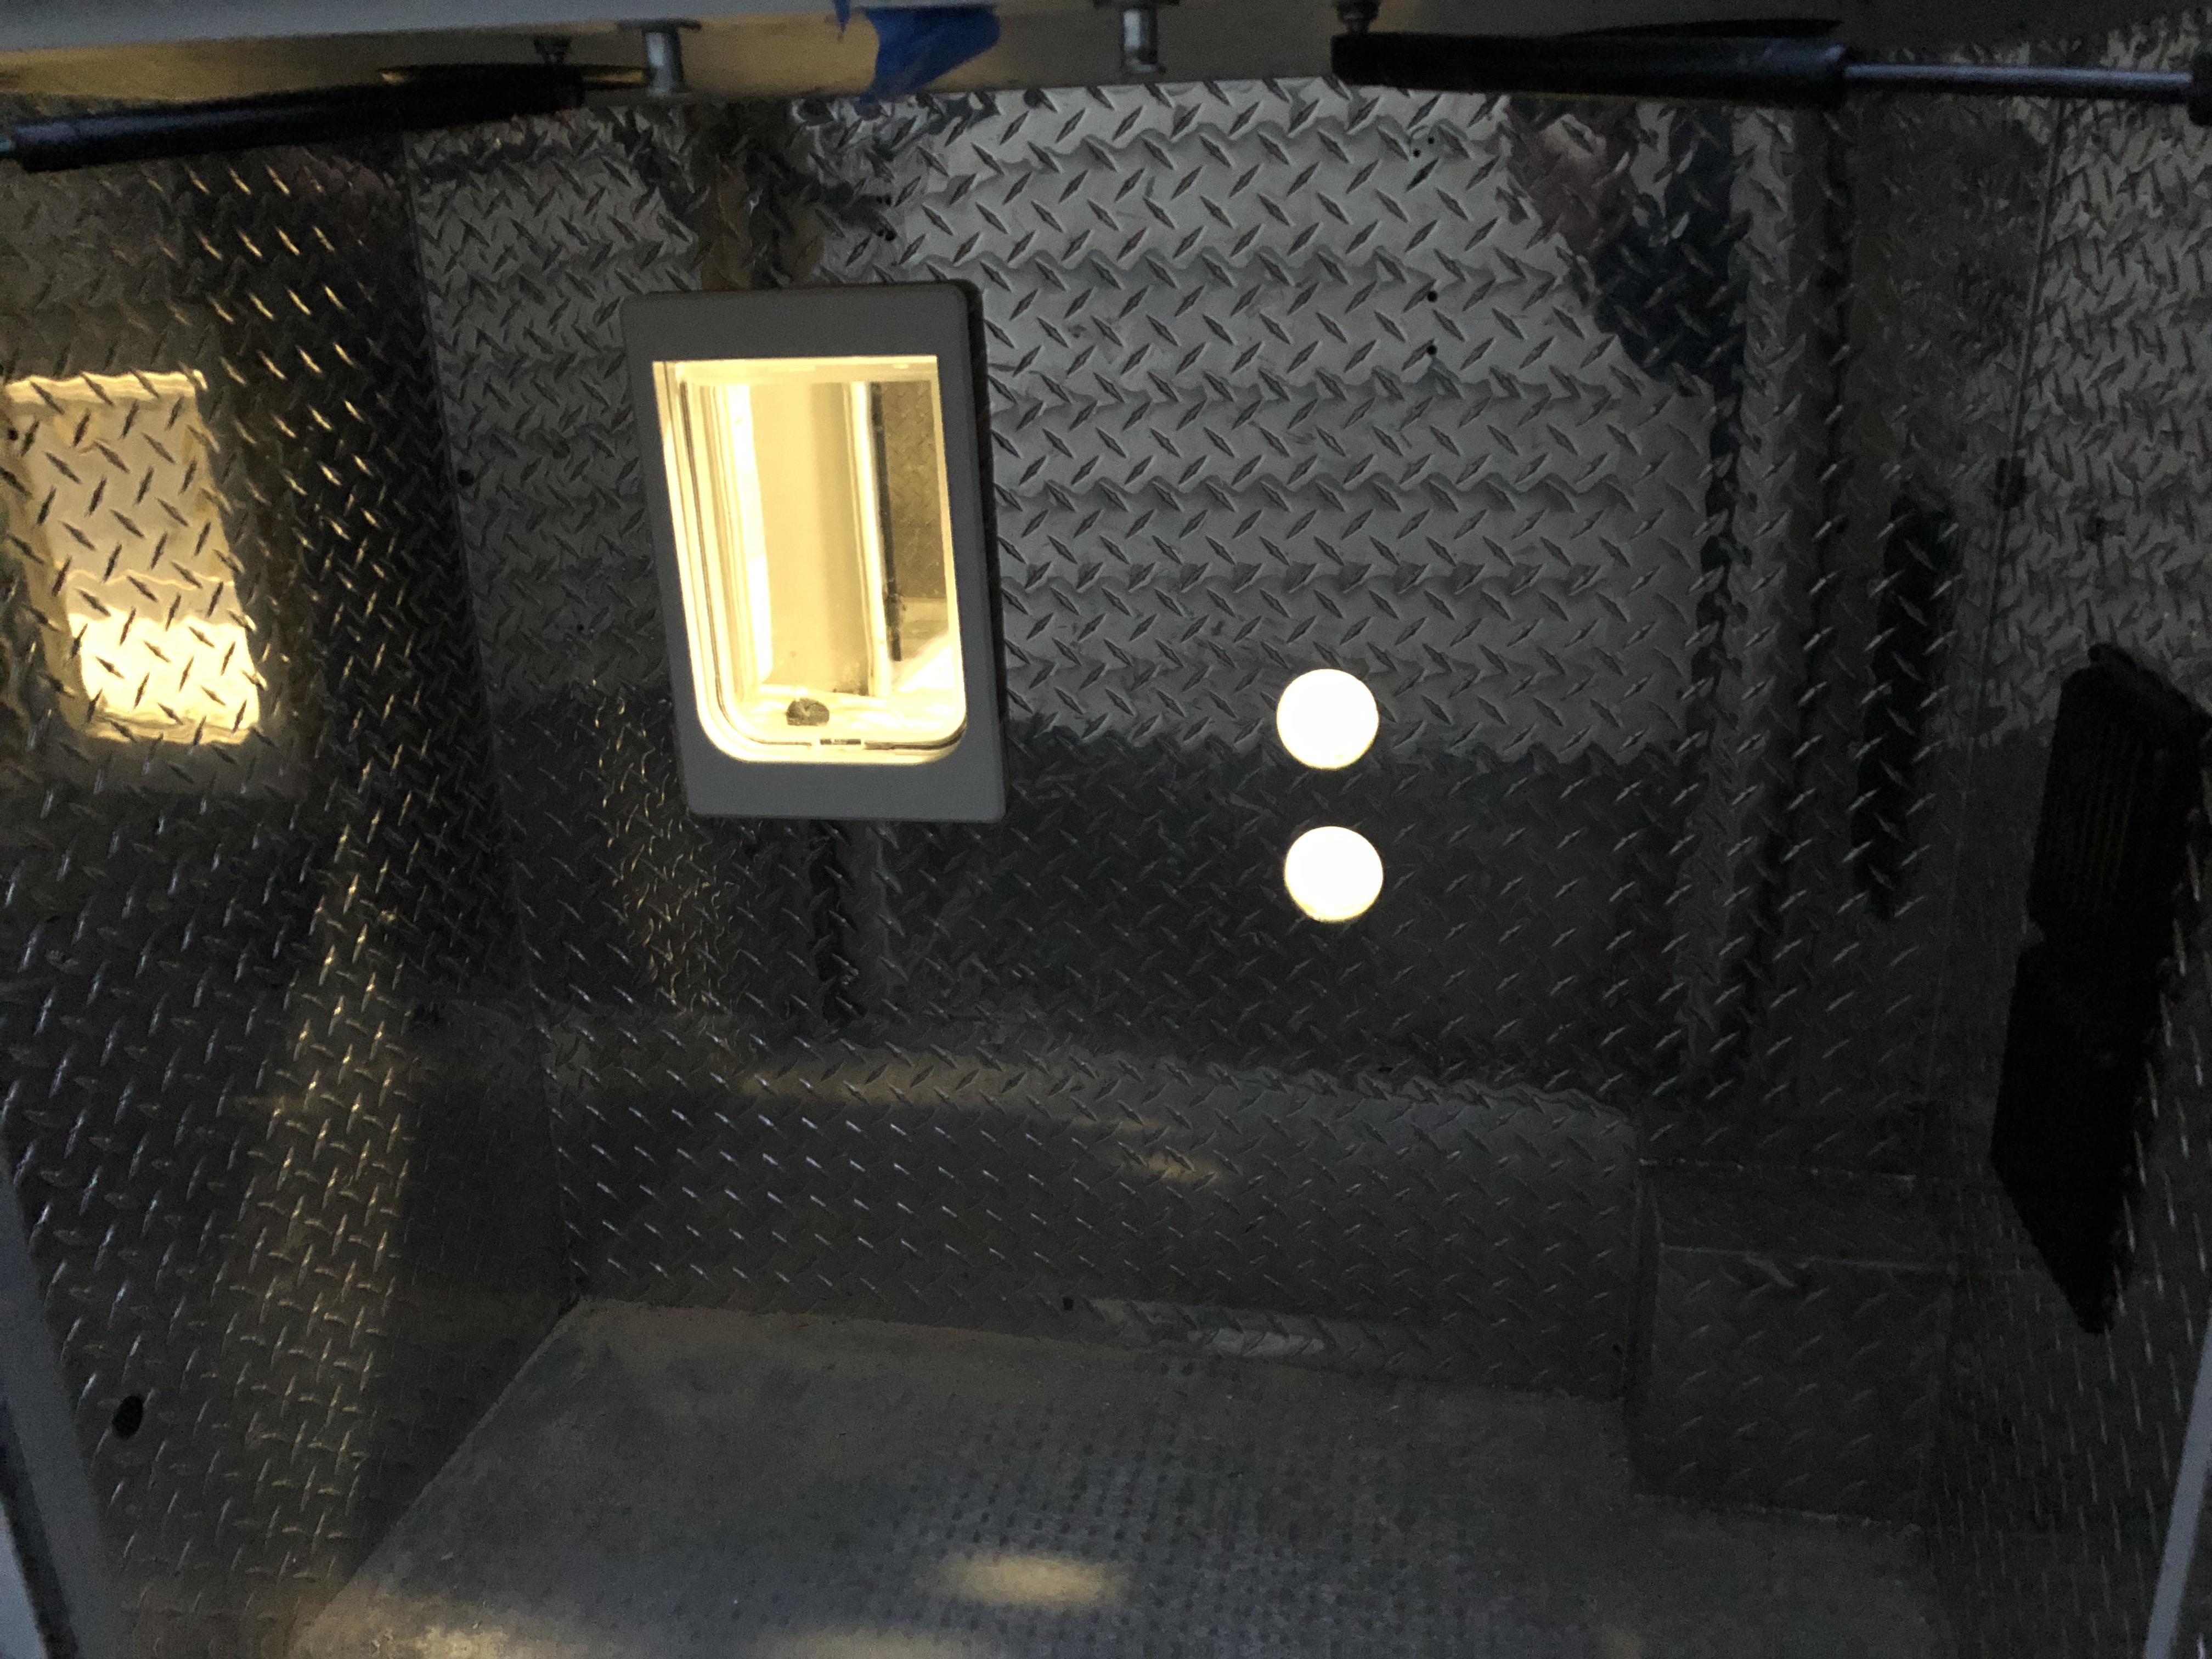
You can’t see the cat-flap but it will lead to one of the outside compartments where we’ll be storing the litter box, grey water, and propex heater.
The range is going into the hole for / under the CPR assist seat. After much pondering, measuring, and re-measuring we made the first real cut.
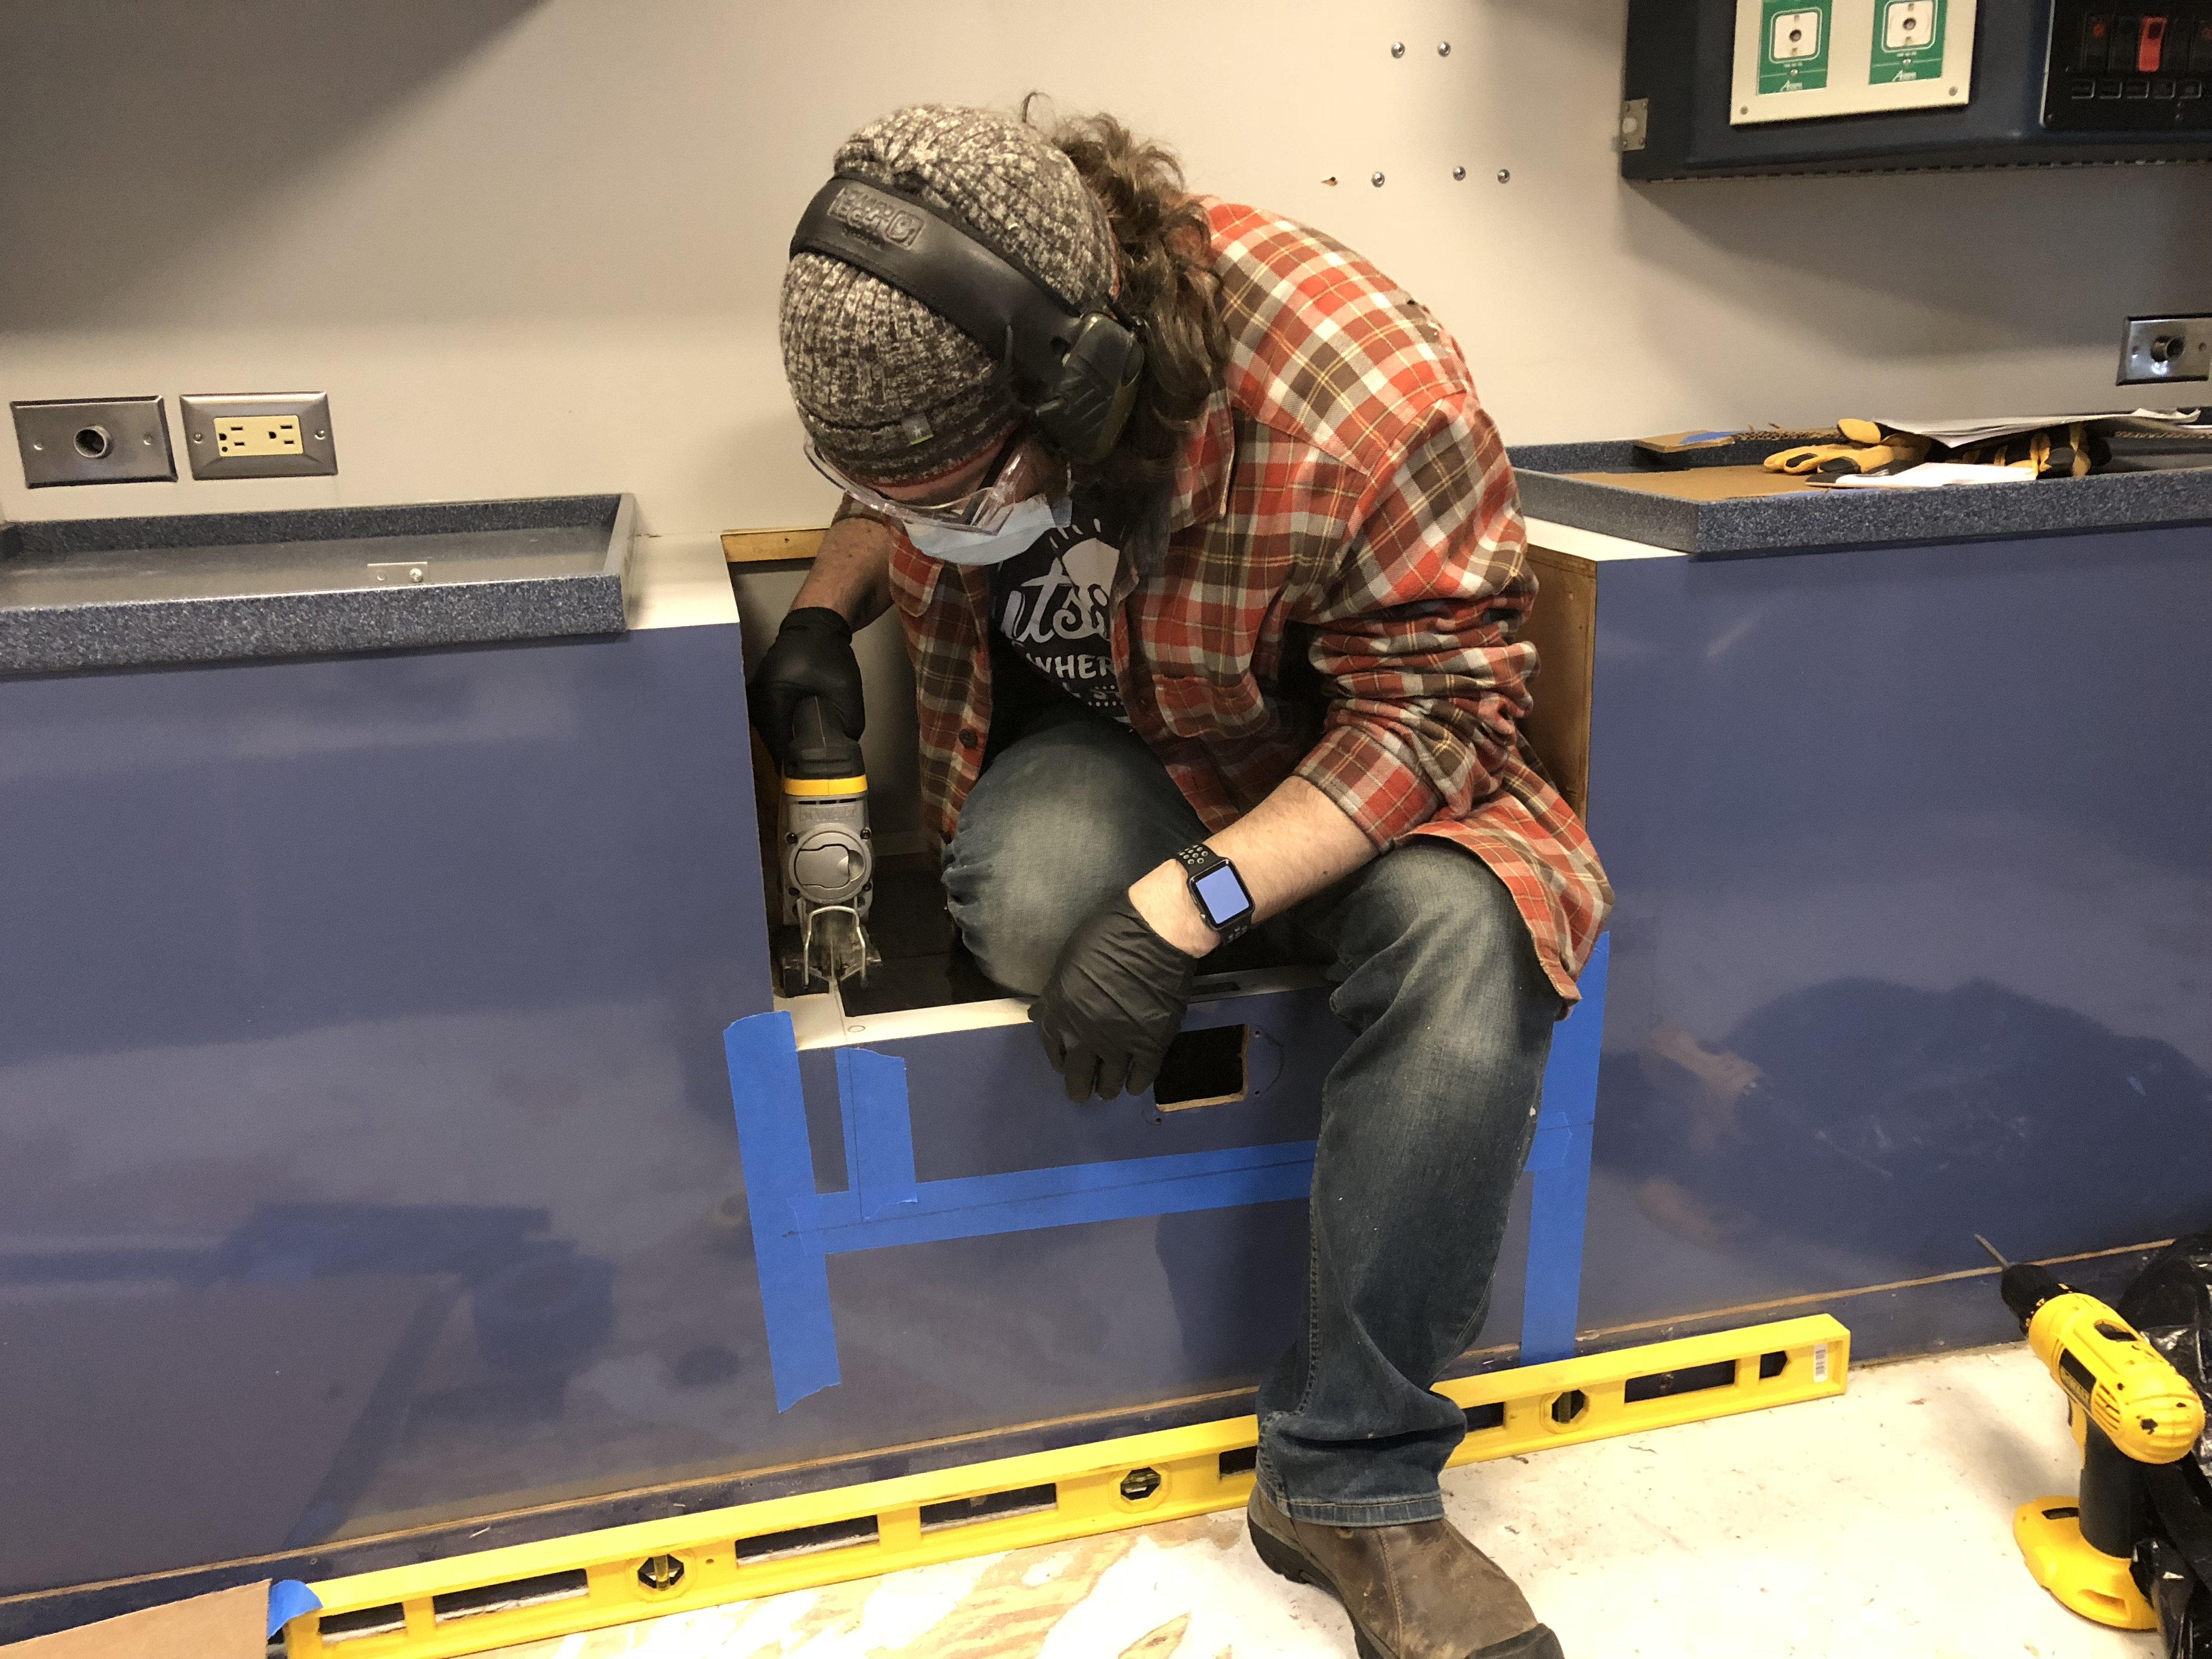
the first cut for the range
The result was just about perfect.
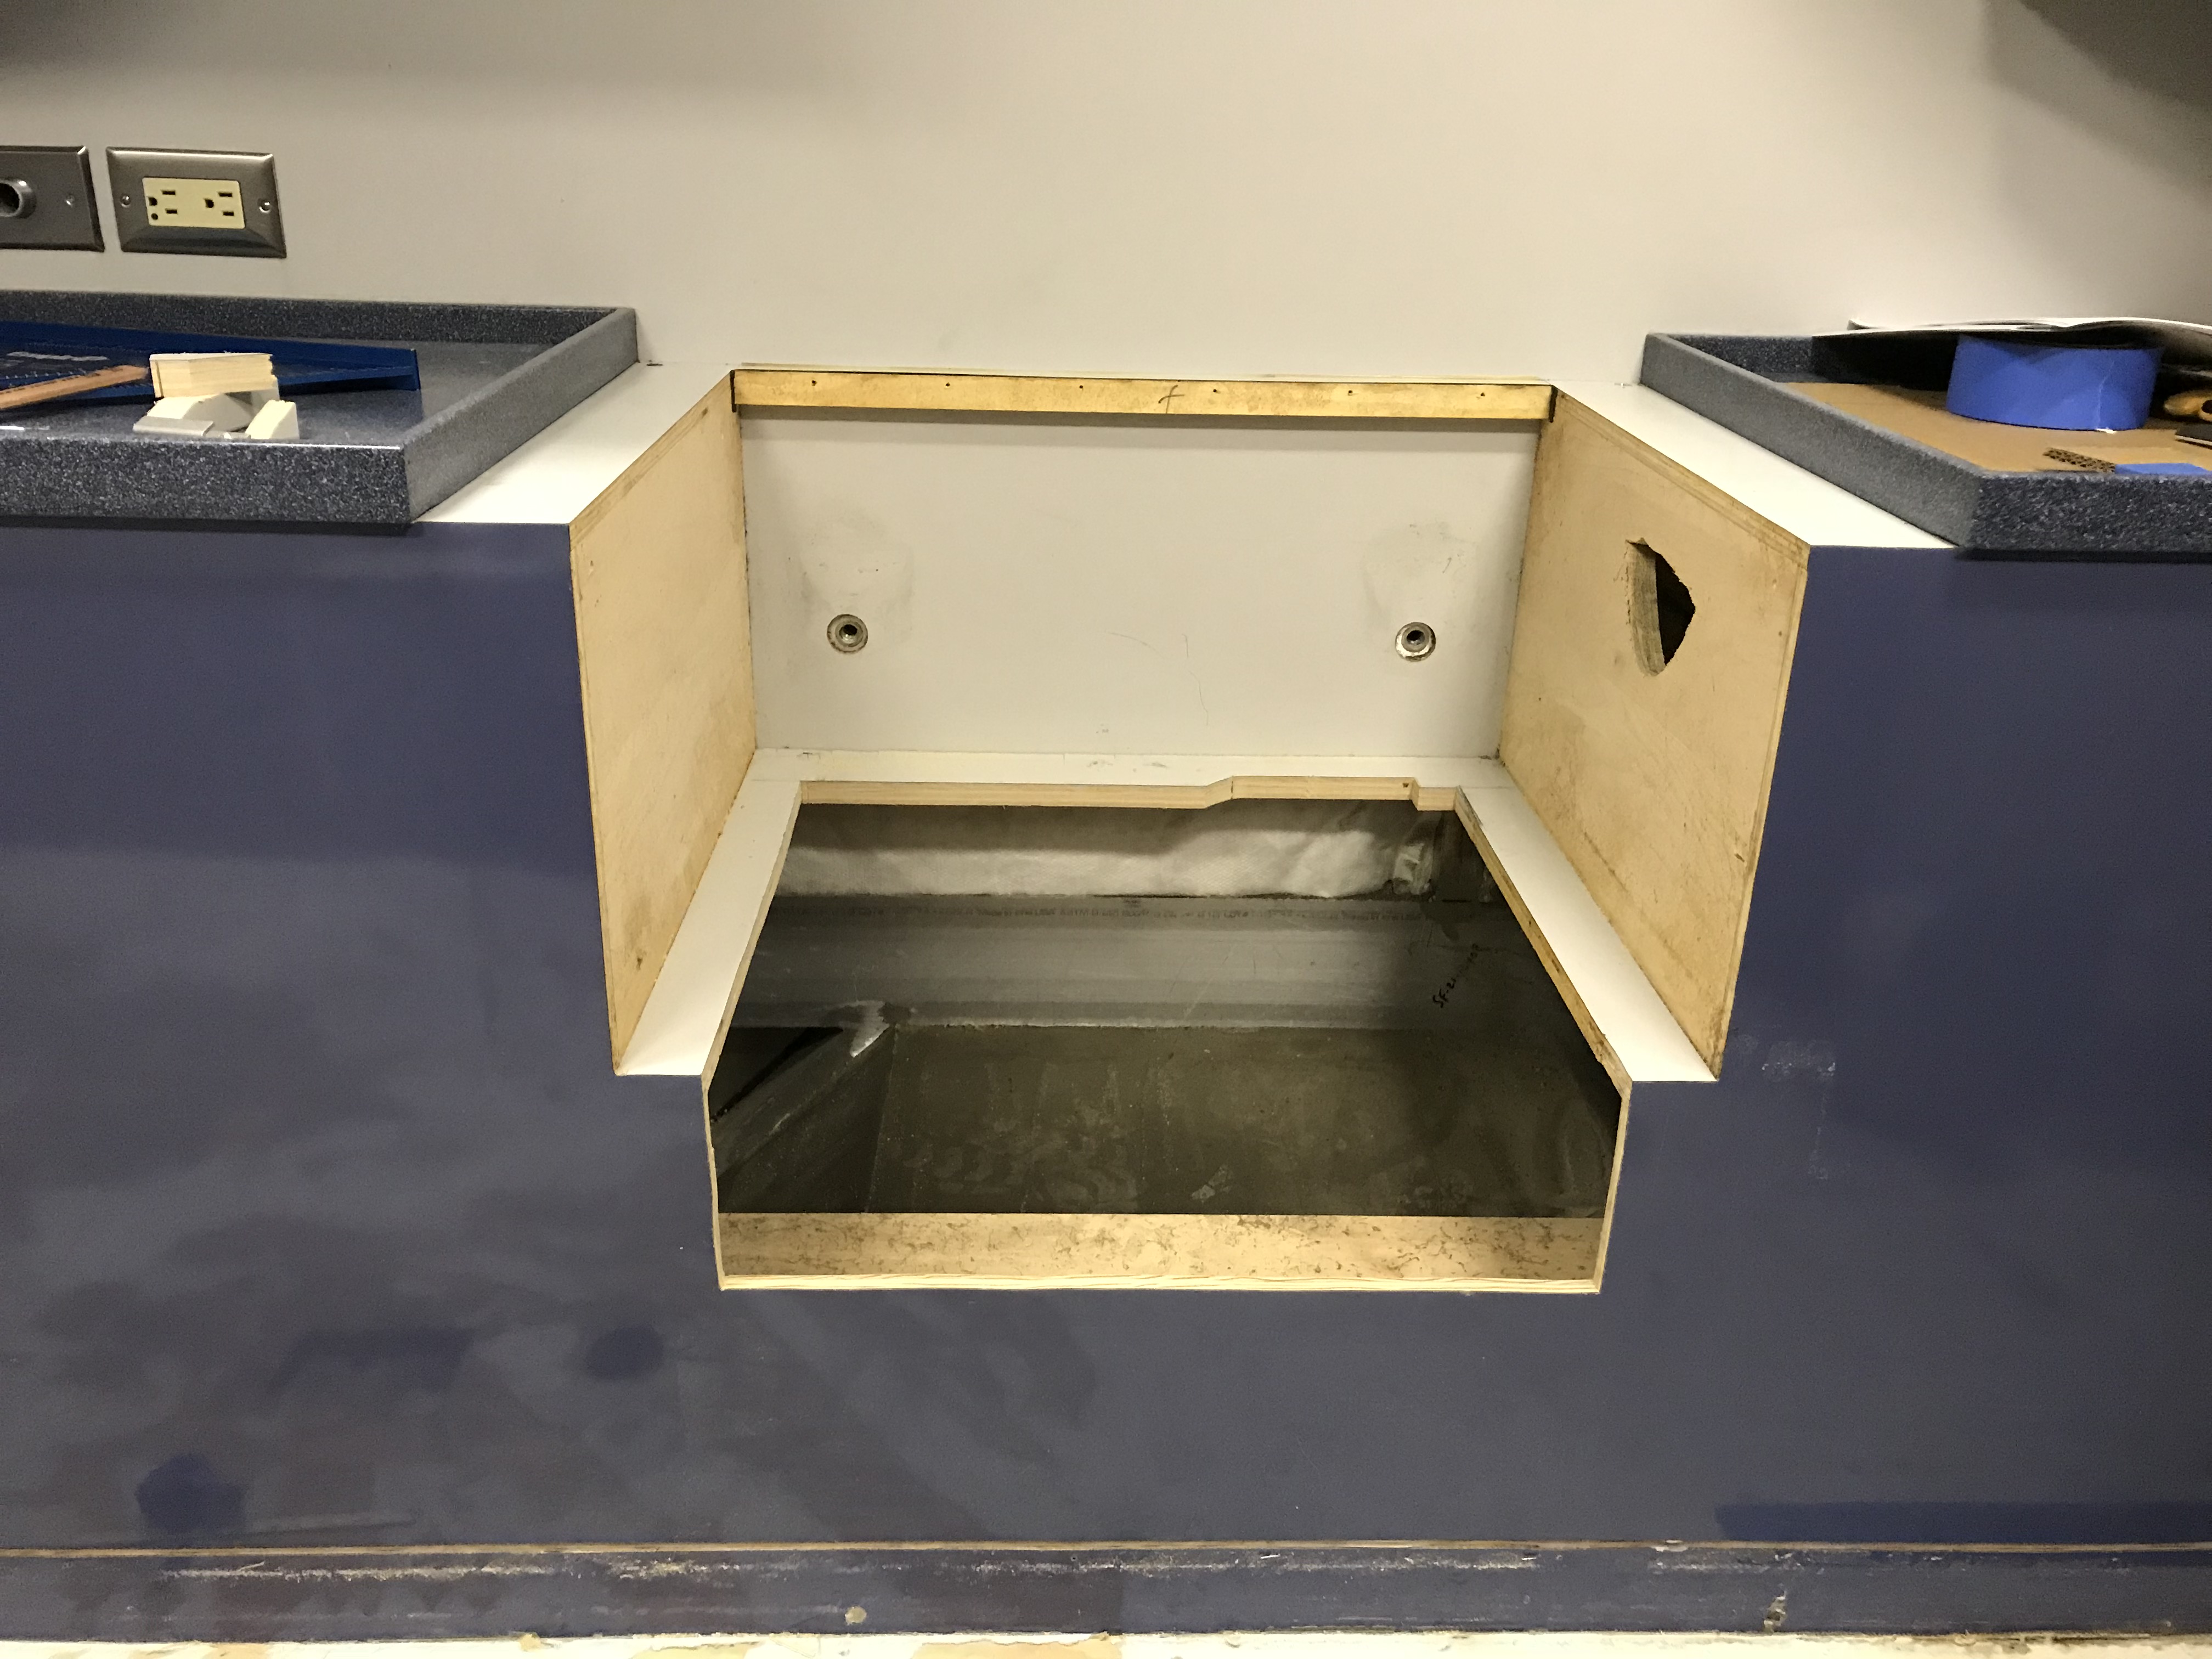
hole in cabinets for range
Today we cut the hole for the sink.
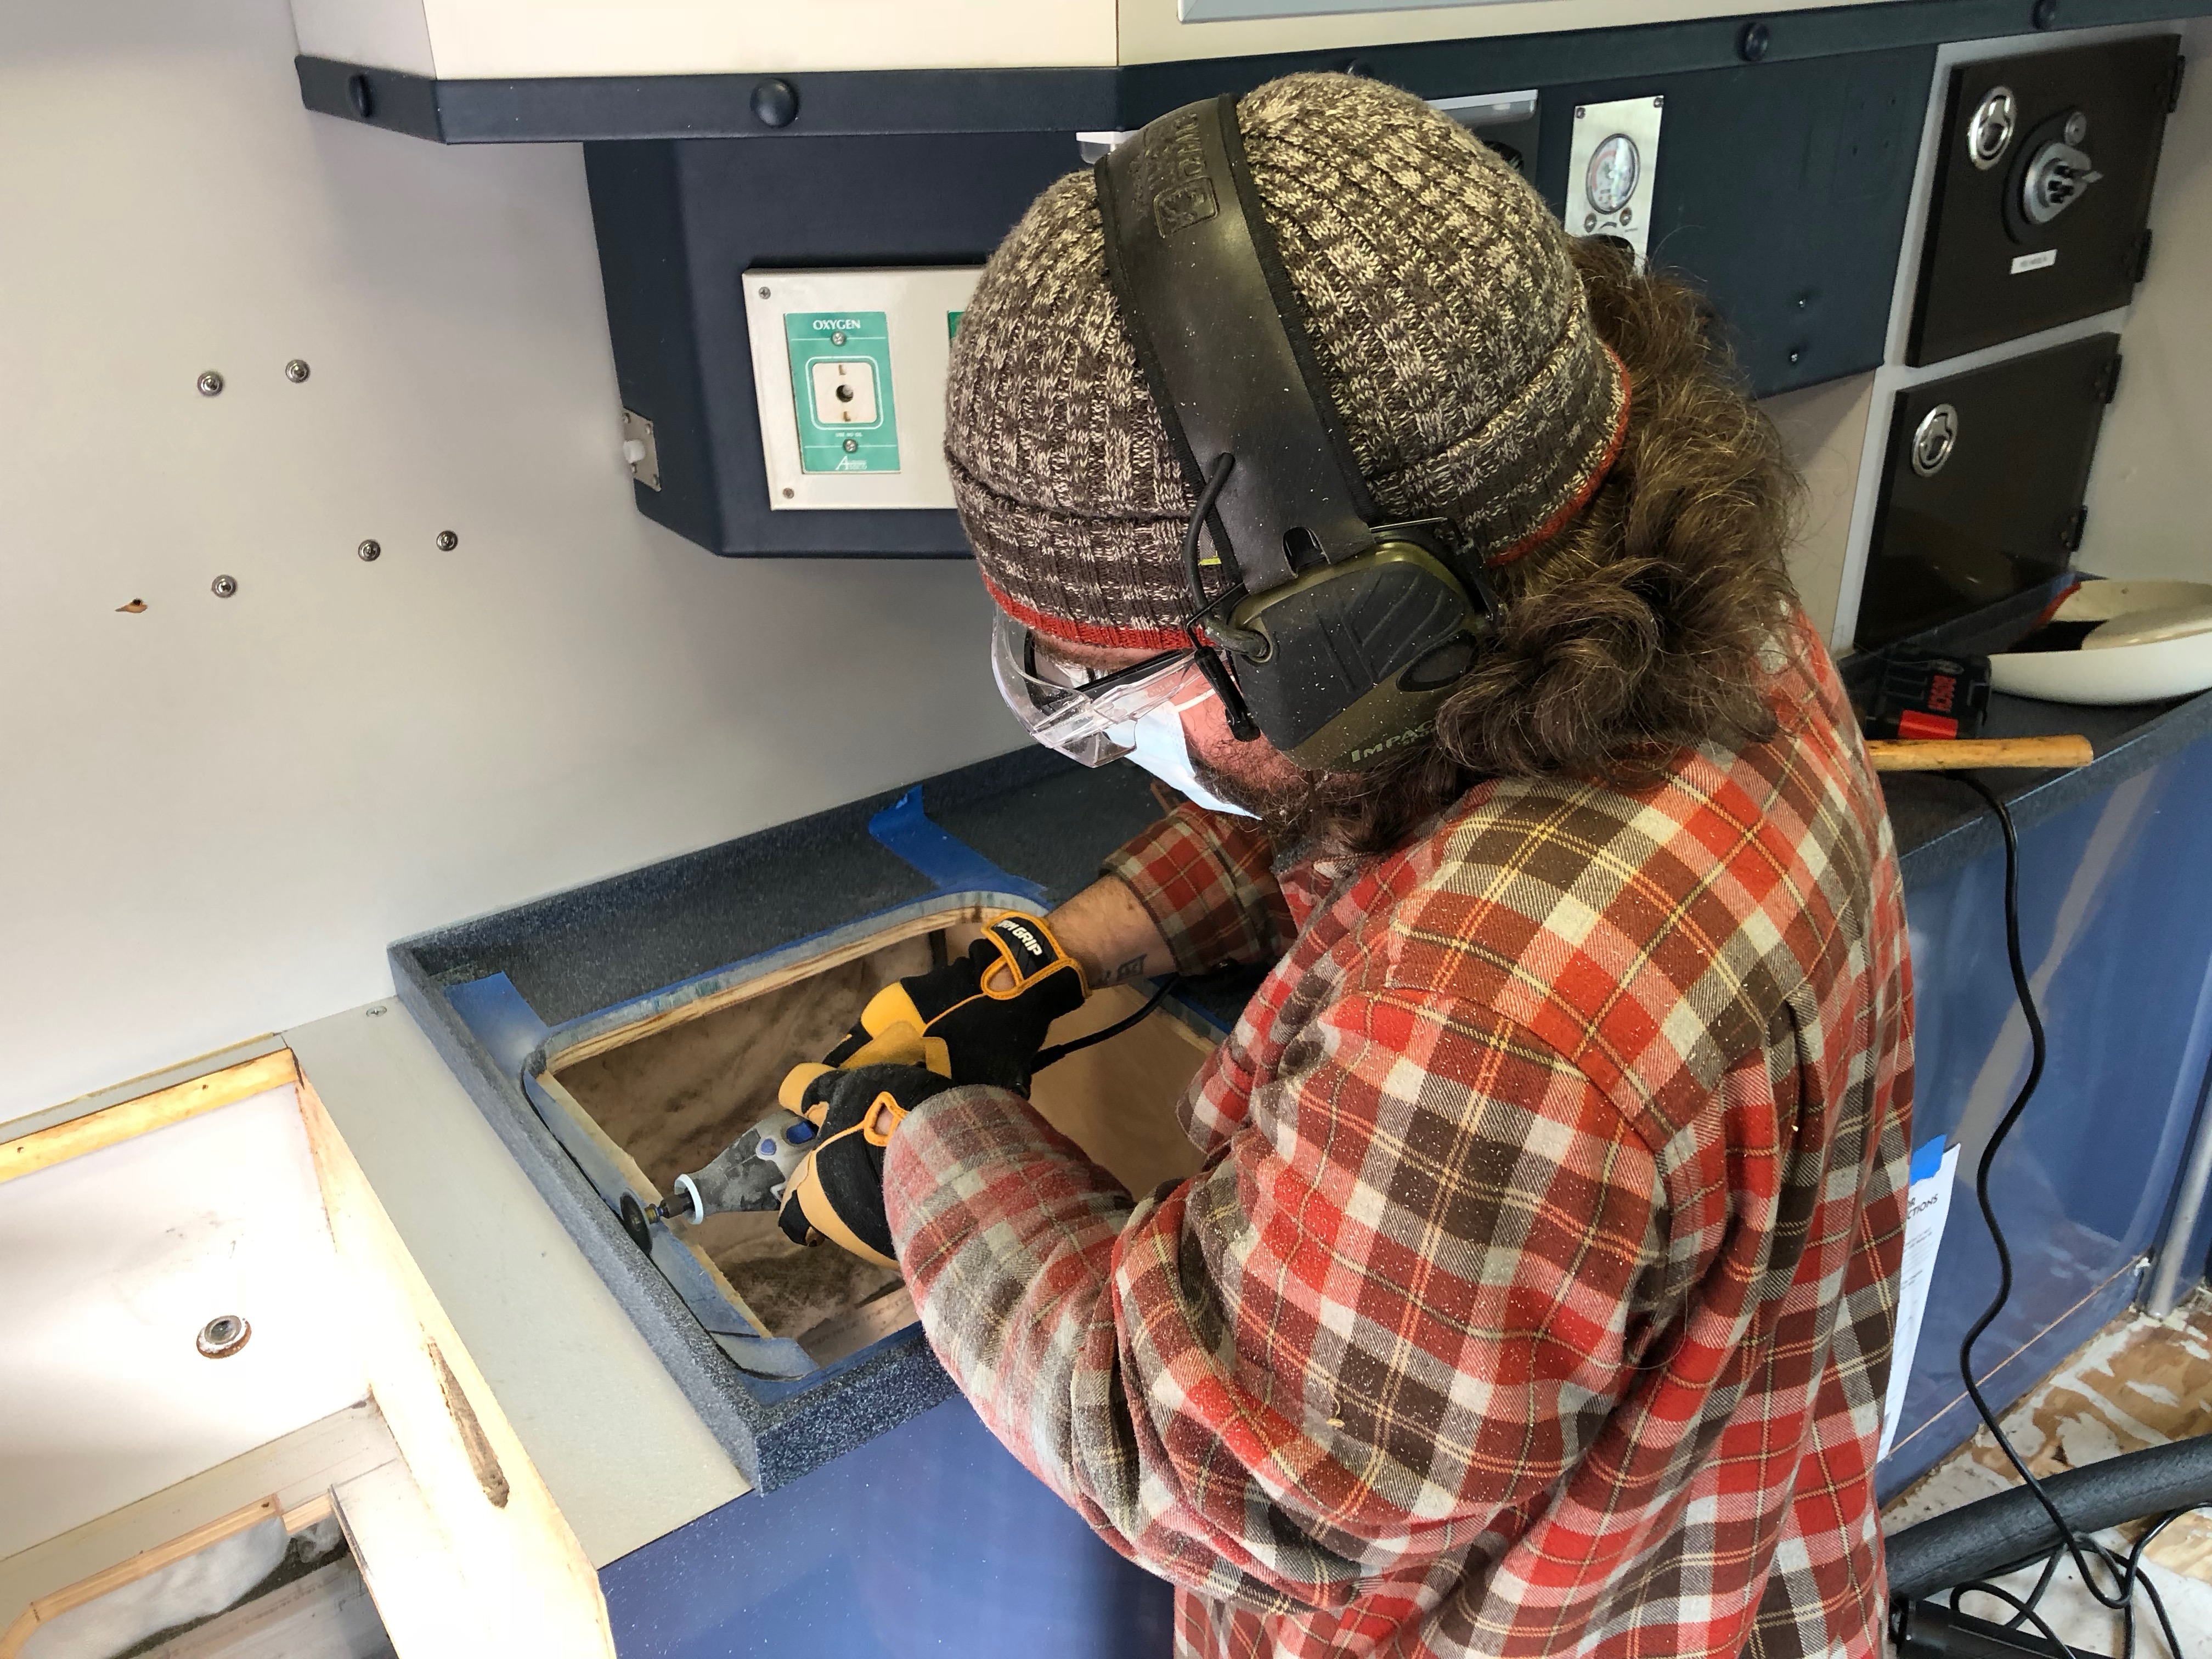
cutting sink hole
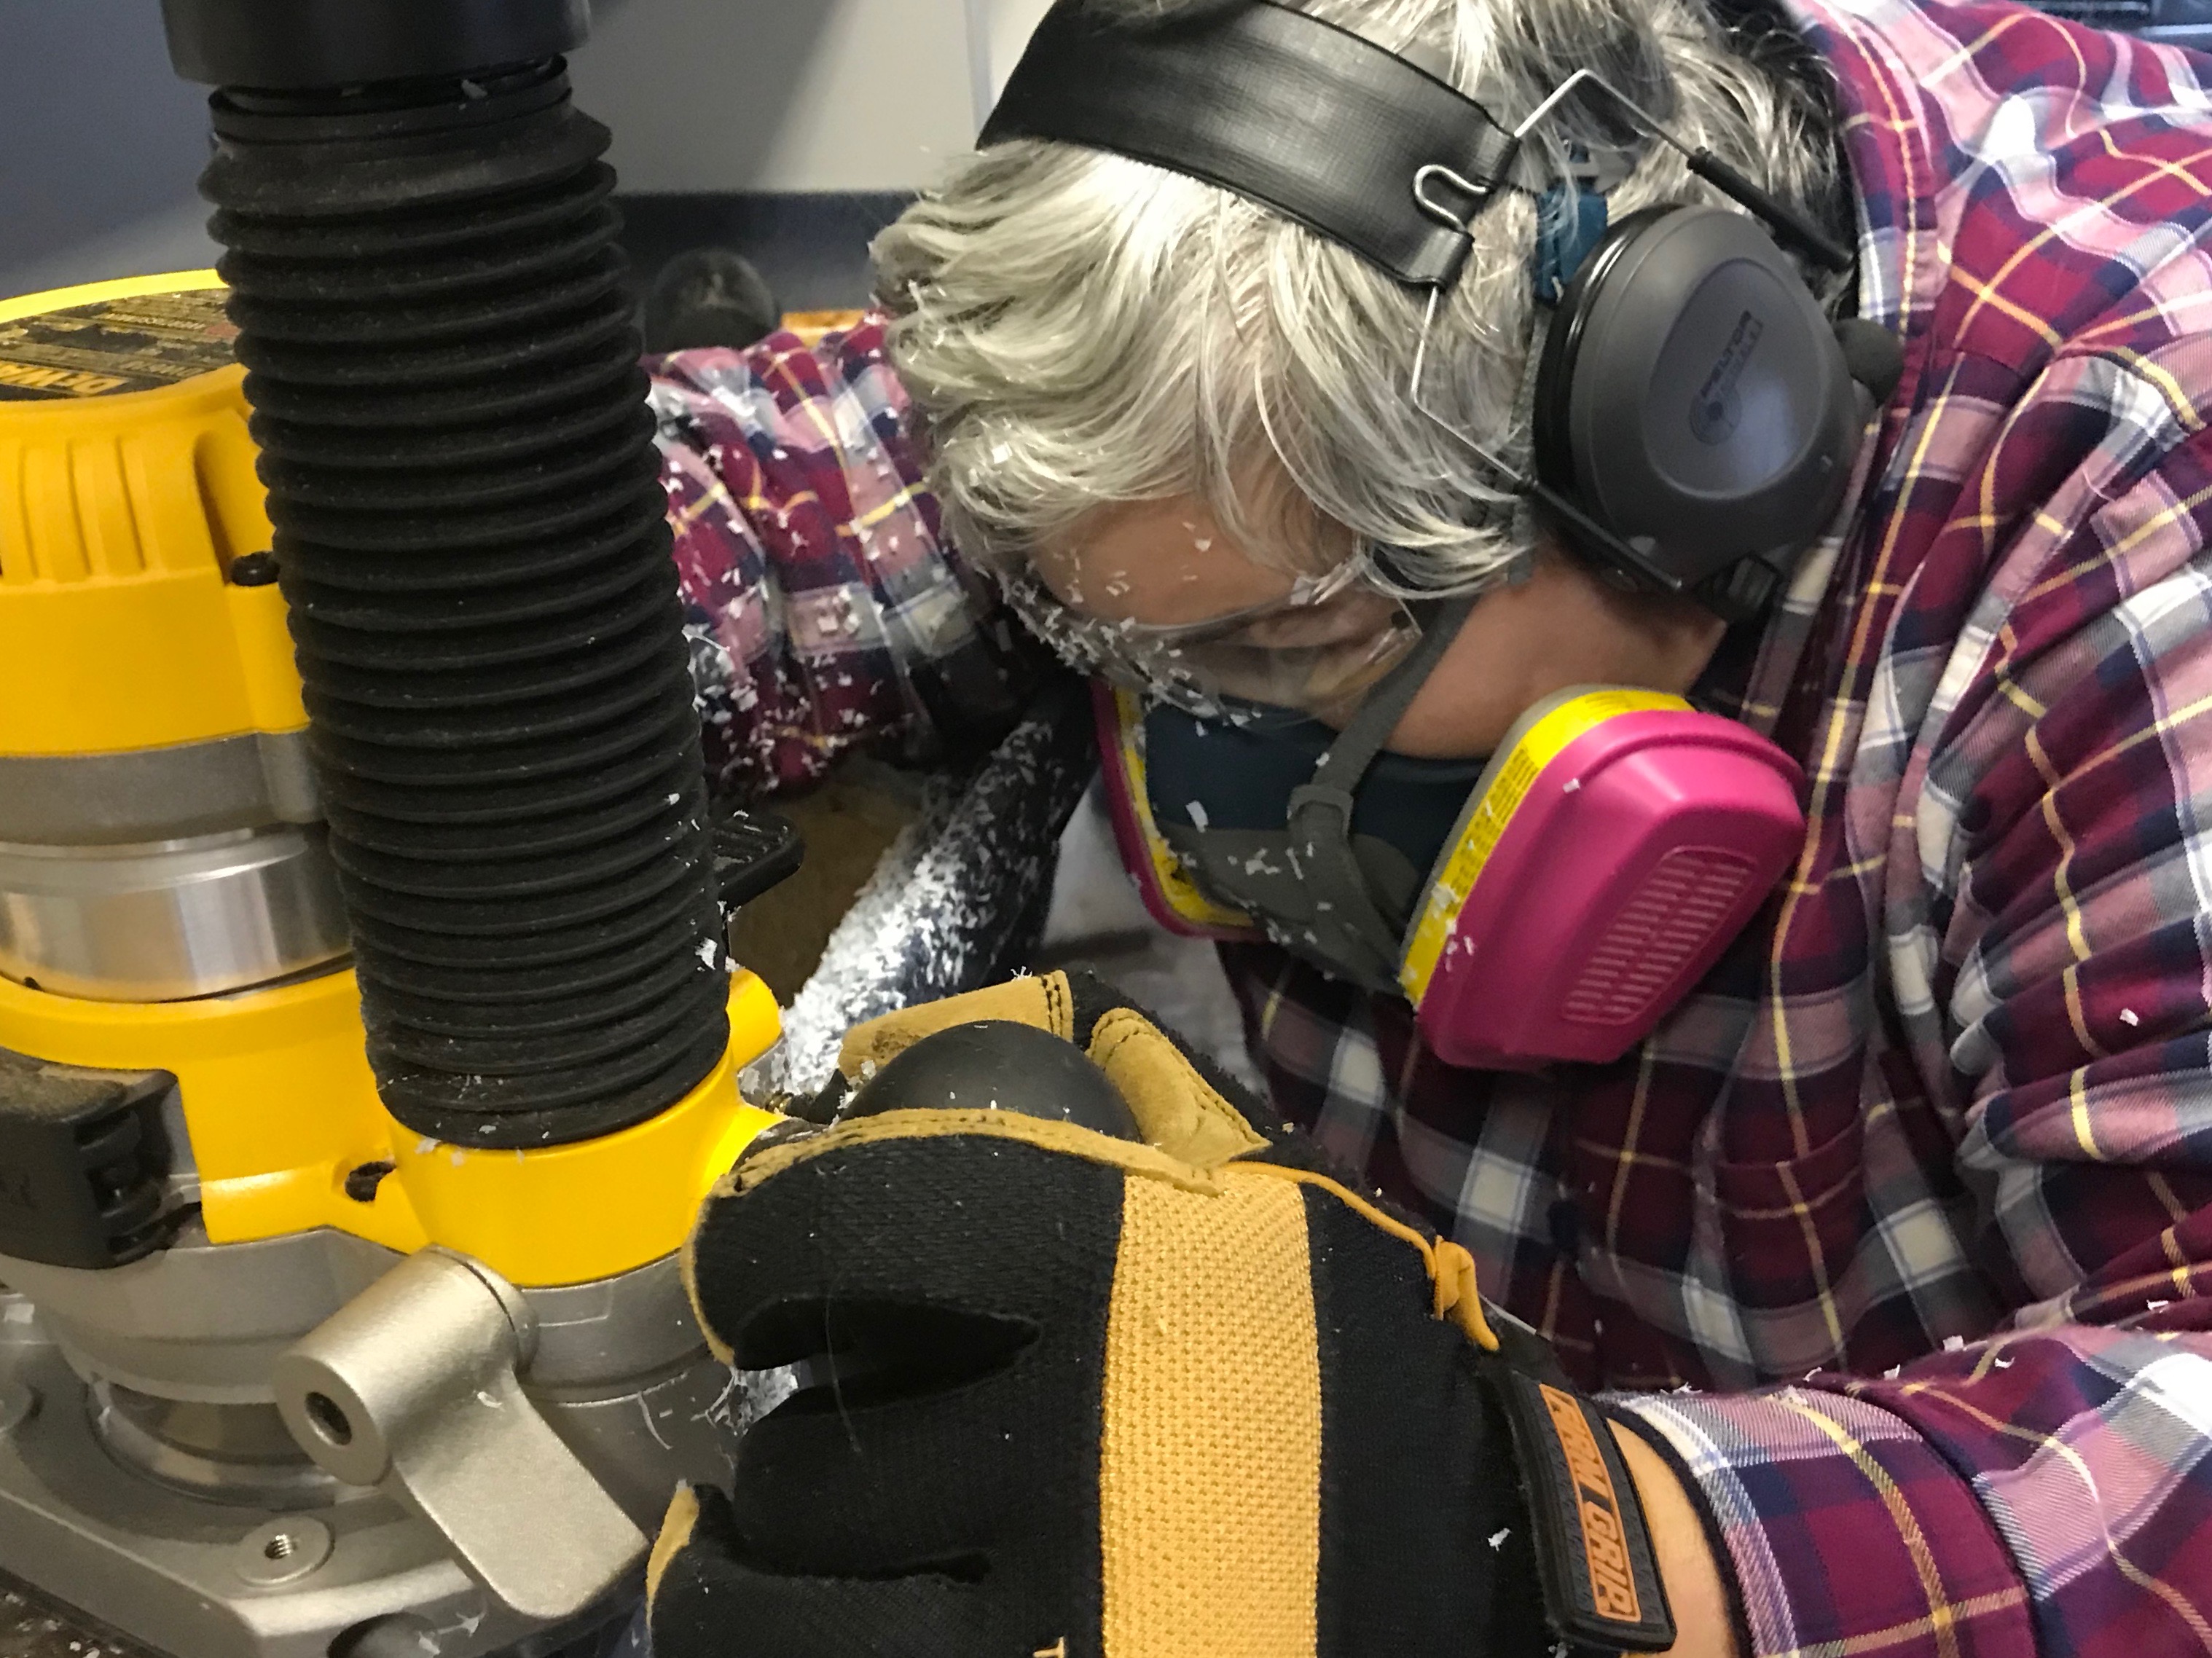
It was nasty work. The blue countertop is some sort of plastic that weighs a ton and releases noxious fumes when cut. It was bad with the jig saw. It was “I don’t care that it’s 35 degrees outside open the doors and turn on the vent!” with the Dremel. Two sides of the cut were too close to the raised lip for the jig saw though. If you have to cut through this stuff I strongly recommend getting a respirator. Once we started we weren’t going to stop and make, yet another run to Home Depot. We’d already made one this morning.
While waiting for batteries to recharge we cut the pieces of the box that will support the oven in its hole.
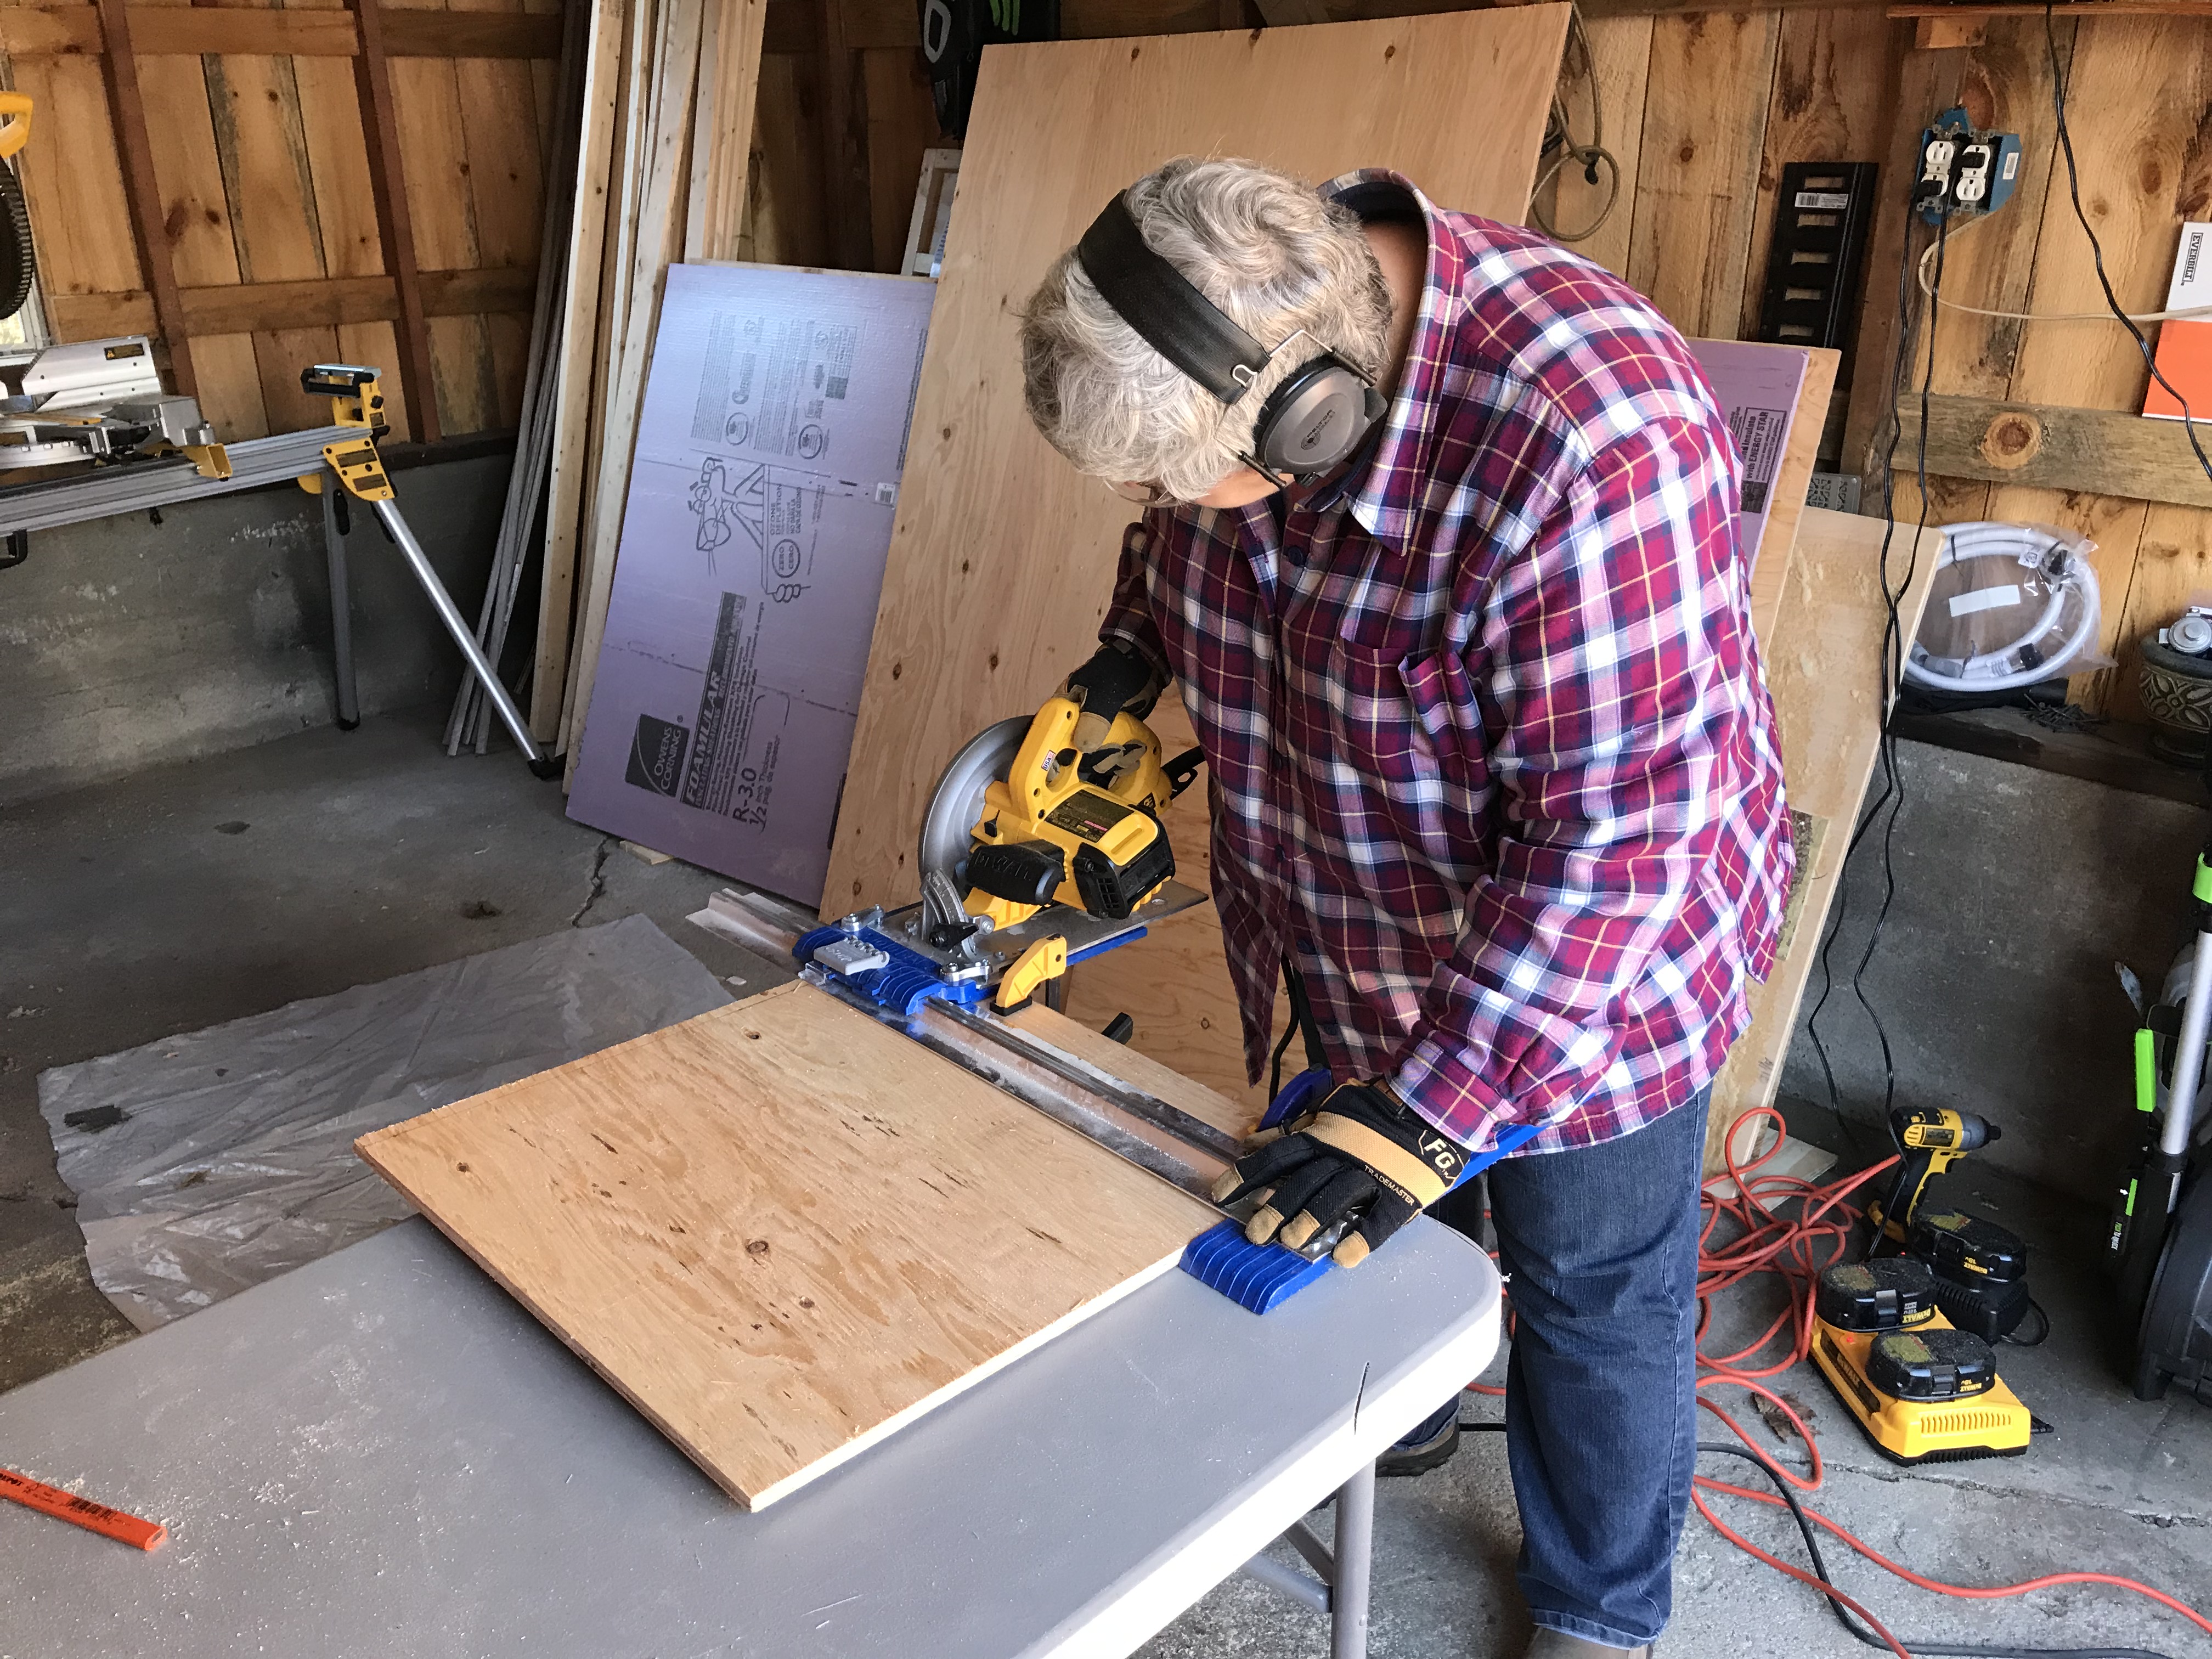
dachary cuts oven supports
Today’s cleanup found me frustrated with our tools sitting on the floor getting sawdusty, so I made a little holder for them on one of the walls.
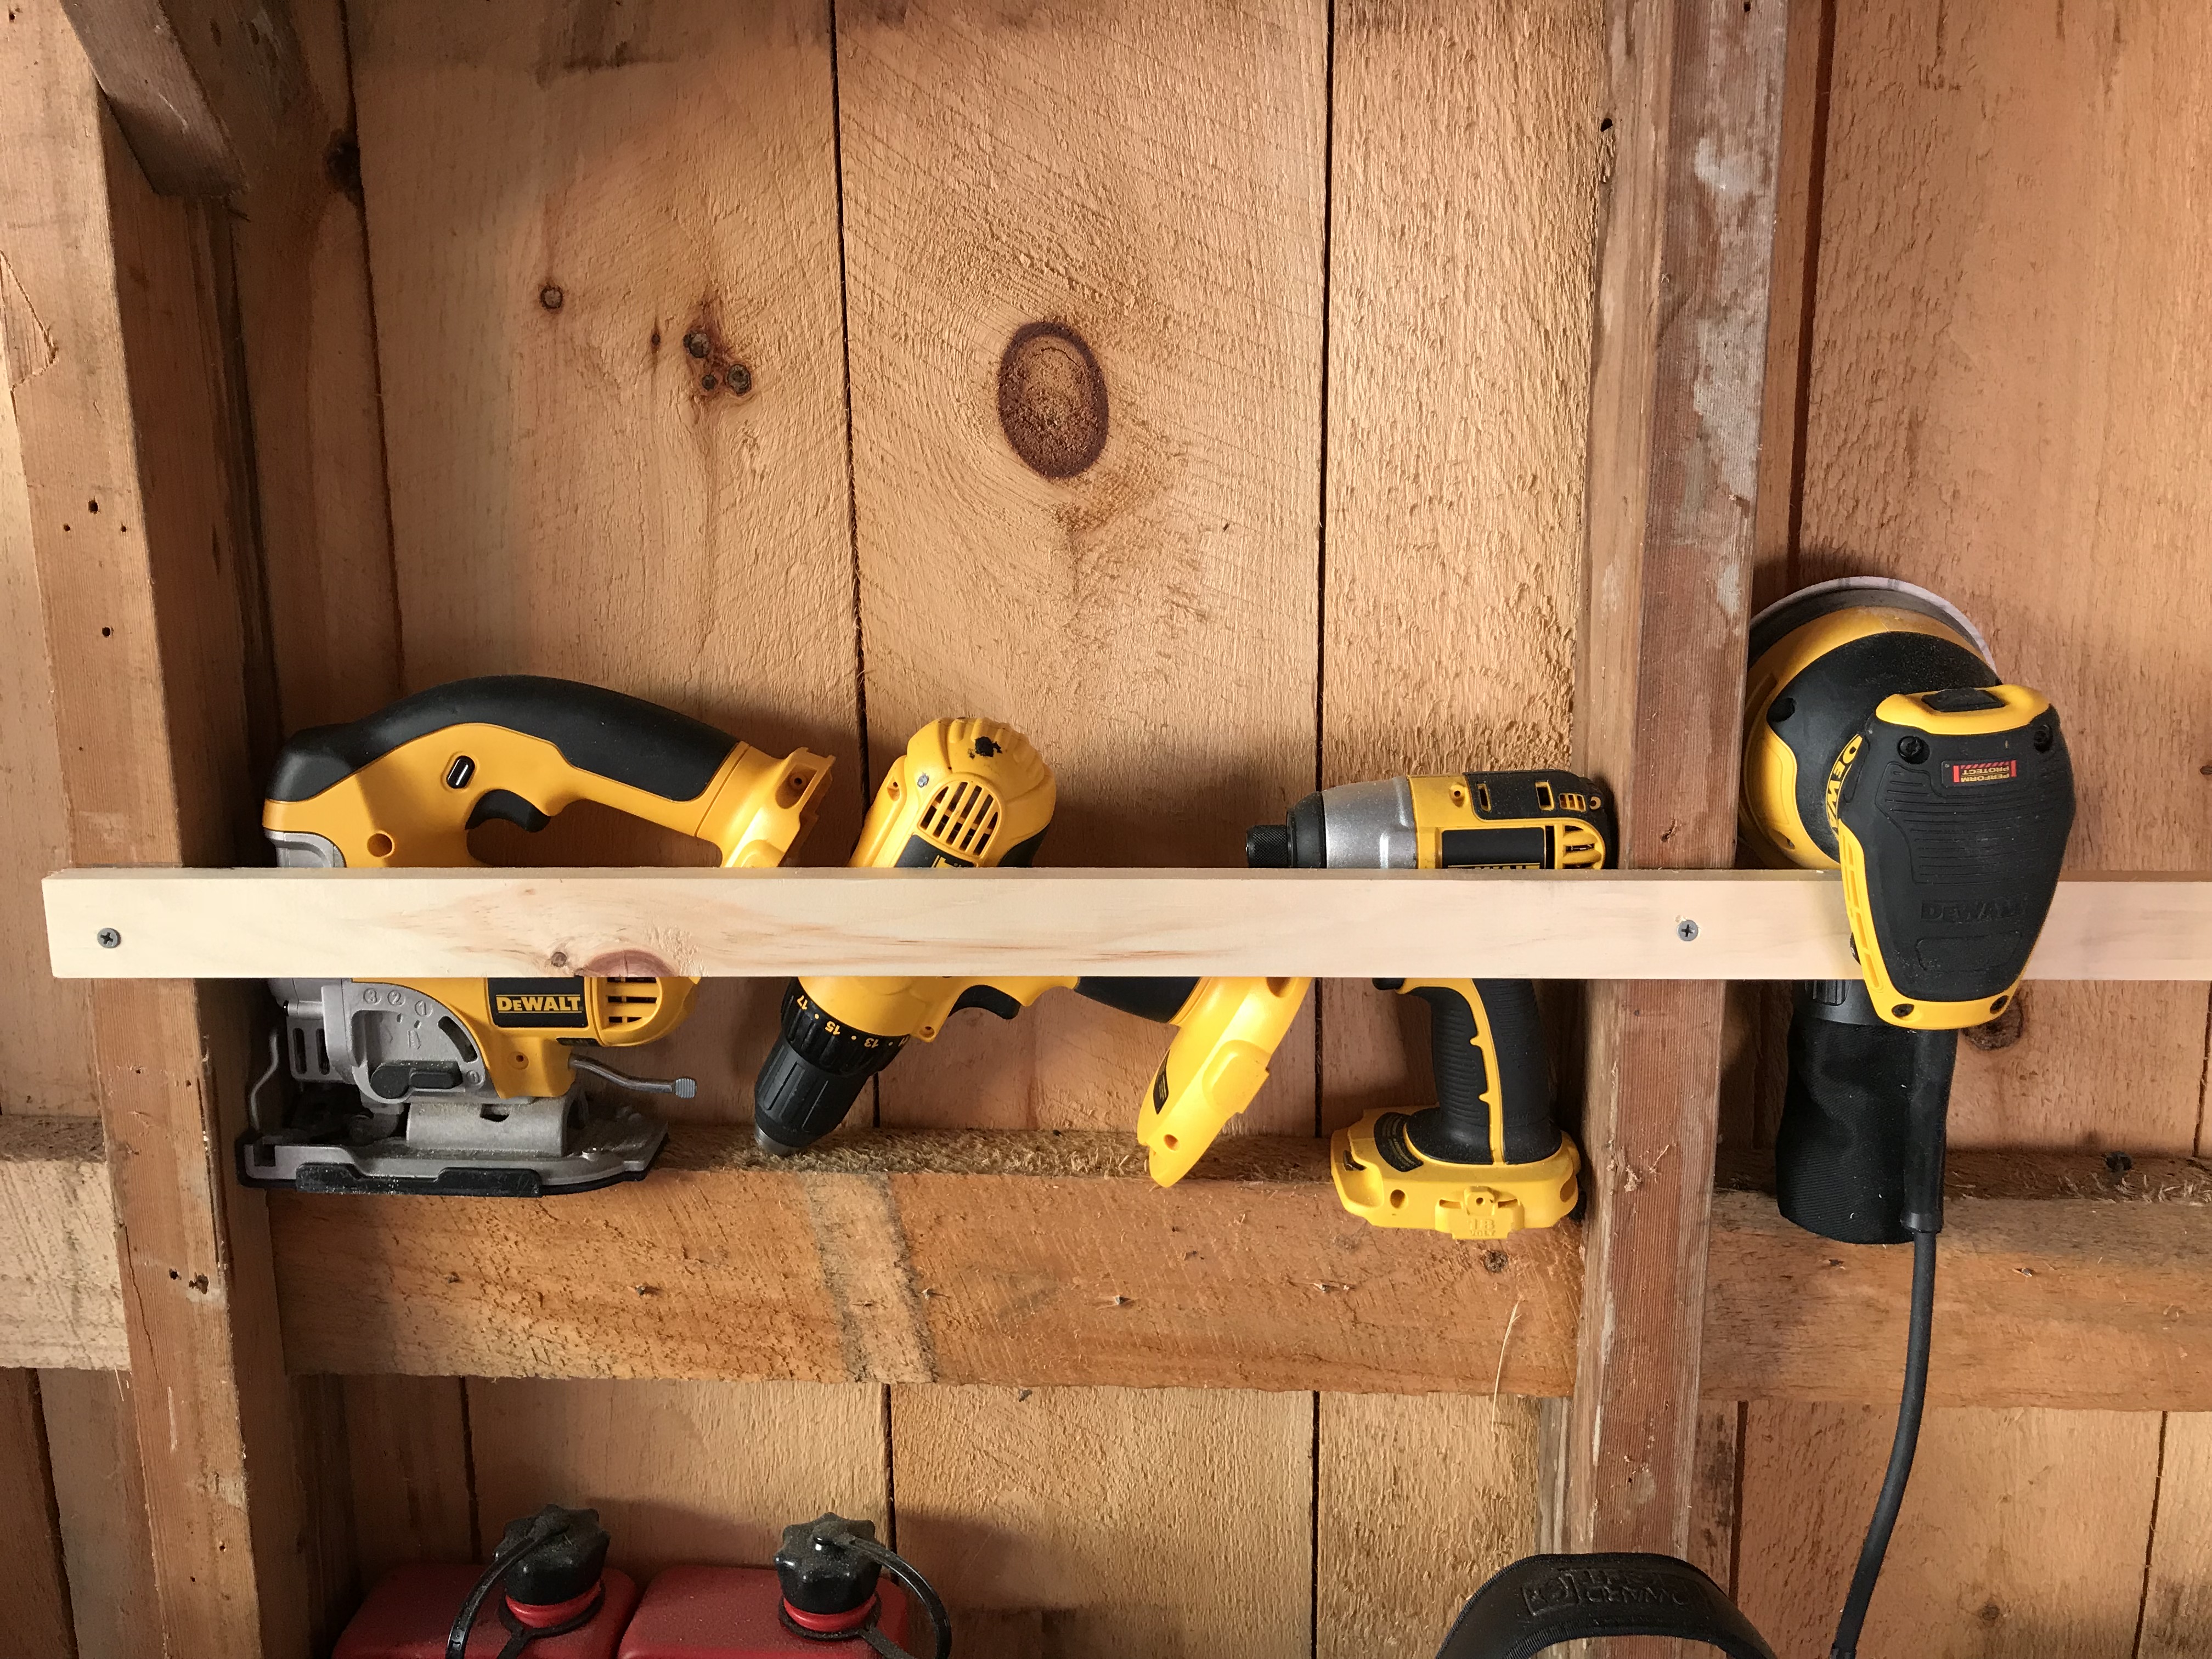
tool holder
And that brings you up to today.


