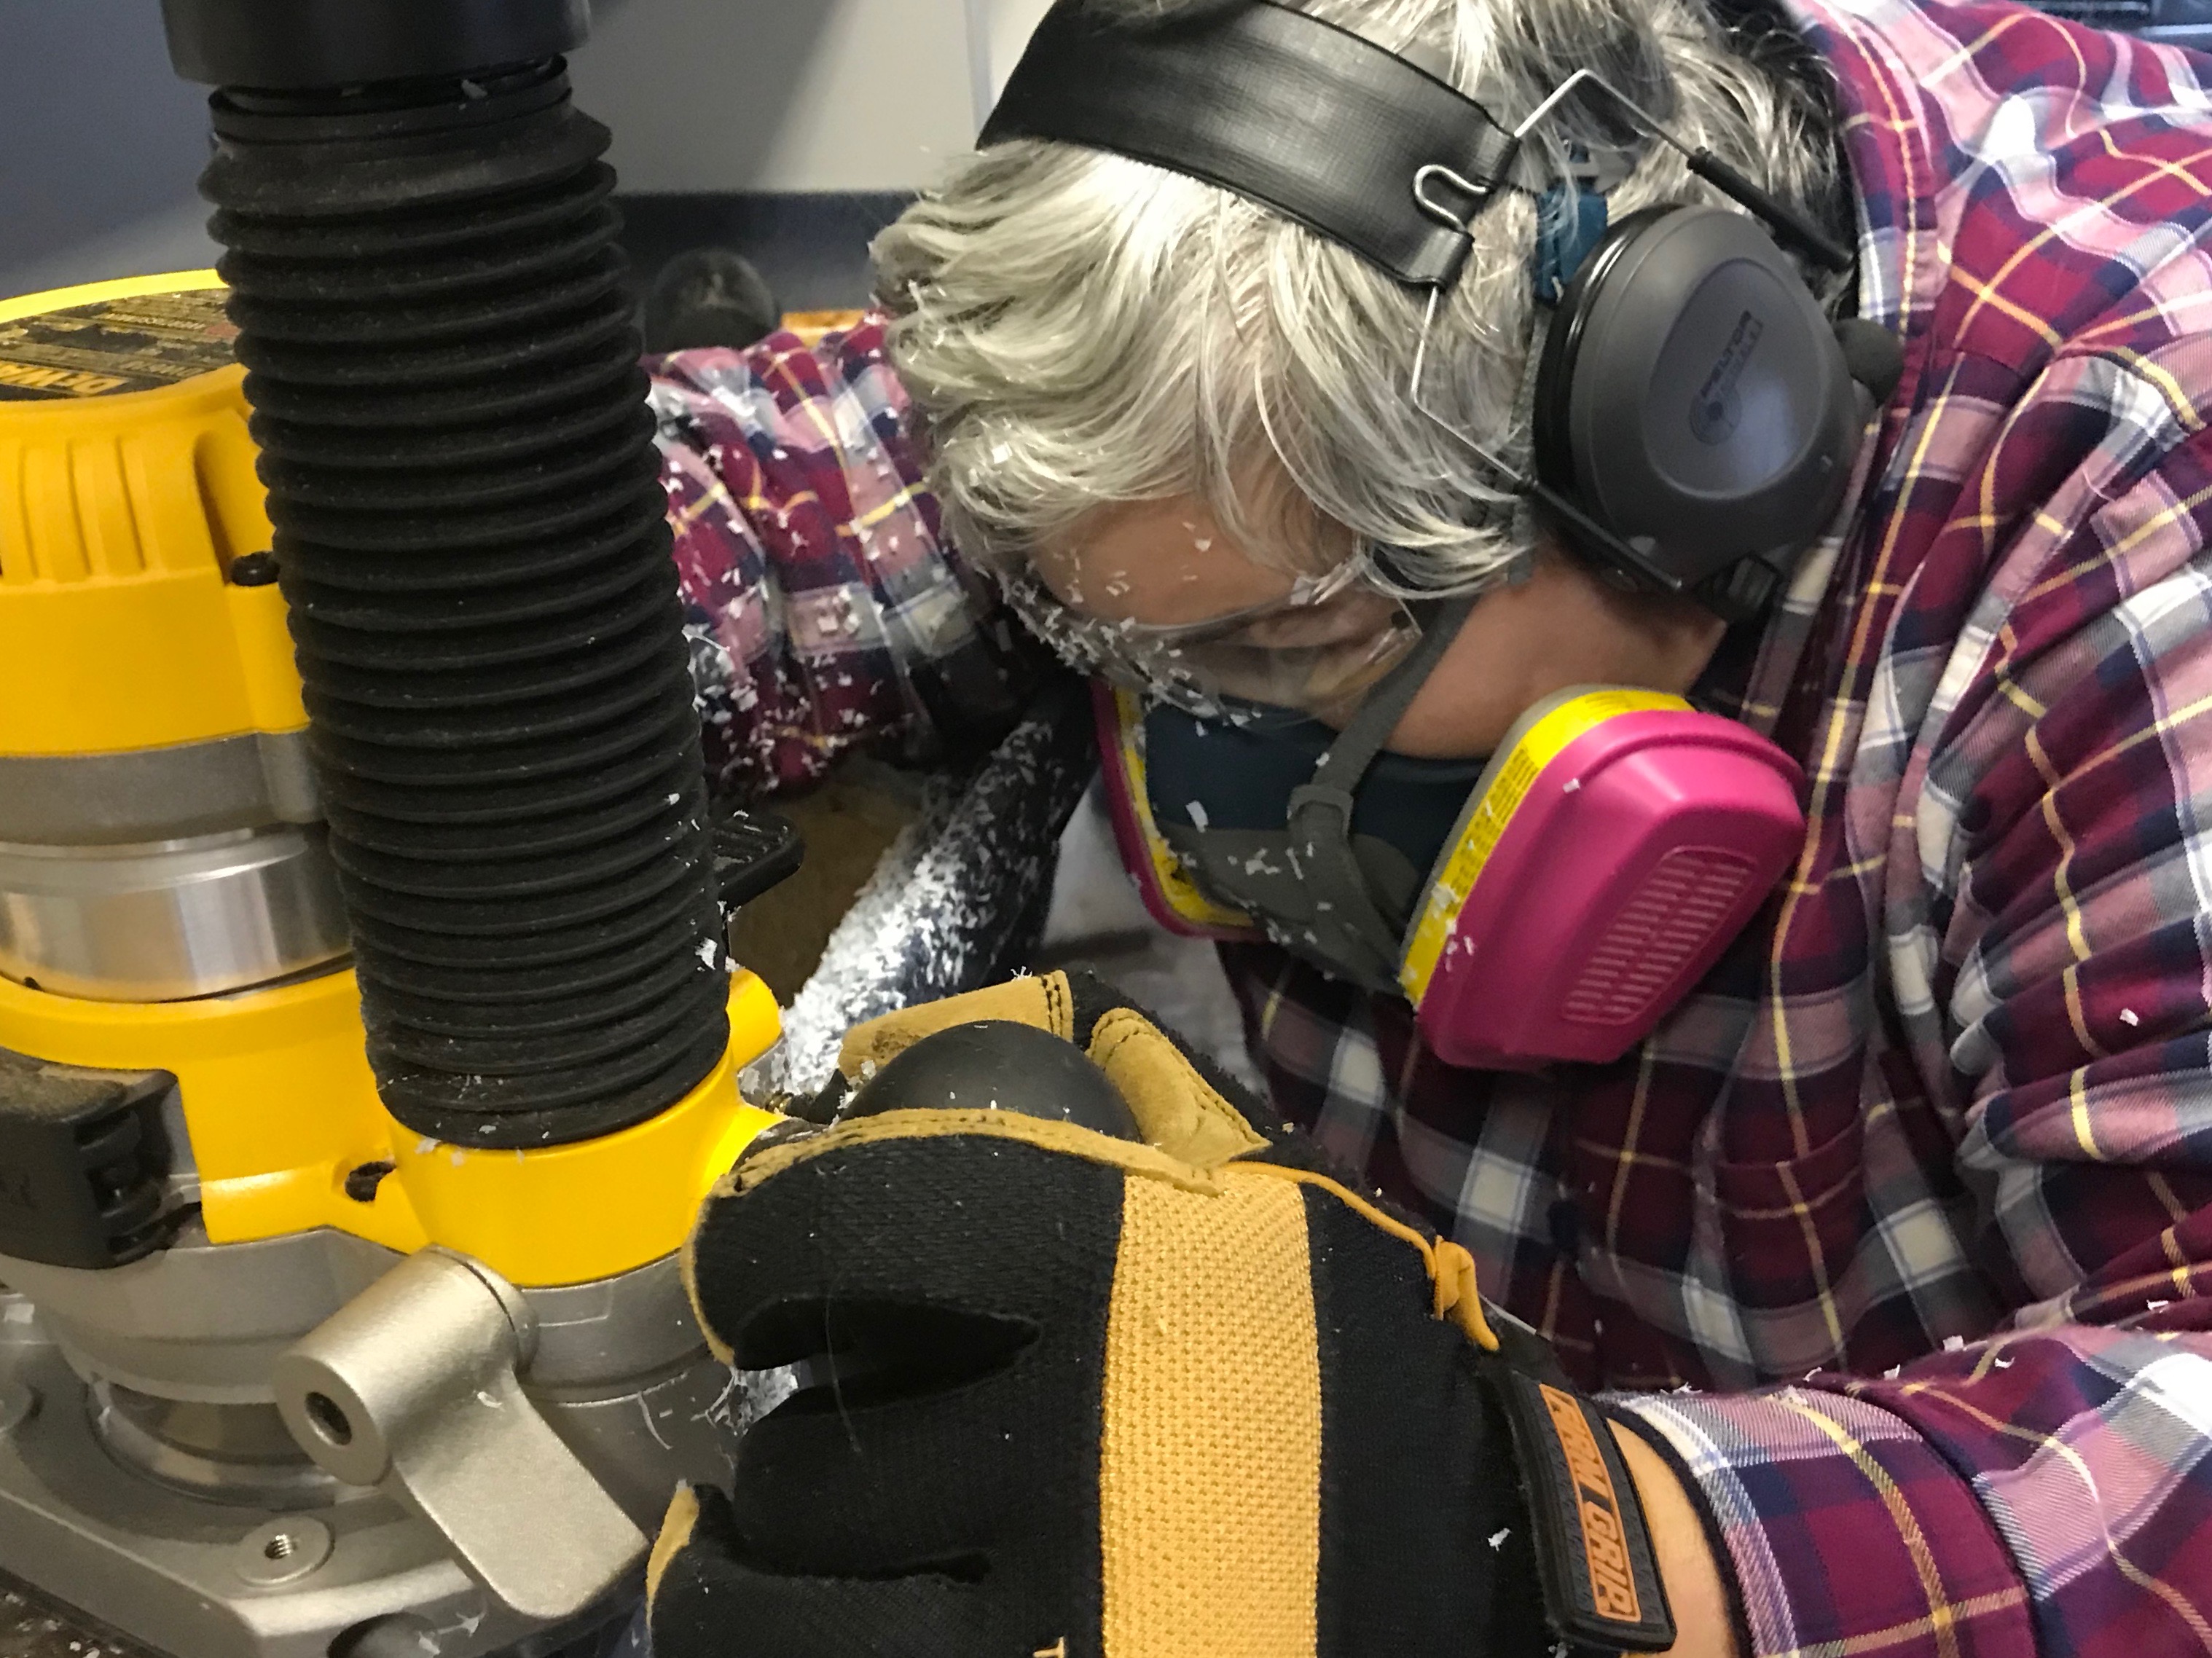
The jig didn’t work. The hinge was too bumpy and it was too much of a pain to try and put something under it, and we were frustrated enough with spending all that time on it that we didn’t want to do the modifications we know we need to do to make it usable in the future. So, we chopped off some of the excess MDF on the far side and used it as a guide.
We decided that we really ought to practice on some scrap wood, especially on the scrap Maple. This turned out to be an excellent decision, because routing with the grain turns out to be incredibly difficult in hardwood with a hand router. It went through pine like butter, but the Maple? Nope. It bucked and whacked our clamped guide rail out of place multiple times. We kept adding more clamps and more clamped backstops. This was just one of the multi-clamp configurations.
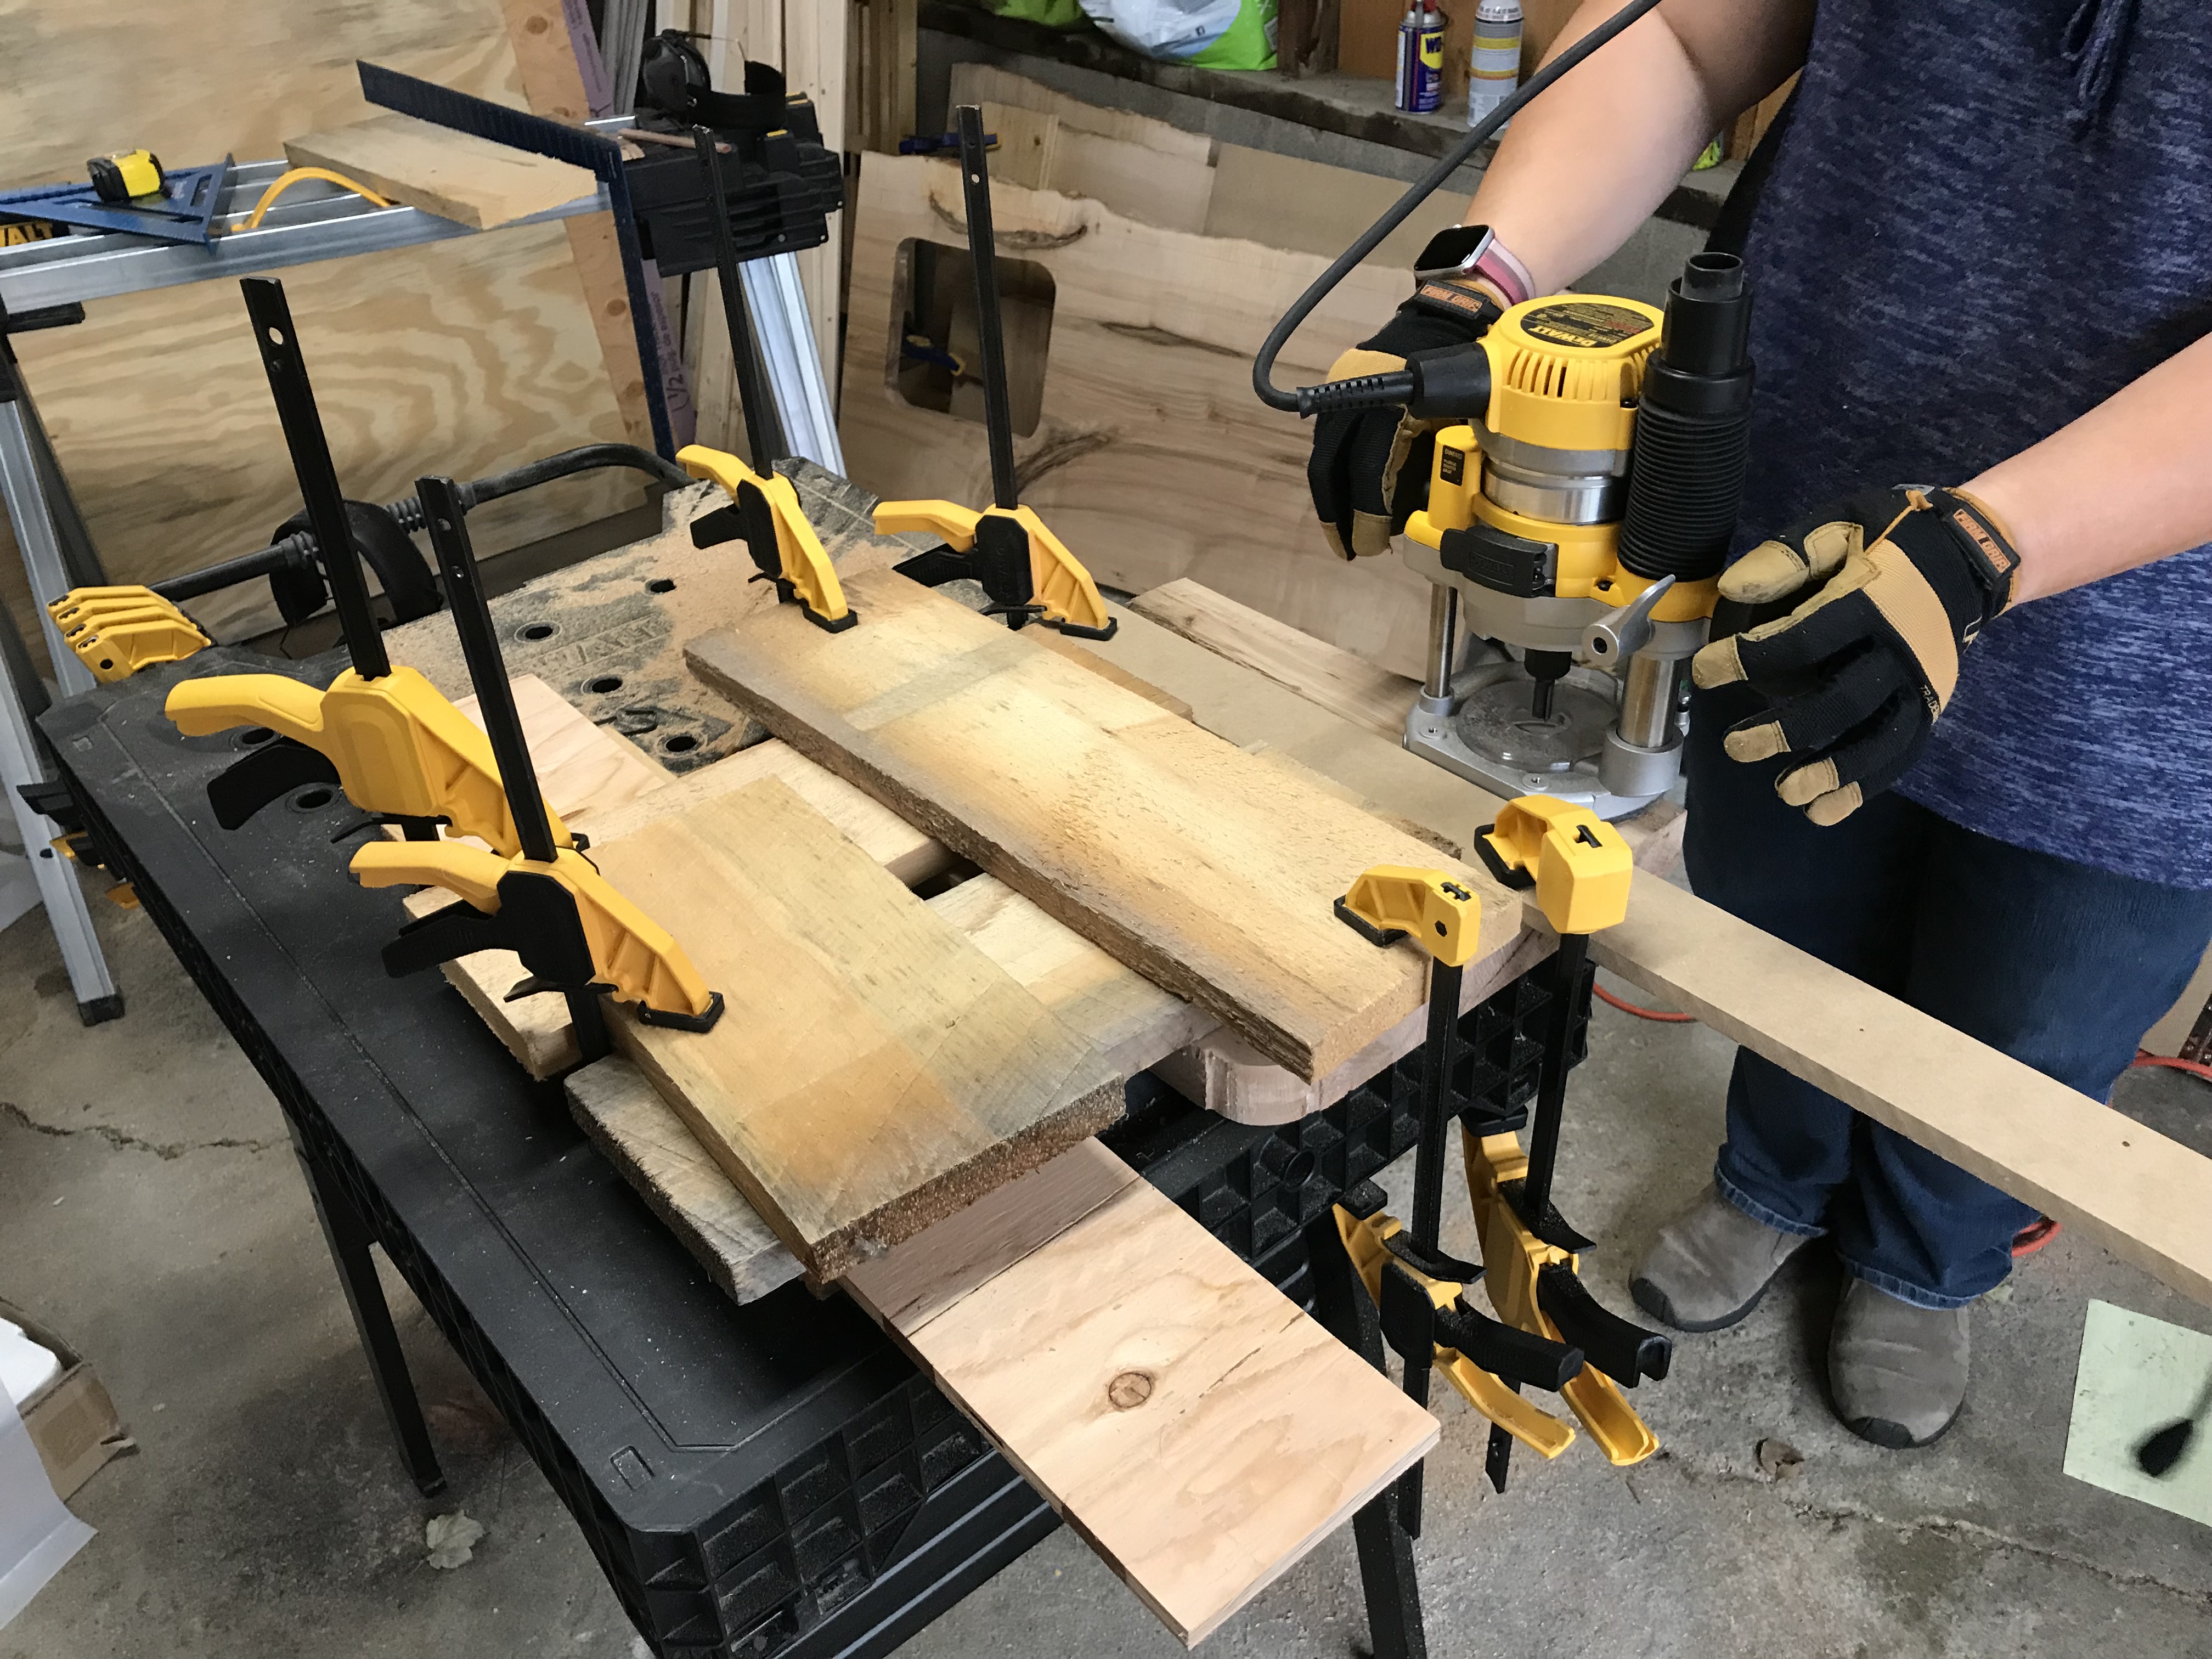
defensive clamping for hardwood routing
It was never enough, even after a run to Home Depot for more clamps, and we had a five foot groove to route along the grain. Somehow that practice session took most of the day.
We decided that a far better solution would be to use the circular saw set to the same depth as the router, and run it five feet. Move it 1/16". Run it five feet. Repeat for eight total runs. At the end there’d be an upward curve that we’d need to route out, but it’d only be a few inches long.
The next day we set out to implement that plan. Sadly, we didn’t have a single straight edge long enough, so we ended up doing most of it, then repeating the process for the end.
It worked much better.
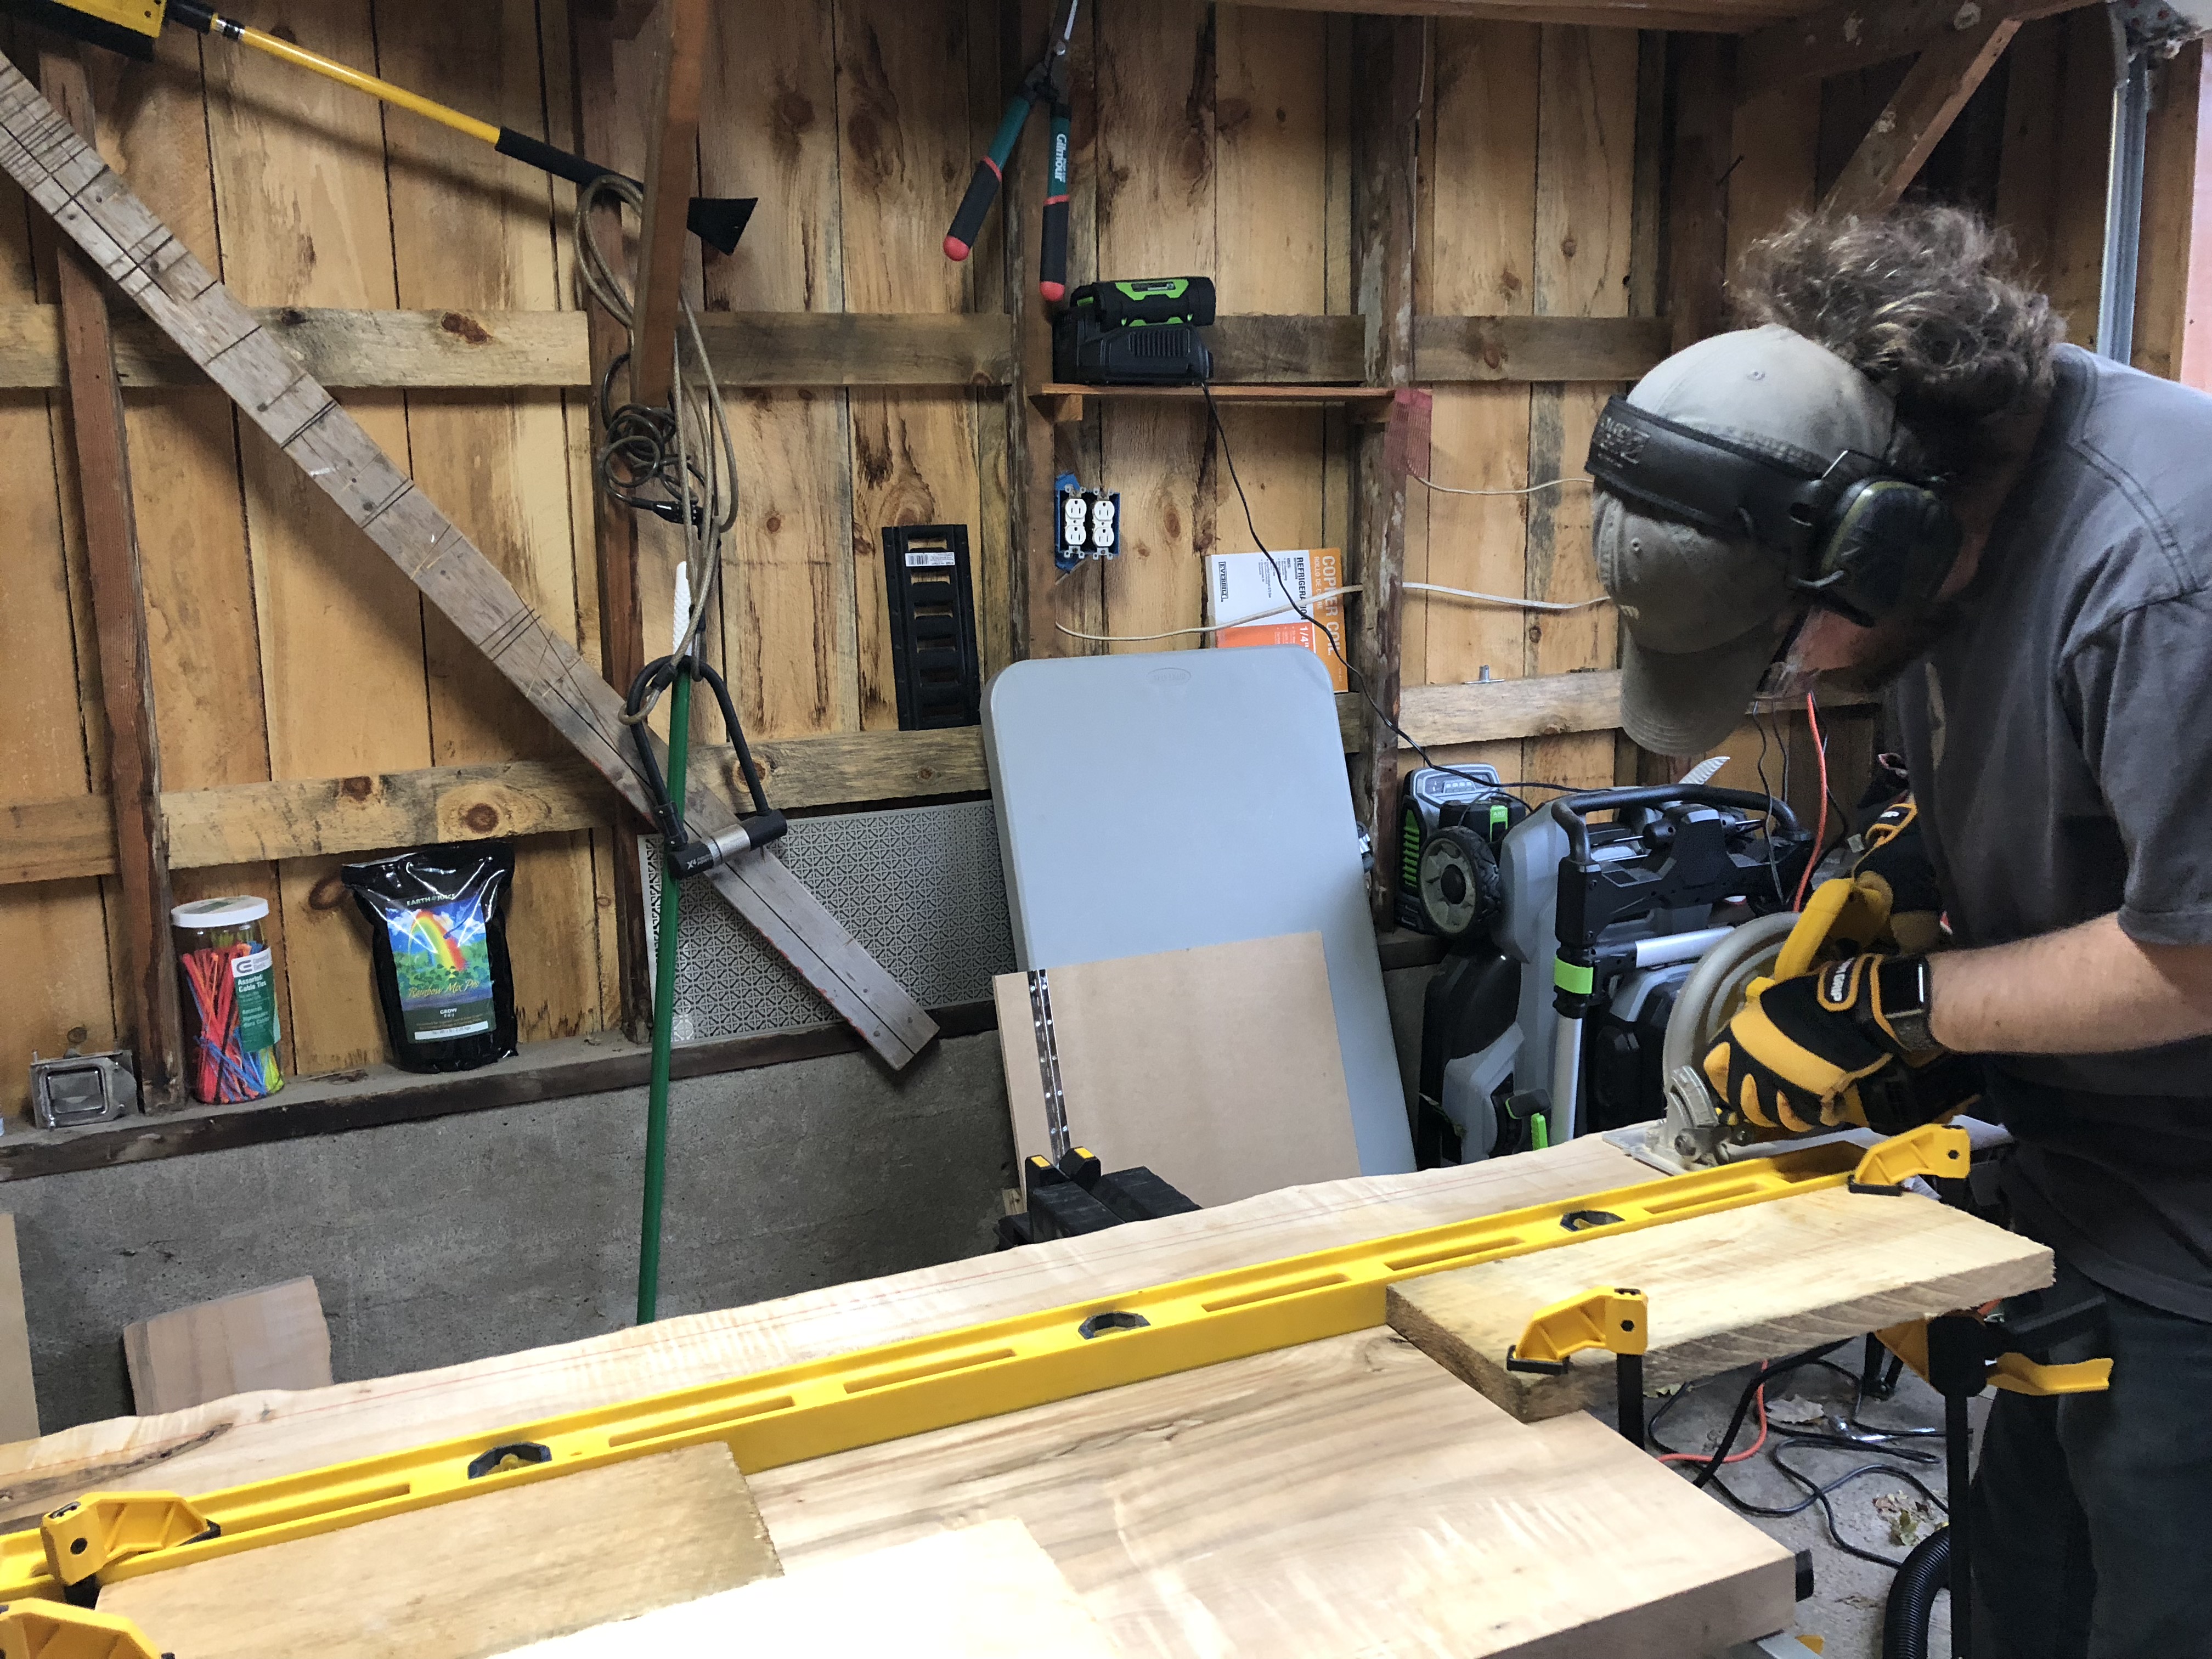
circular saw routing
At the end of the day we had a fully routed piece, an enlarged sink hole (don’t ask), two new holes for the faucet and soap dispenser, and a cleaned and reorganized garage. A very successful day… but the counter is still not done.
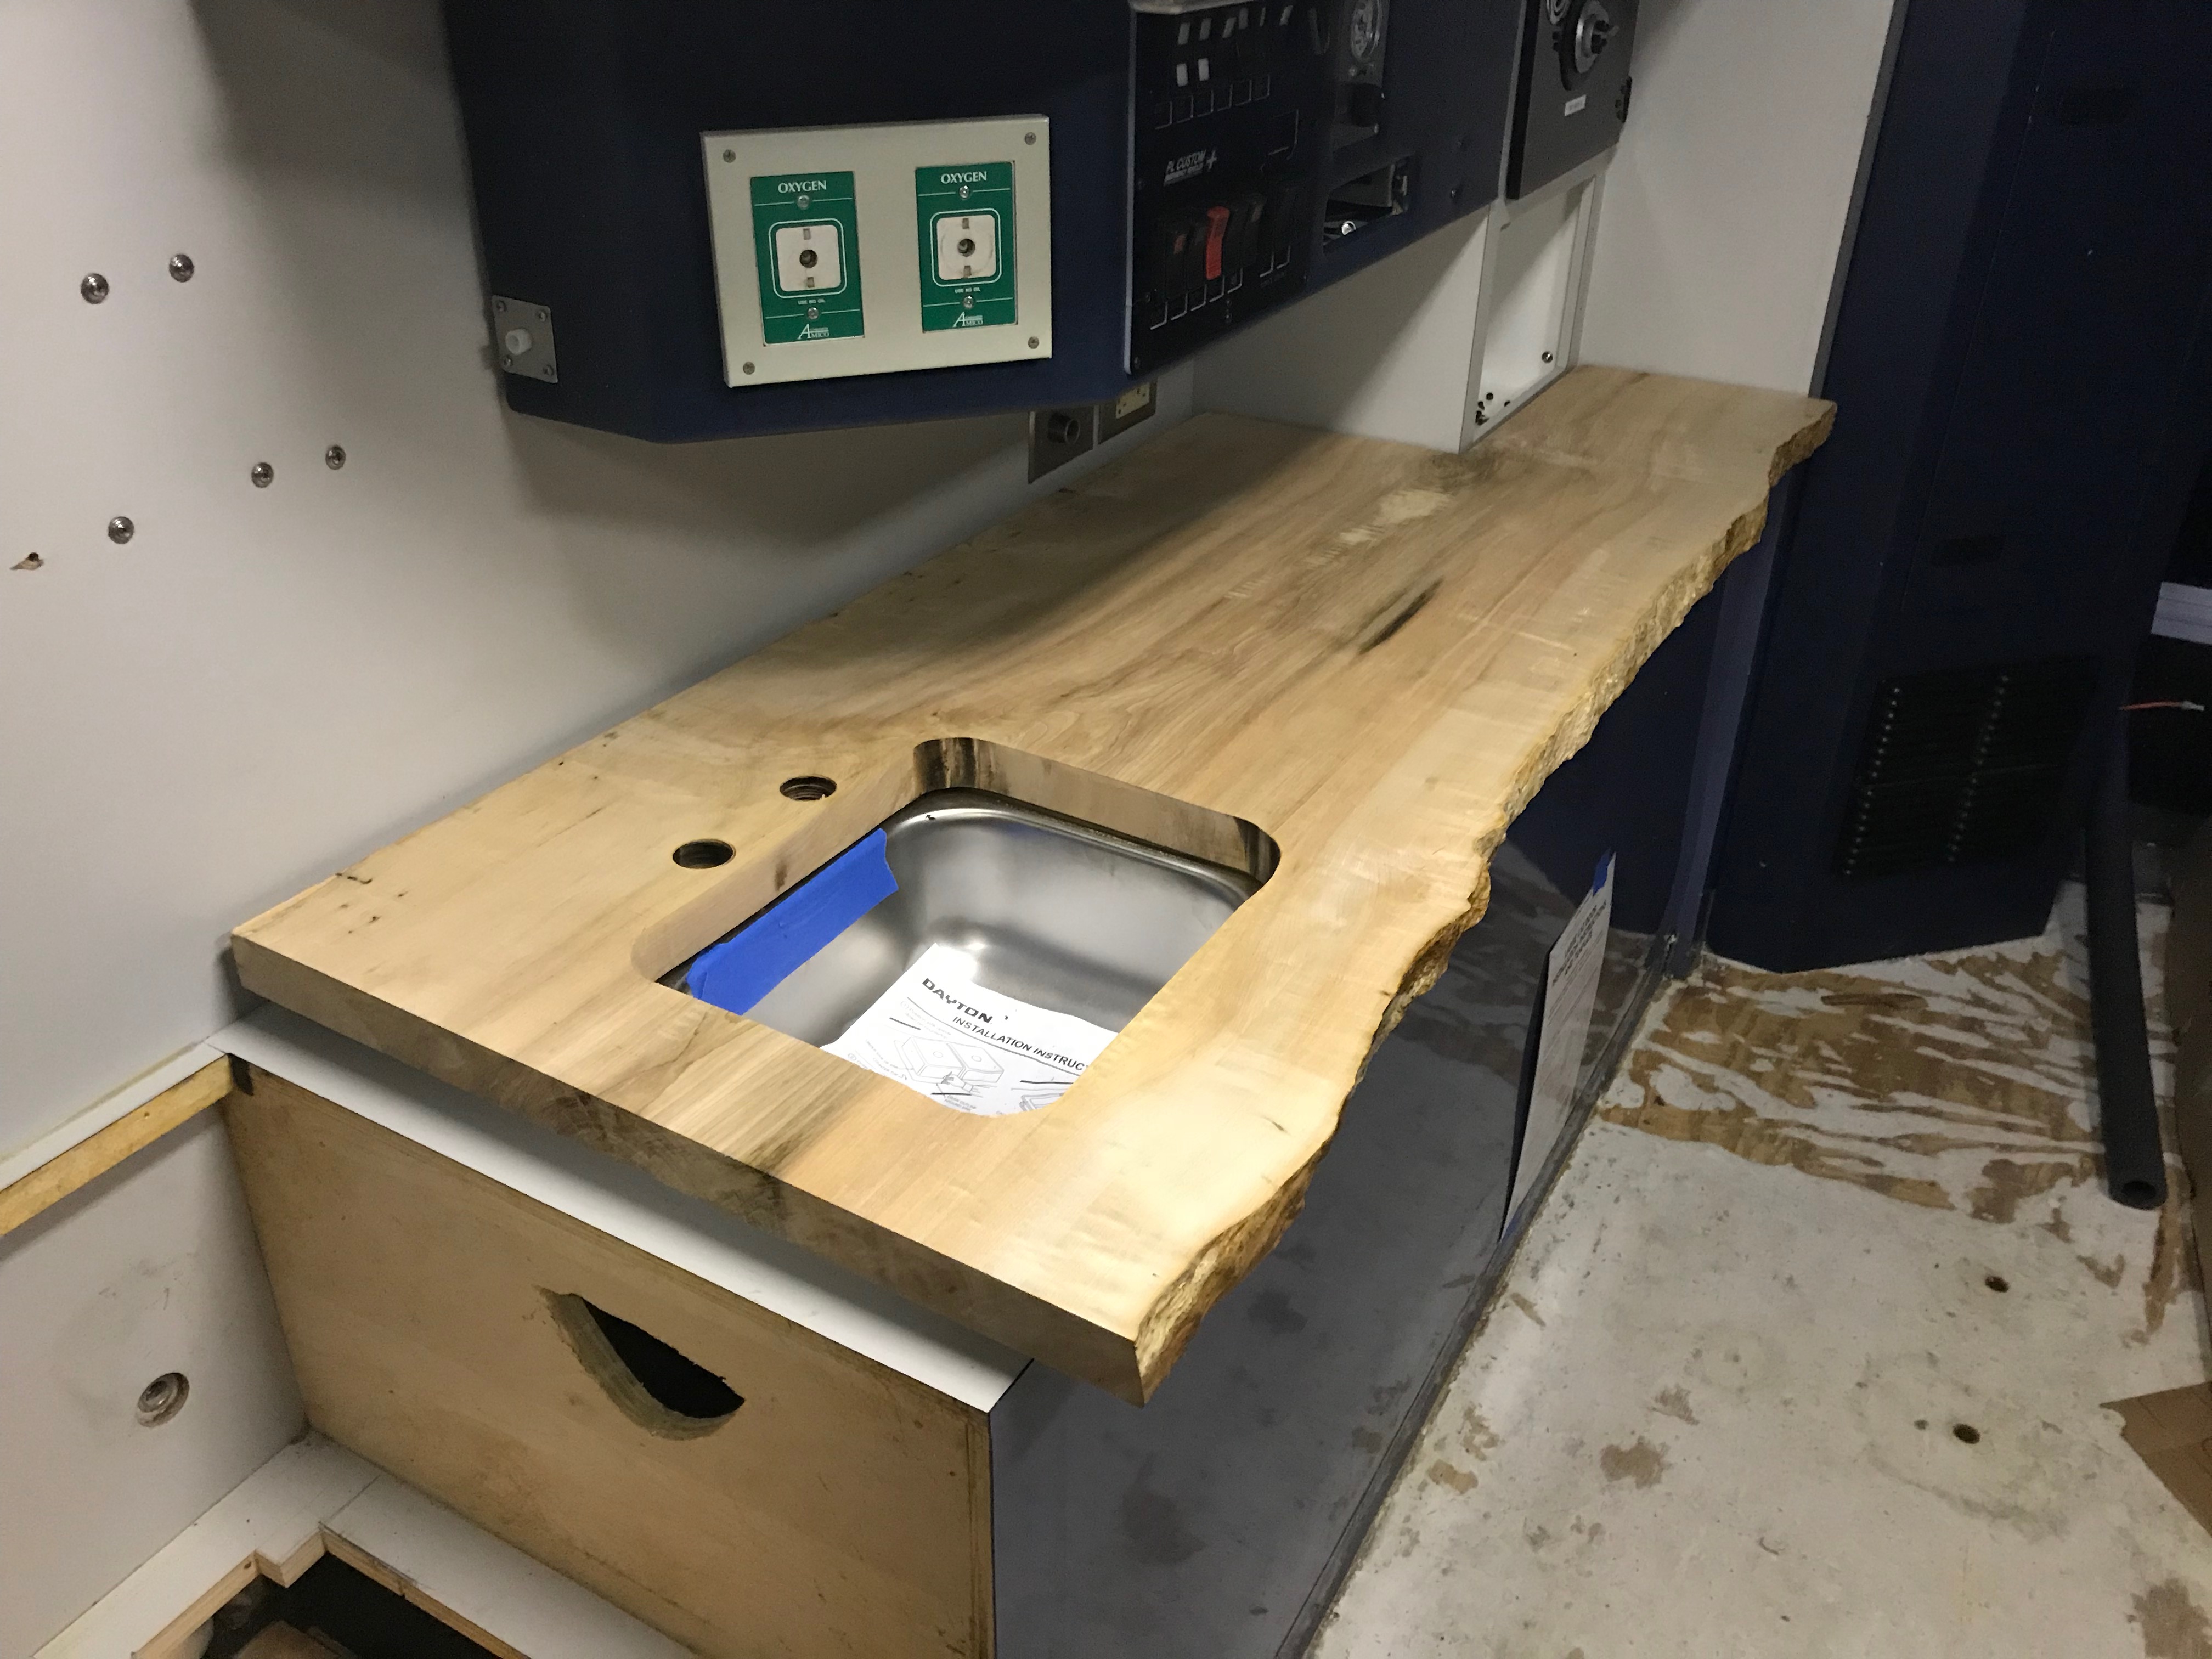
routed counter in place
We need to route (or hand sand) the top corner of the sink hole to make it less sharp, sand the sink hole walls (the corners by hand), and then route a rounded rectangle on the underside of the countertop around the sink hole, for a raised bump that runs around the hole. Then, finally, we’ll be able to send the thing off to be finished. Once it’s gone we still need to grind the holes in the sink slightly larger. I’ve never ground stainless steel, but I’m pretty sure it won’t be fun. I can hear our friend saying “I’ve got a plasma cutter you could use” which would be great, except that they’re three hours away, over the mountain.
There’s actually one more groove we’ll have to route after it comes back. The piece of wood it’s in is split in half (some bad years for the tree) and we can’t guarantee that the two halves will retain exactly the same alignment when it comes back, which will cause it to not fit.
At this point you’re probably wondering why we’re spending so much time on this counter when there are so many other things we could be making progress on that we actually need for the build, or maybe why we’re dong this first. Well, the answer is pretty simple. It’s going to take about two weeks once we drop it off before we get it back. If we did this at the end we’d have a two week gap before we could travel, because we can’t put in the faucet without it.
…
Woodworking is hard. It’s a skill that we don’t have, but we want to get this right and do justice to the tree that gave its life. We also don’t want to have this beautiful slab of wood with some horrible fuck-up in it. So, we’re practicing. We’re learning.
We’re also leveling up our team skills. Dachary is now the “Measure Master”. Every time she adjusts a guide or checks a measurement for me I ring out with “Thank you Measure Master!” in the style of “Thank you Drill Sergeant!”.
The last set of long cuts were good. I’d cut. Set down the saw, and move to open a clamp. She’d move in with the ruler and start adjusting the first end. She’d say “clamp it” and I would, before shifting down to the next clamp and repeating the process. “Thank you Measure Master!” I’d say, as I picked up the saw. Before each cut or drill with any device there was always the “ready?” “ready.” call and response to make sure everyone had their safety gear on, and no-one was going to accidentally chop off a finger or something.
…
That day wasn’t kind to Dachary’s back. In the days since, she’s been stuck spending much of it in bed, or her comfy chair, with her back somewhere between “ow” and “oh god why?!”
I was a little lost without her to point me in the right direction, so one rainy day we sat down and made a three page todo list, with bonus items for going over with a friend who gets electrical diagrams better than us.
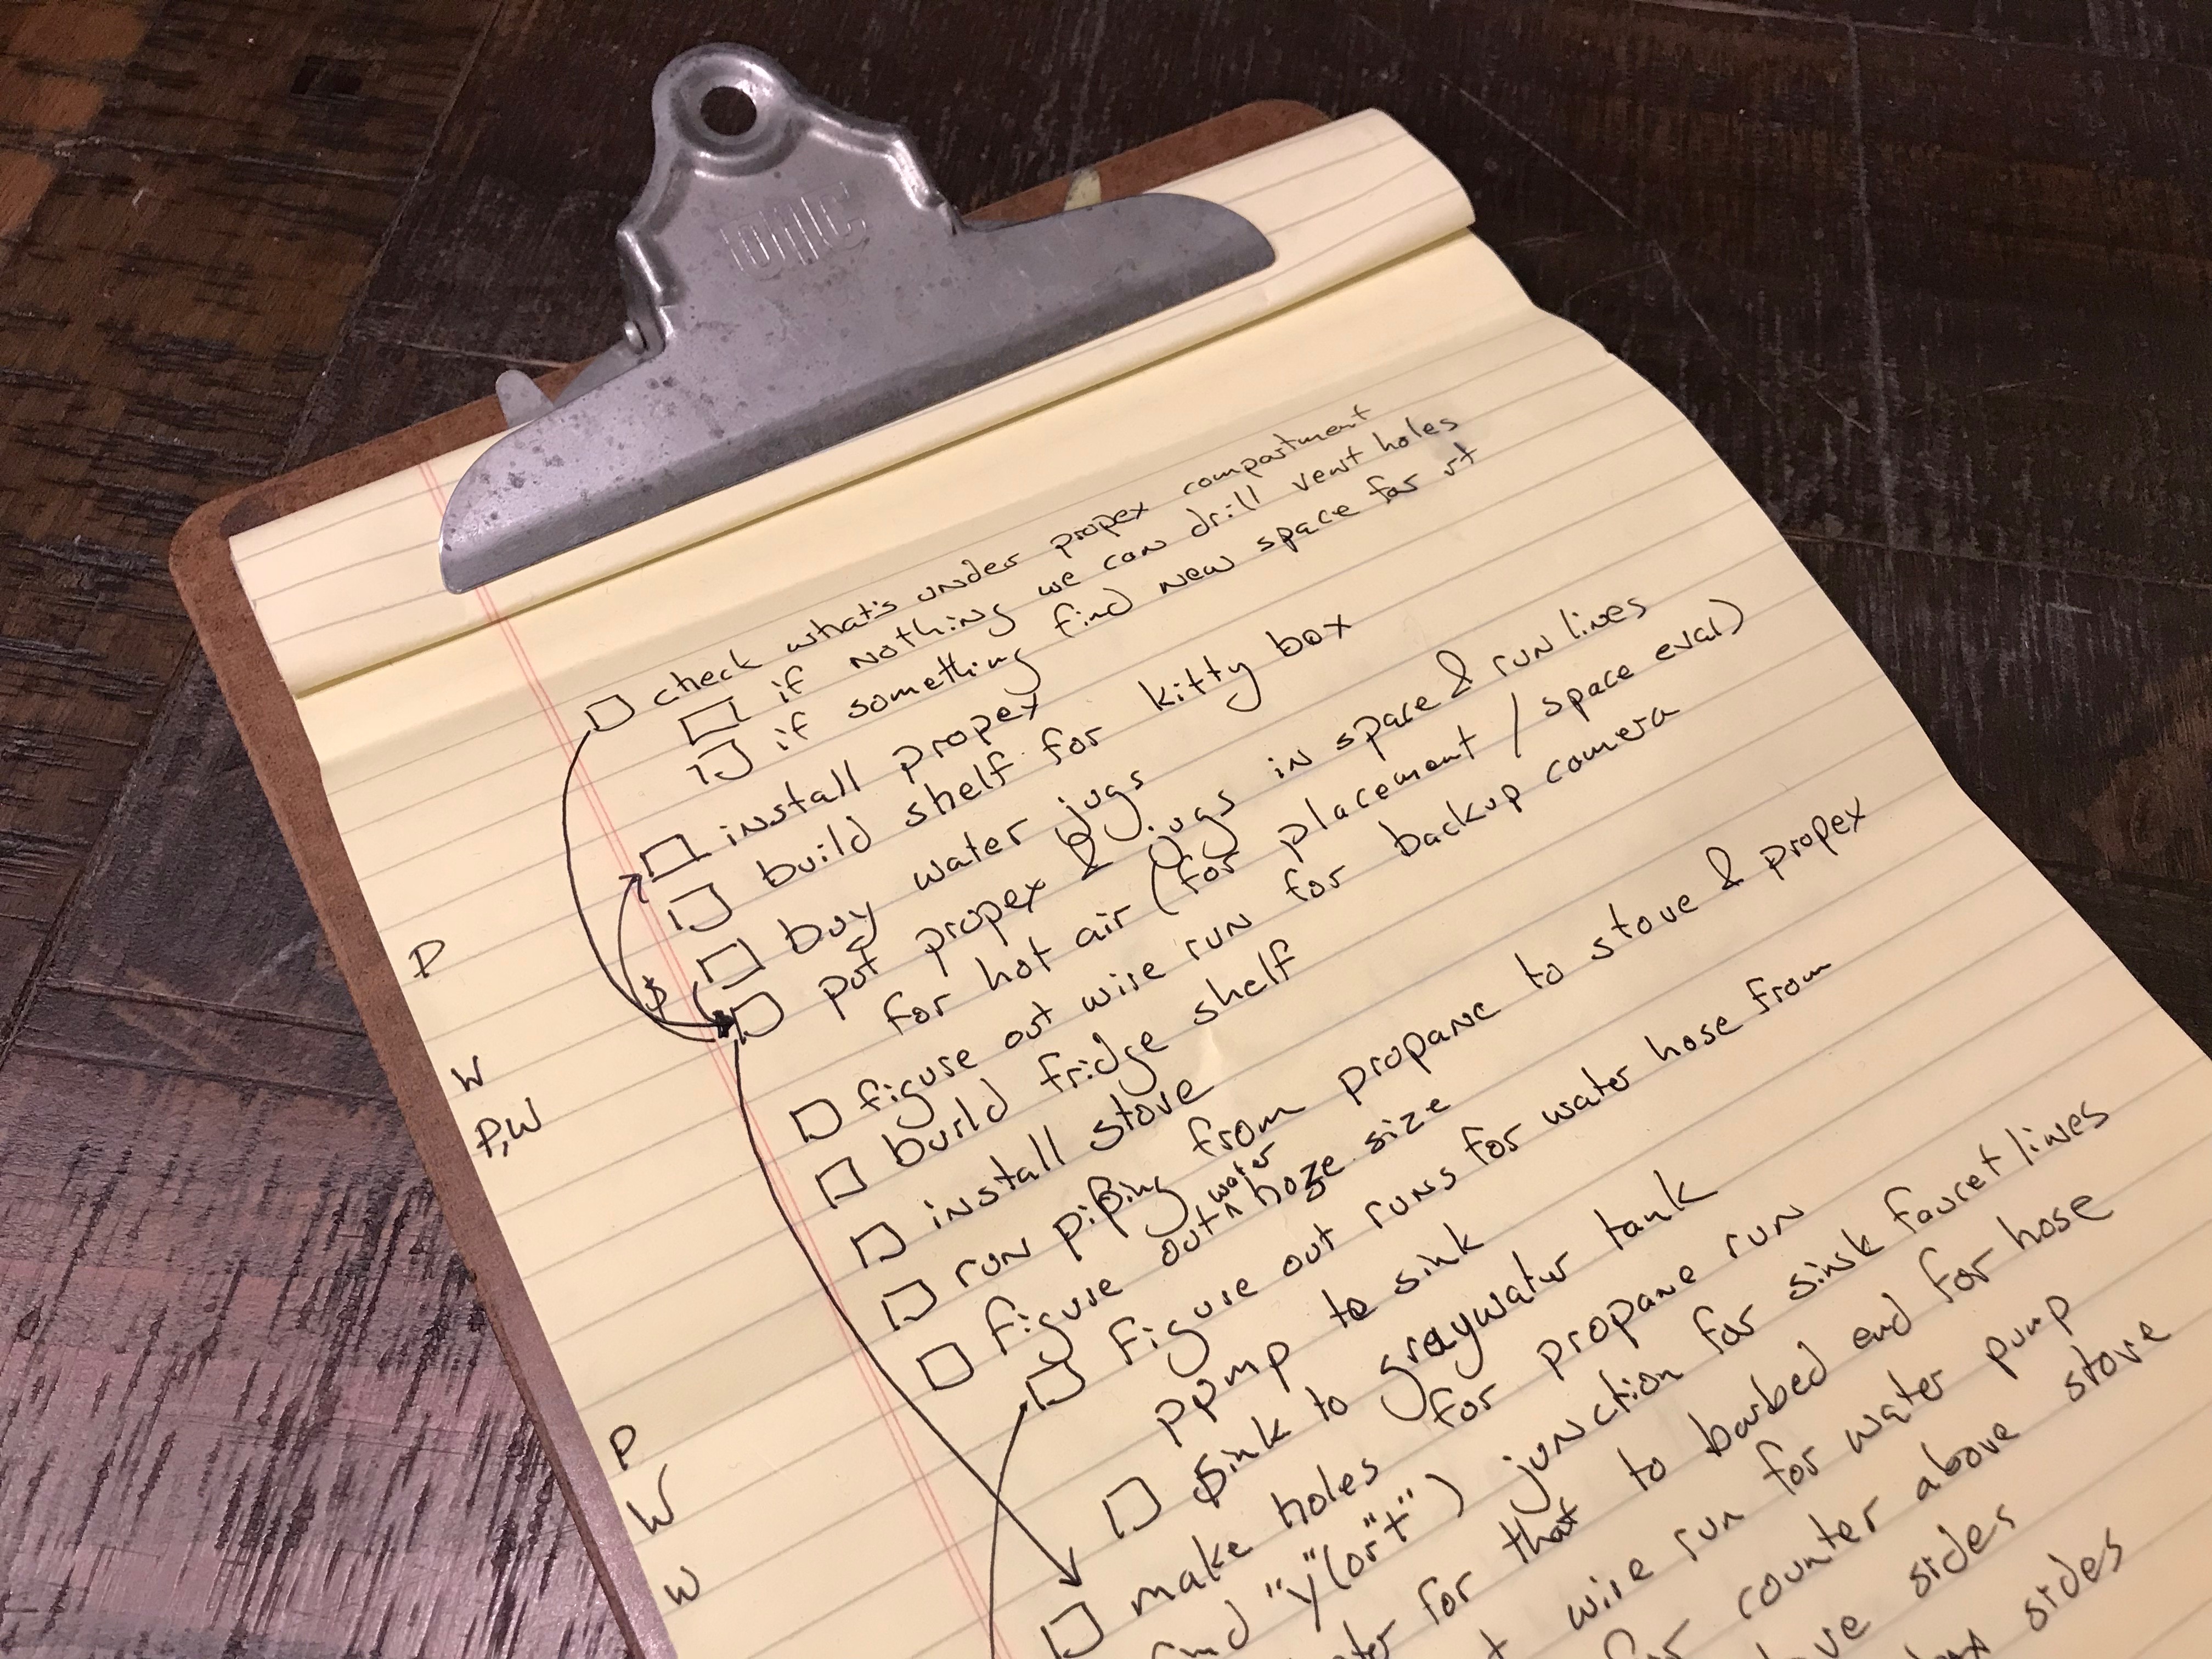
ambulance todo list
That was eventually transferred to Wunderlist, so that we can share it, and see it on our phones. Next time she’s unavailable I’ll have many small items to choose from instead of standing around in a daze wondering what I should do next.
On one of her “just ow” days we set out to do something that didn’t require bending over and using muscles as much. So, Dachary decided to do something nice for me and we replaced the dreaded timer switch for the fluorescent lights (still need to buy LED replacements) with a normal switch that won’t turn off on us in the middle of work.
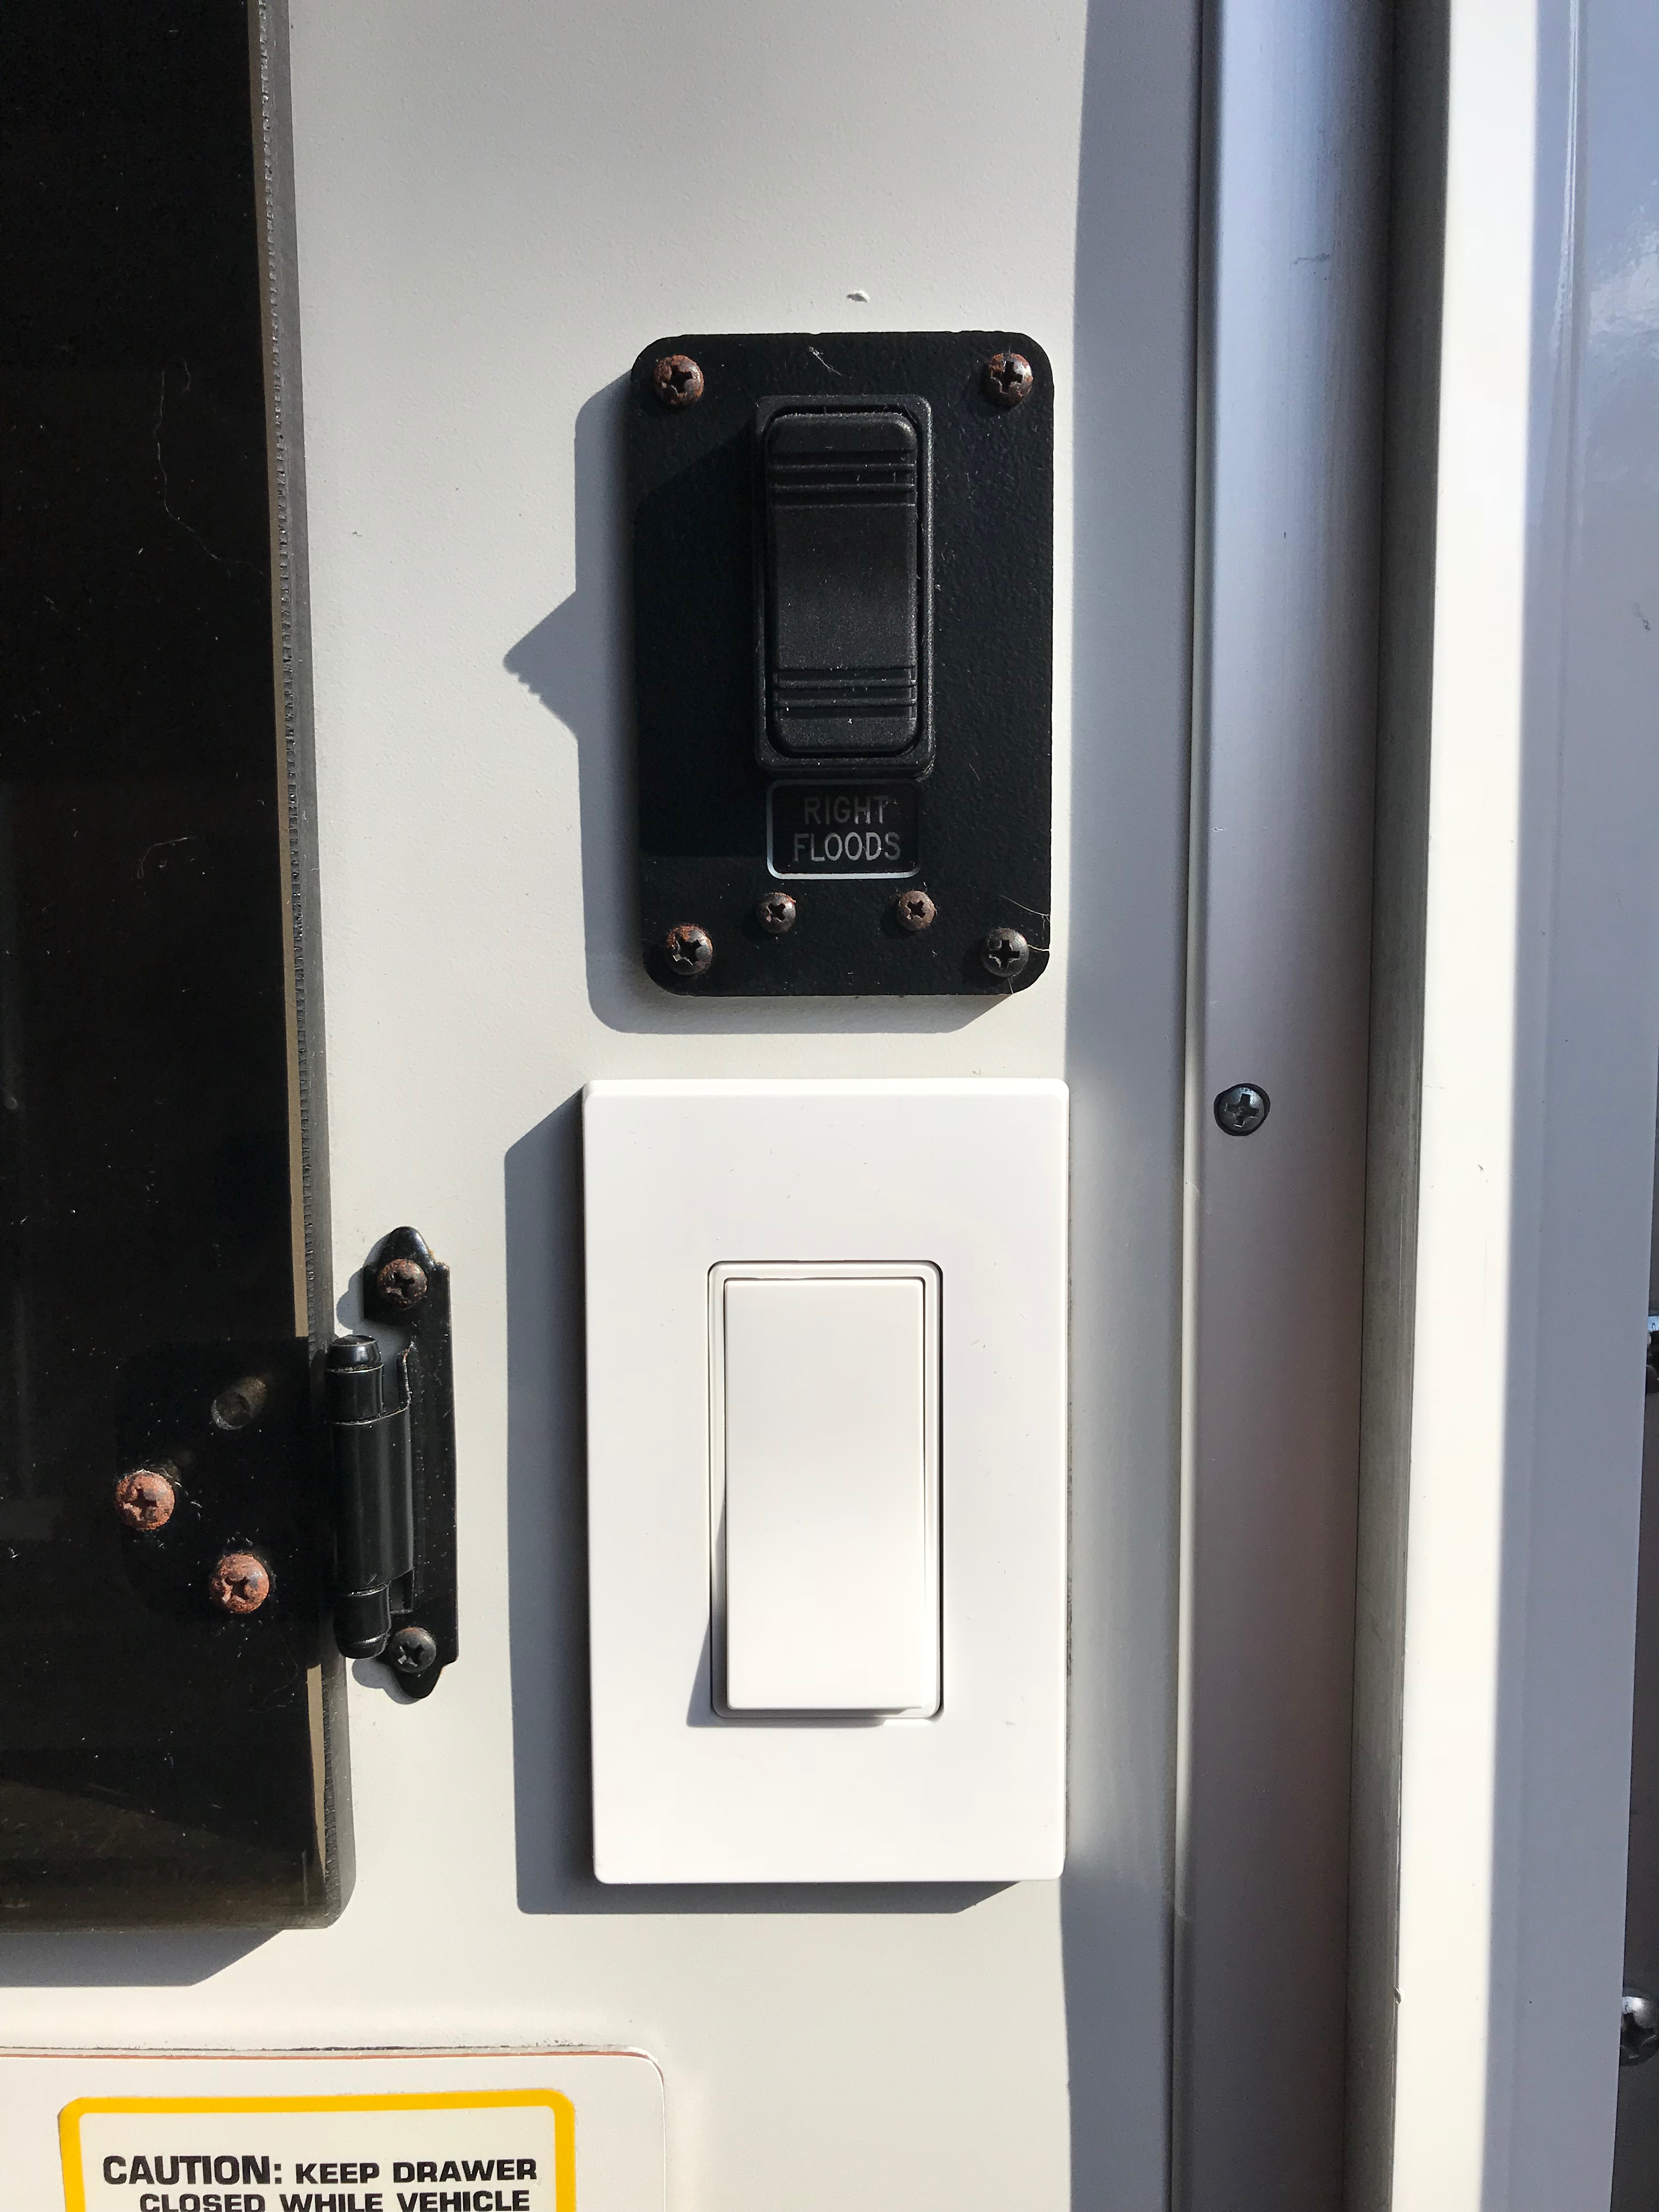
happy making lightswitch
I hated that timer.
Did I mention she’s the chief electrician? Yeah, when it comes to electricity, I’m the grunt who follows instructions. She’s the one who did the electrical research and study, and says “No, we are not doing that thing that would be easier but less safe” a lot.
We discovered that there is no battery under our hood. We have two starter batteries in a convenient drawer, and no house battery. This is kind-of mind boggling to me, because why wouldn’t you want to be able to use the ambulance for a while without running the engine?!
Then she started to tackle the head unit with me doing some of the more awkward bending and shoving arms in deep scratchy holes.
She’d already done the soldering, now we needed to remove the old one, Dremel the hole to remove a lip so the new one will fit, find a wire that got power when we went in reverse, and find a wire that was always on, cut a hole in the rear diamond plate, install a backup camera, route a wire twenty feet from the back to the front, install a GPS antenna and route its wires, install a front facing camera, and route its wires, install two USB ports and route their wires, install a microphone. So, yeah. not much at all.
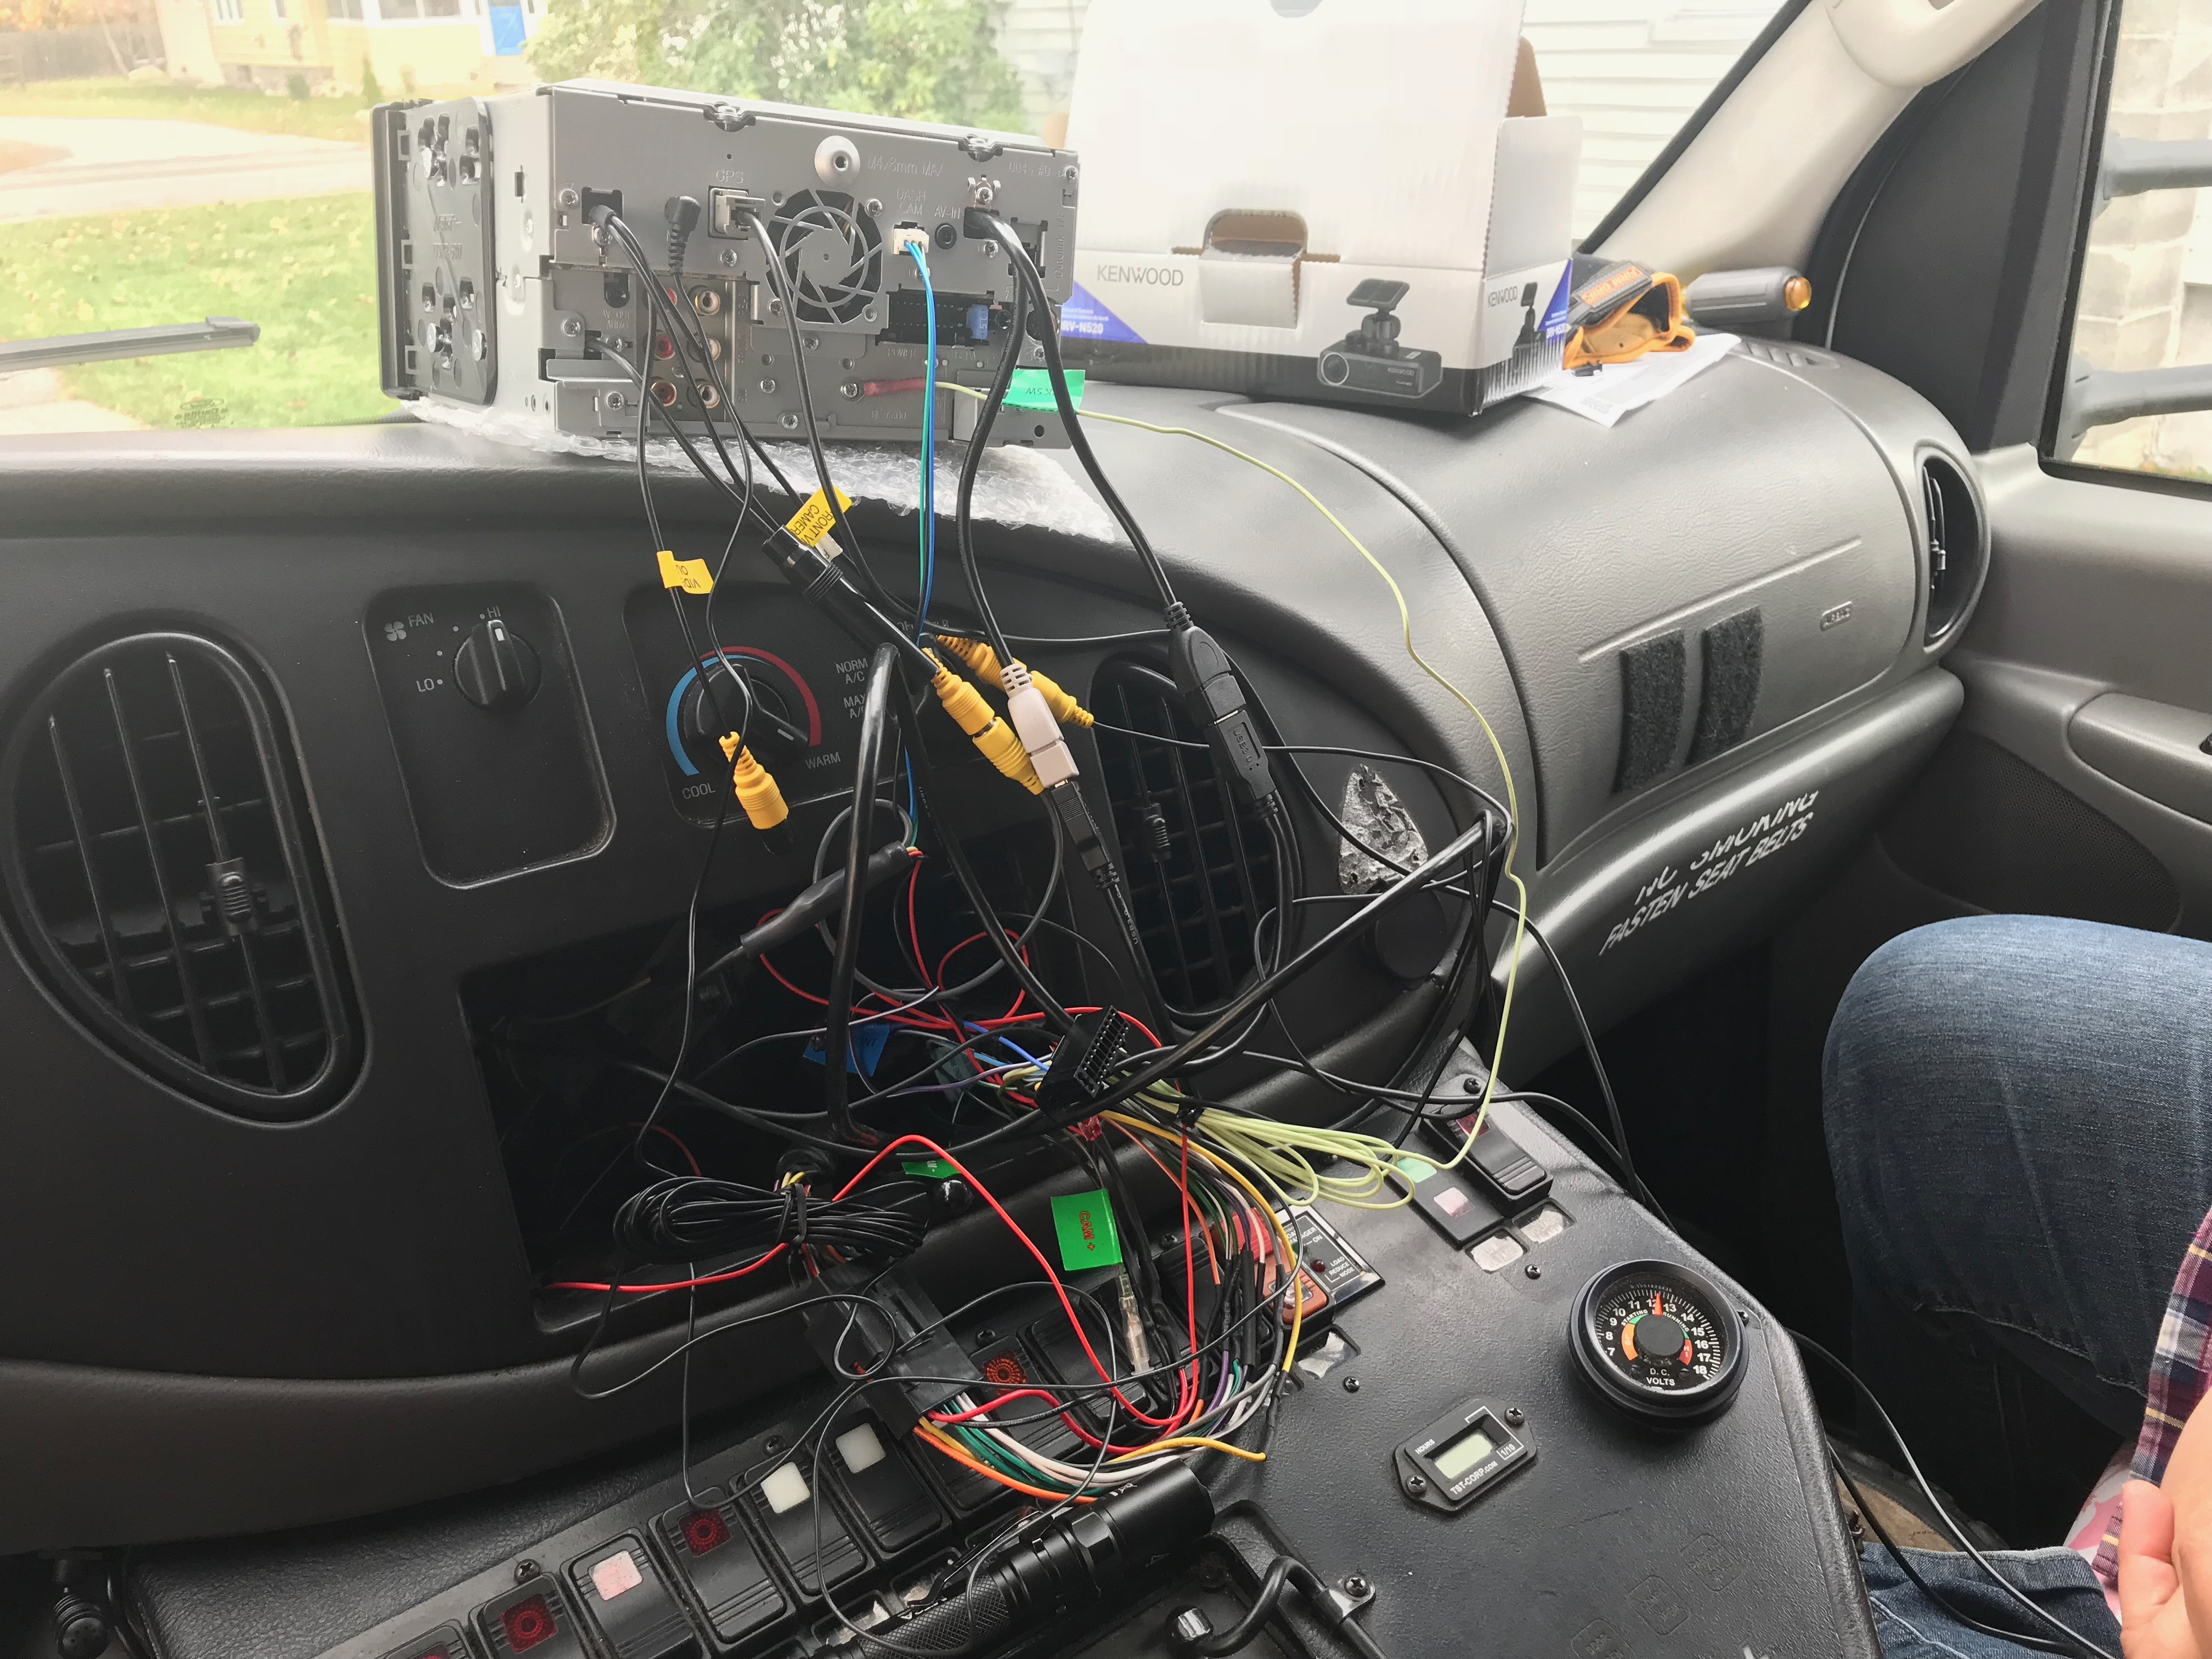
van dash guts
Just below the radio hole is our Panel of Many Switches. One of them is a switch to turn off the reverse beep. We consulted the wiring diagram, figured…. “maybe?” and opened up that console. Nope. No joy to be had there, but at least now we know what it looks like under there. Sadly, we didn’t take any pictures of that mass of wires.
We went back to the wiring diagram and decided we’d just have to go to Relay #2 in the wall behind the driver’s seat, and see what we could find there. It had two grounds, and two positives. Eventually, we found the magic wire, jammed the radio’s reverse sensor wire in the connector, used electrical tape to hold them together, and crossed our fingers🤞. We can splice it in if we need to, but there’s not a lot of play in the wires so we’d rather not. In the dash we used wire nuts and electrical tape to get the always on power.
It took us a day and a half.
We unplugged and plugged the two batteries again, and again, and again. We had been warned that once we slid it in, the only way to get it back out would be to disassemble the entire dash. We double checked to make sure that every possible combination of things, that we had wired in still worked. We couldn’t find anything good to do with the rats nest of wires, so we uncomfortably shoved them into empty space, and we slid it the head unit in…
It didn’t lock into place. We’re not sure if it needs more Dremeling, or if the wires behind it are blocking its fully seating or…. We’re just going to leave it for now and see what happens. We did get pretty giddy playing with Apple Car Play, and having access to our podcasts and music again.
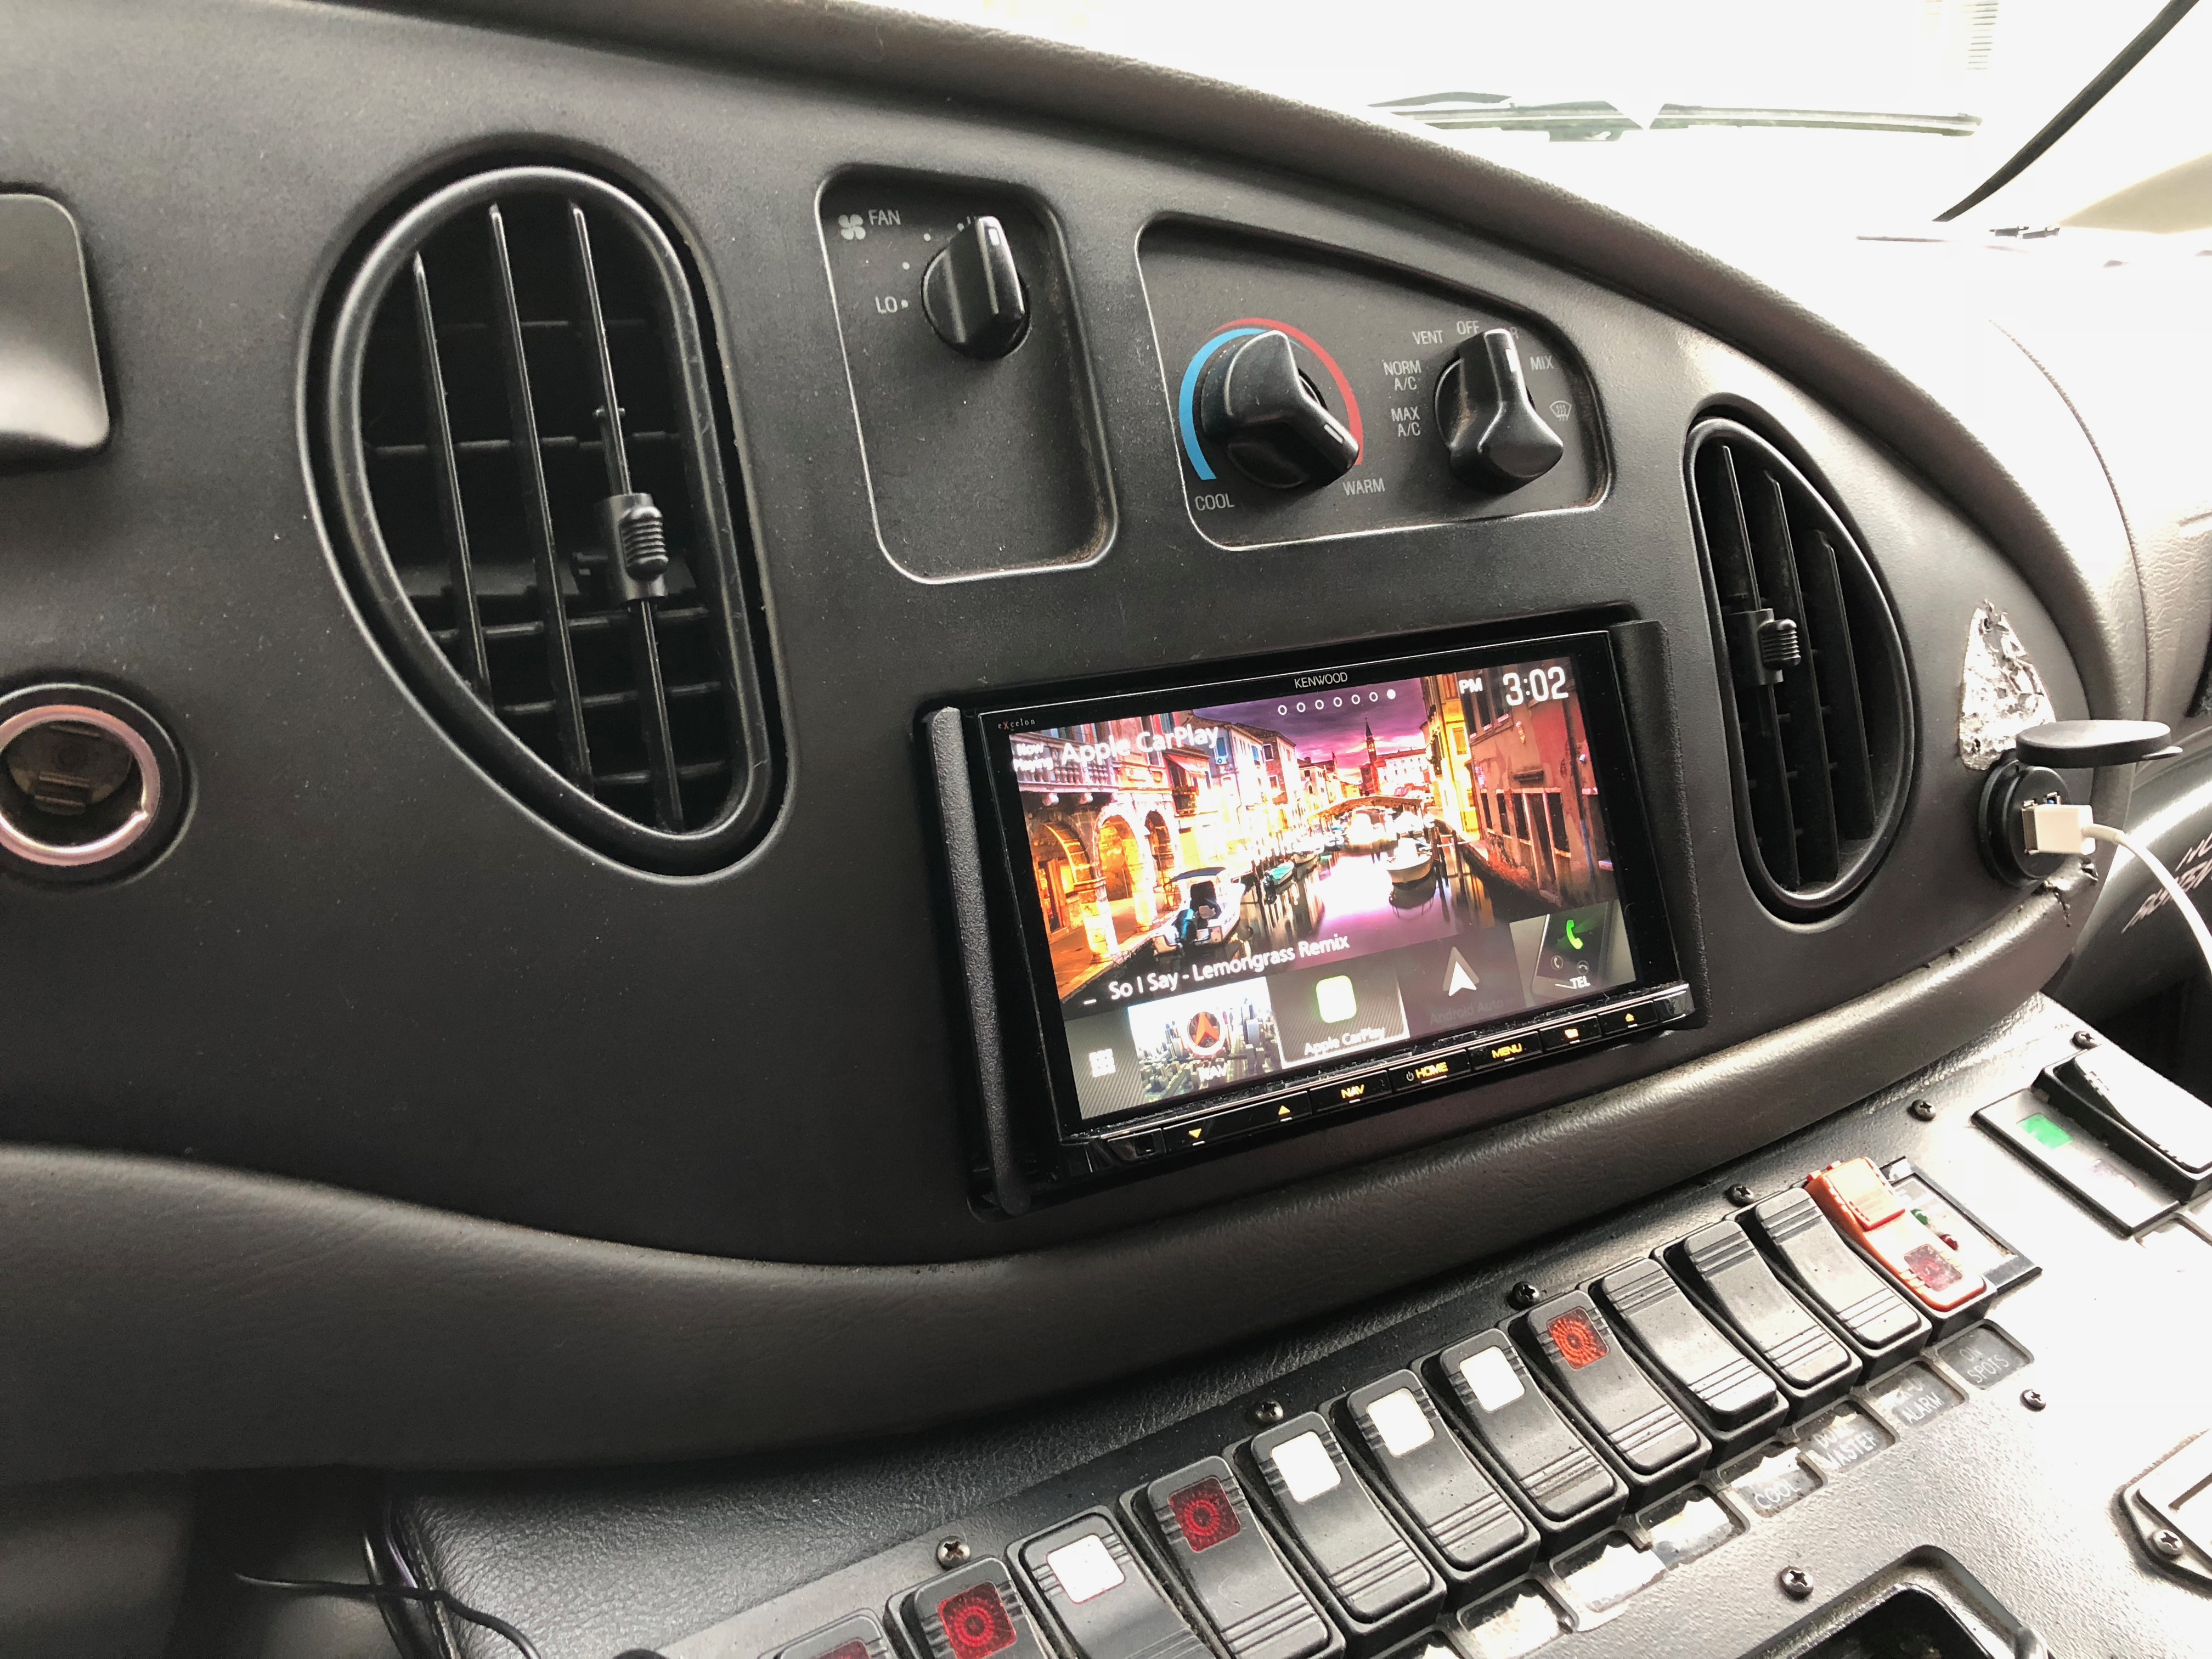
new head unit
…
Today we made holes: two big, and one little.
First I climbed into a closet.
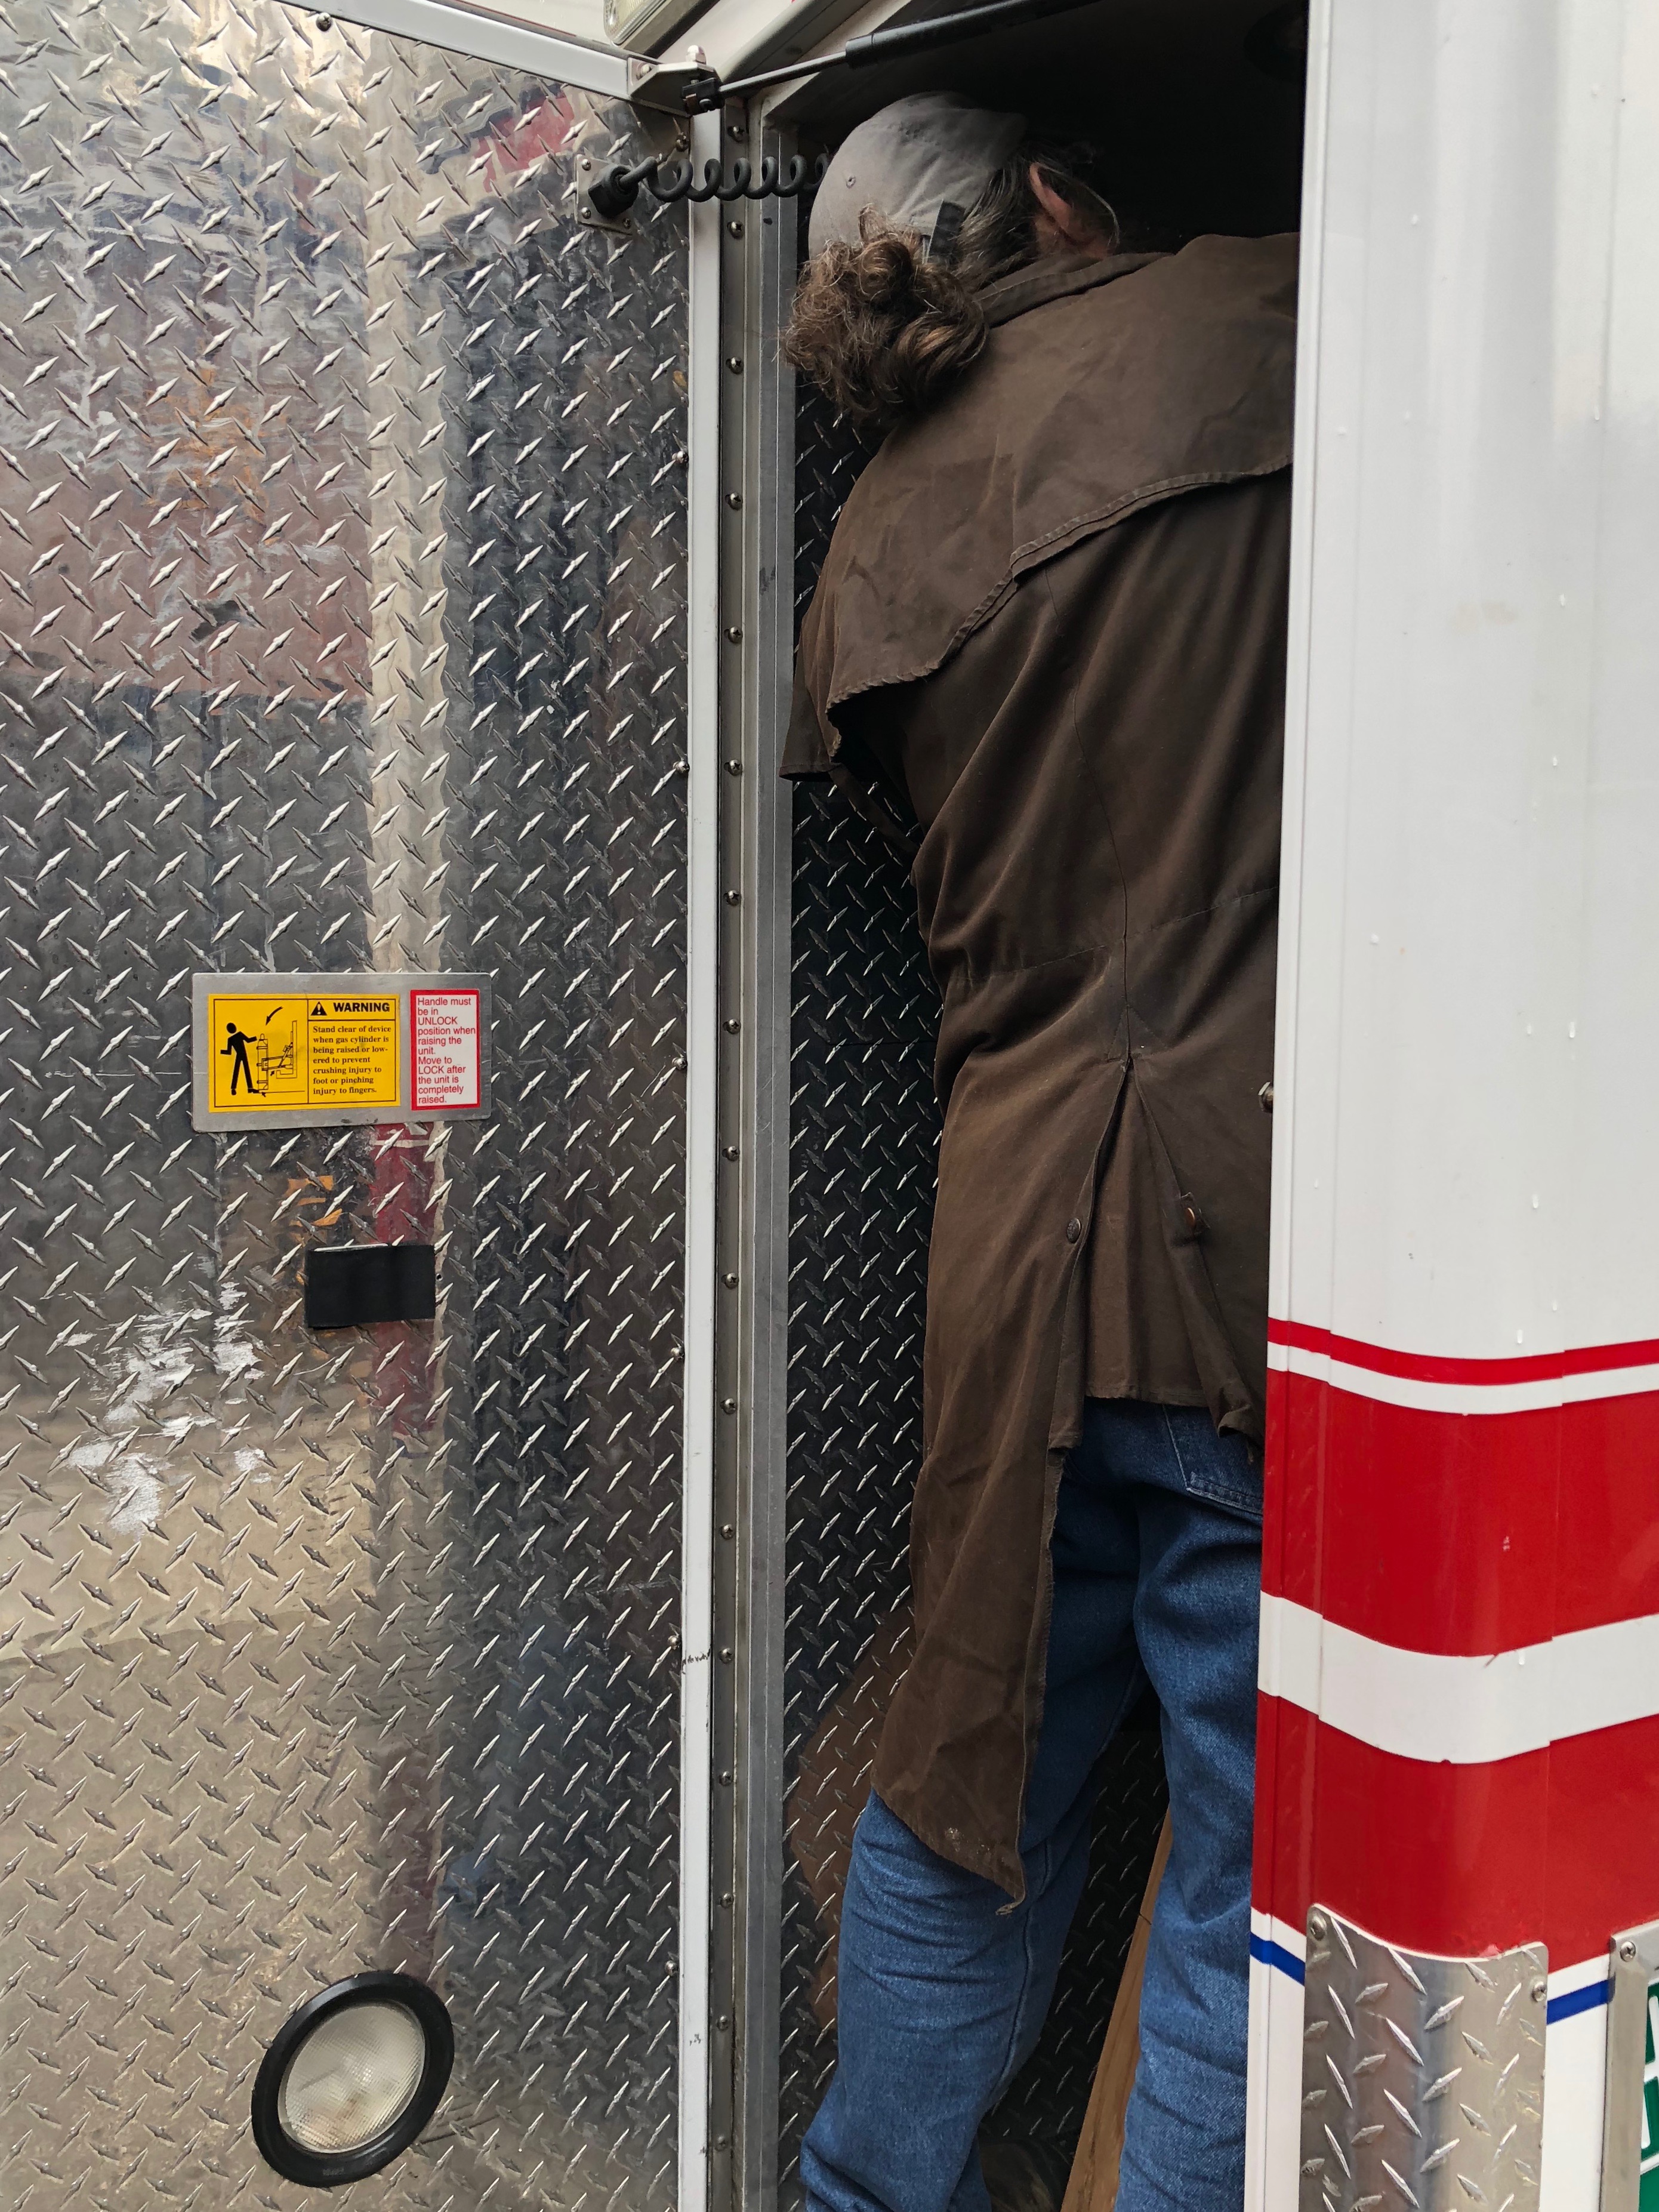
getting “in” to your work
There was nice, reasonably safe cutting with the angle grinder. There was uncomfortably unsafe cutting with the angle grinder. It seems they’re a lot like routers. You go in one direction only. You tread in the other direction at your own peril, but sometimes you just can’t fit it in the space and reach with the correct side.
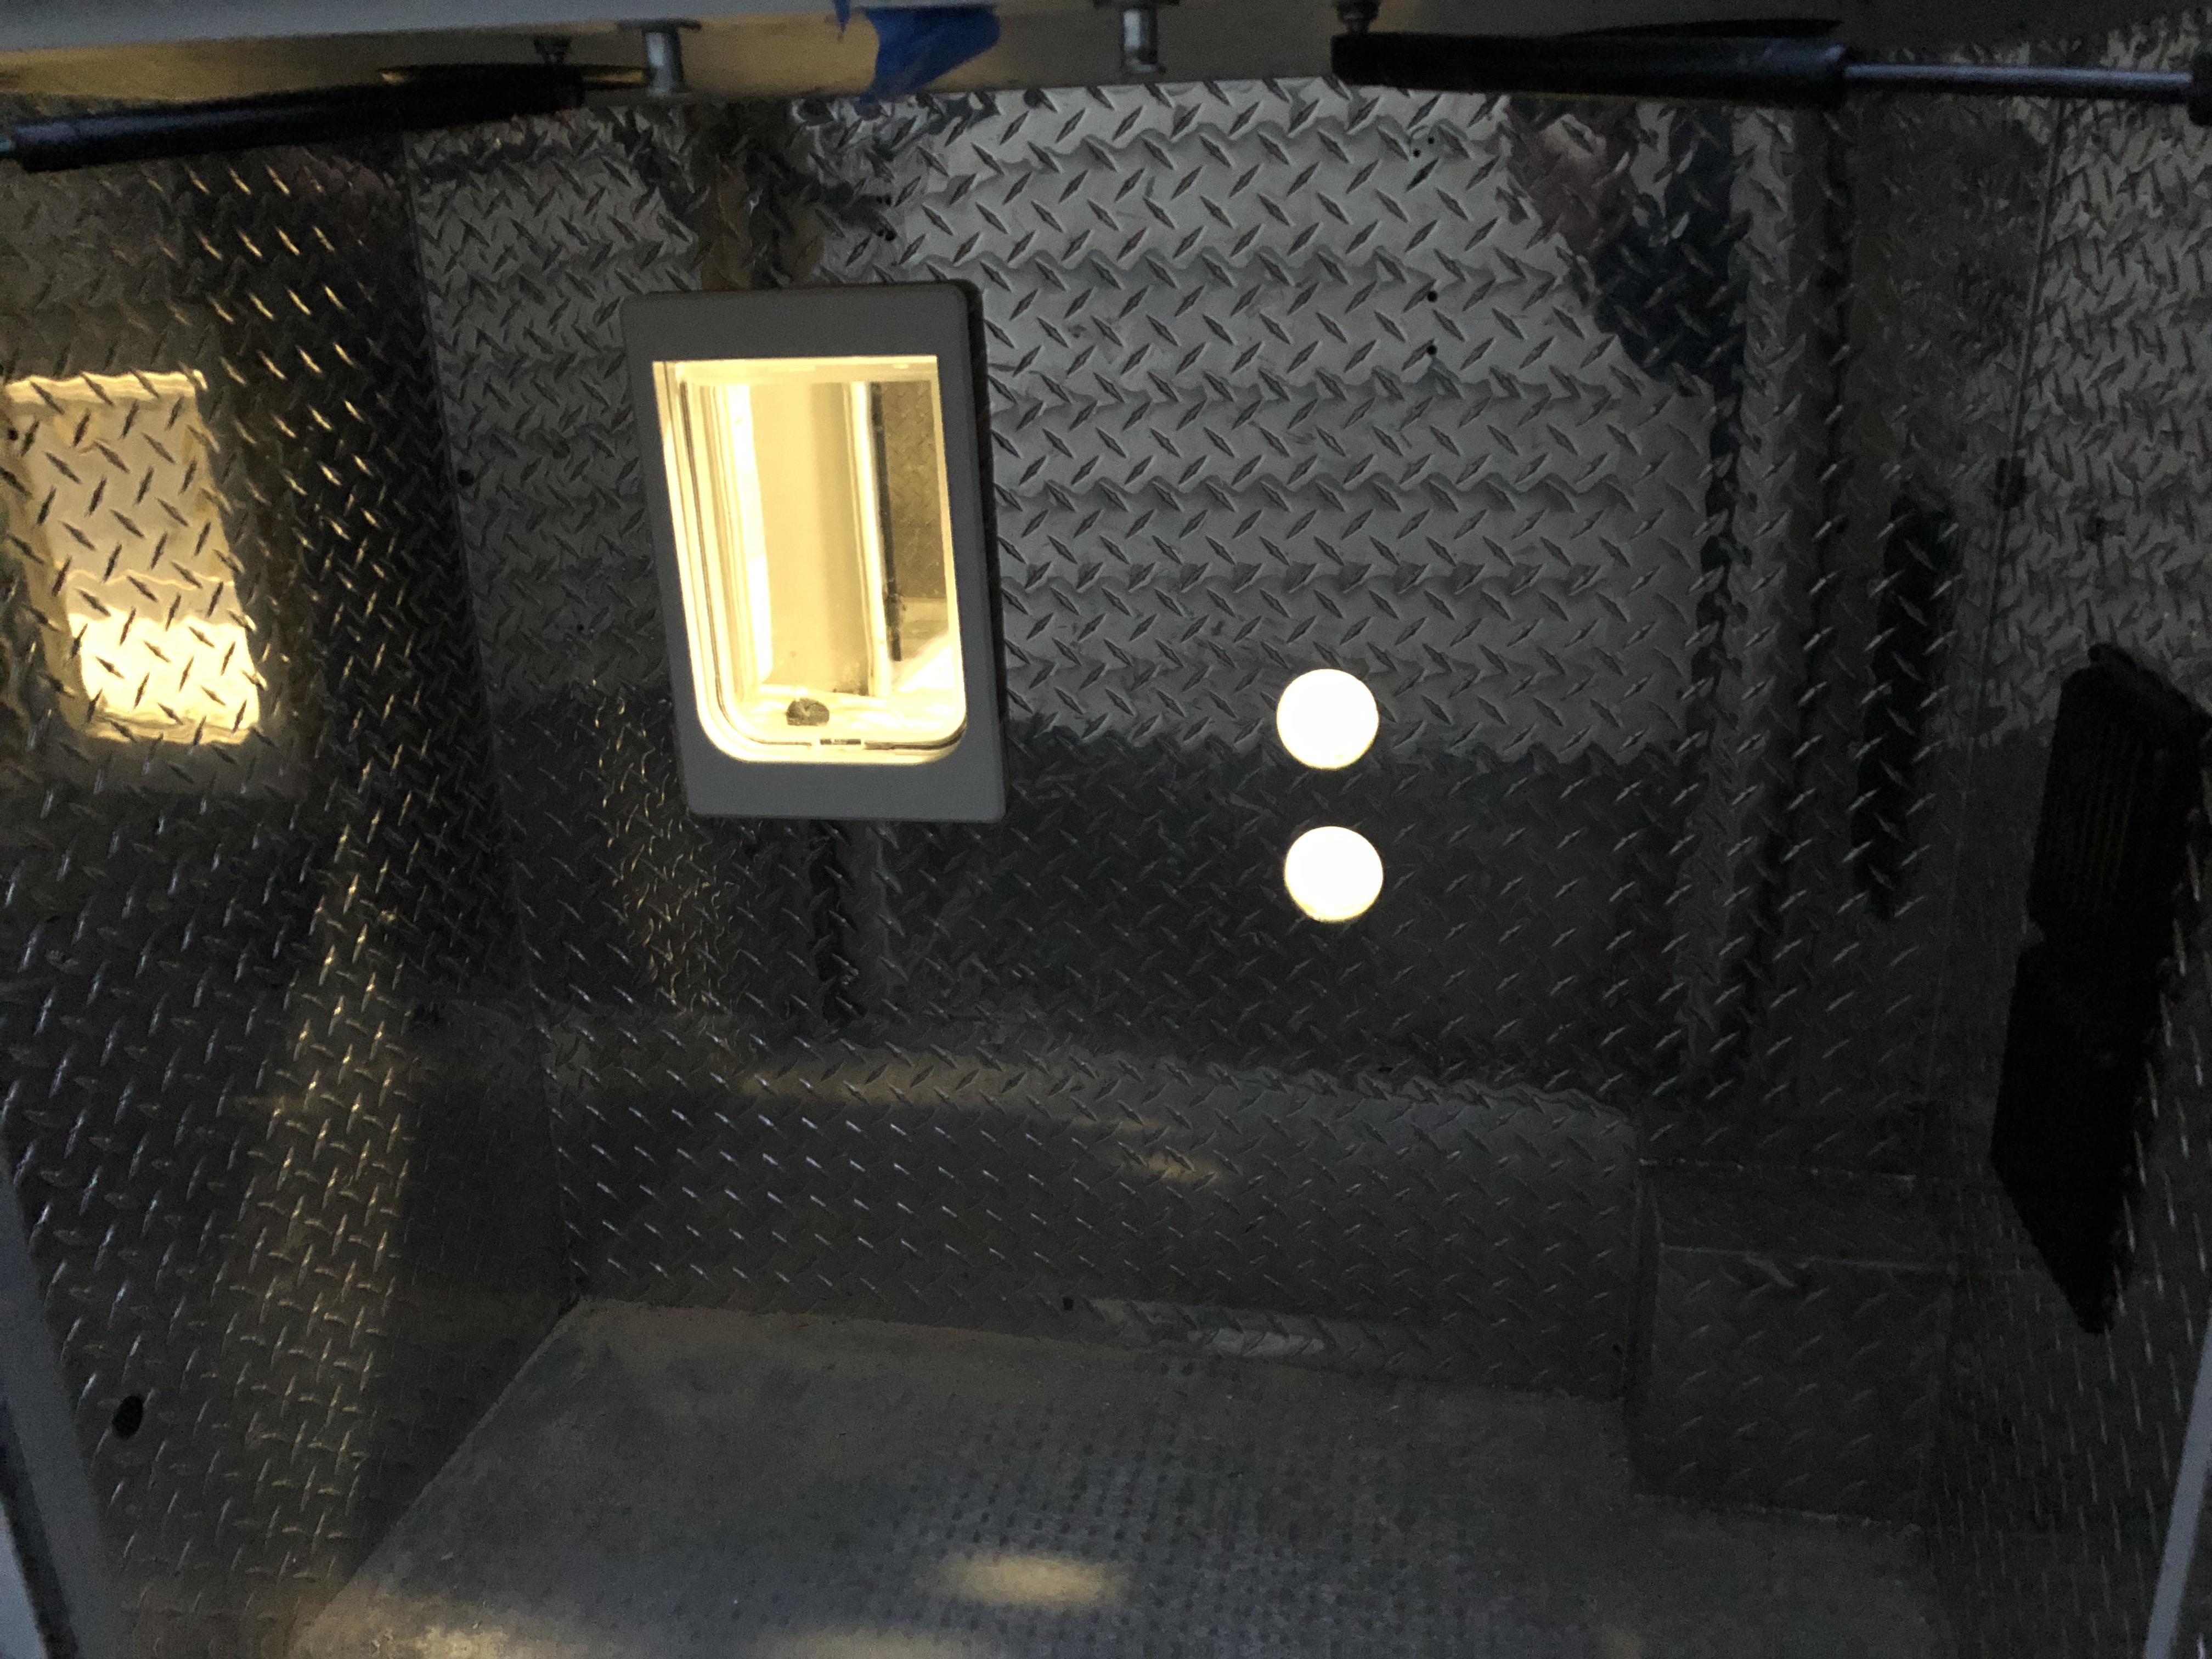
Eventually, there was a hole.
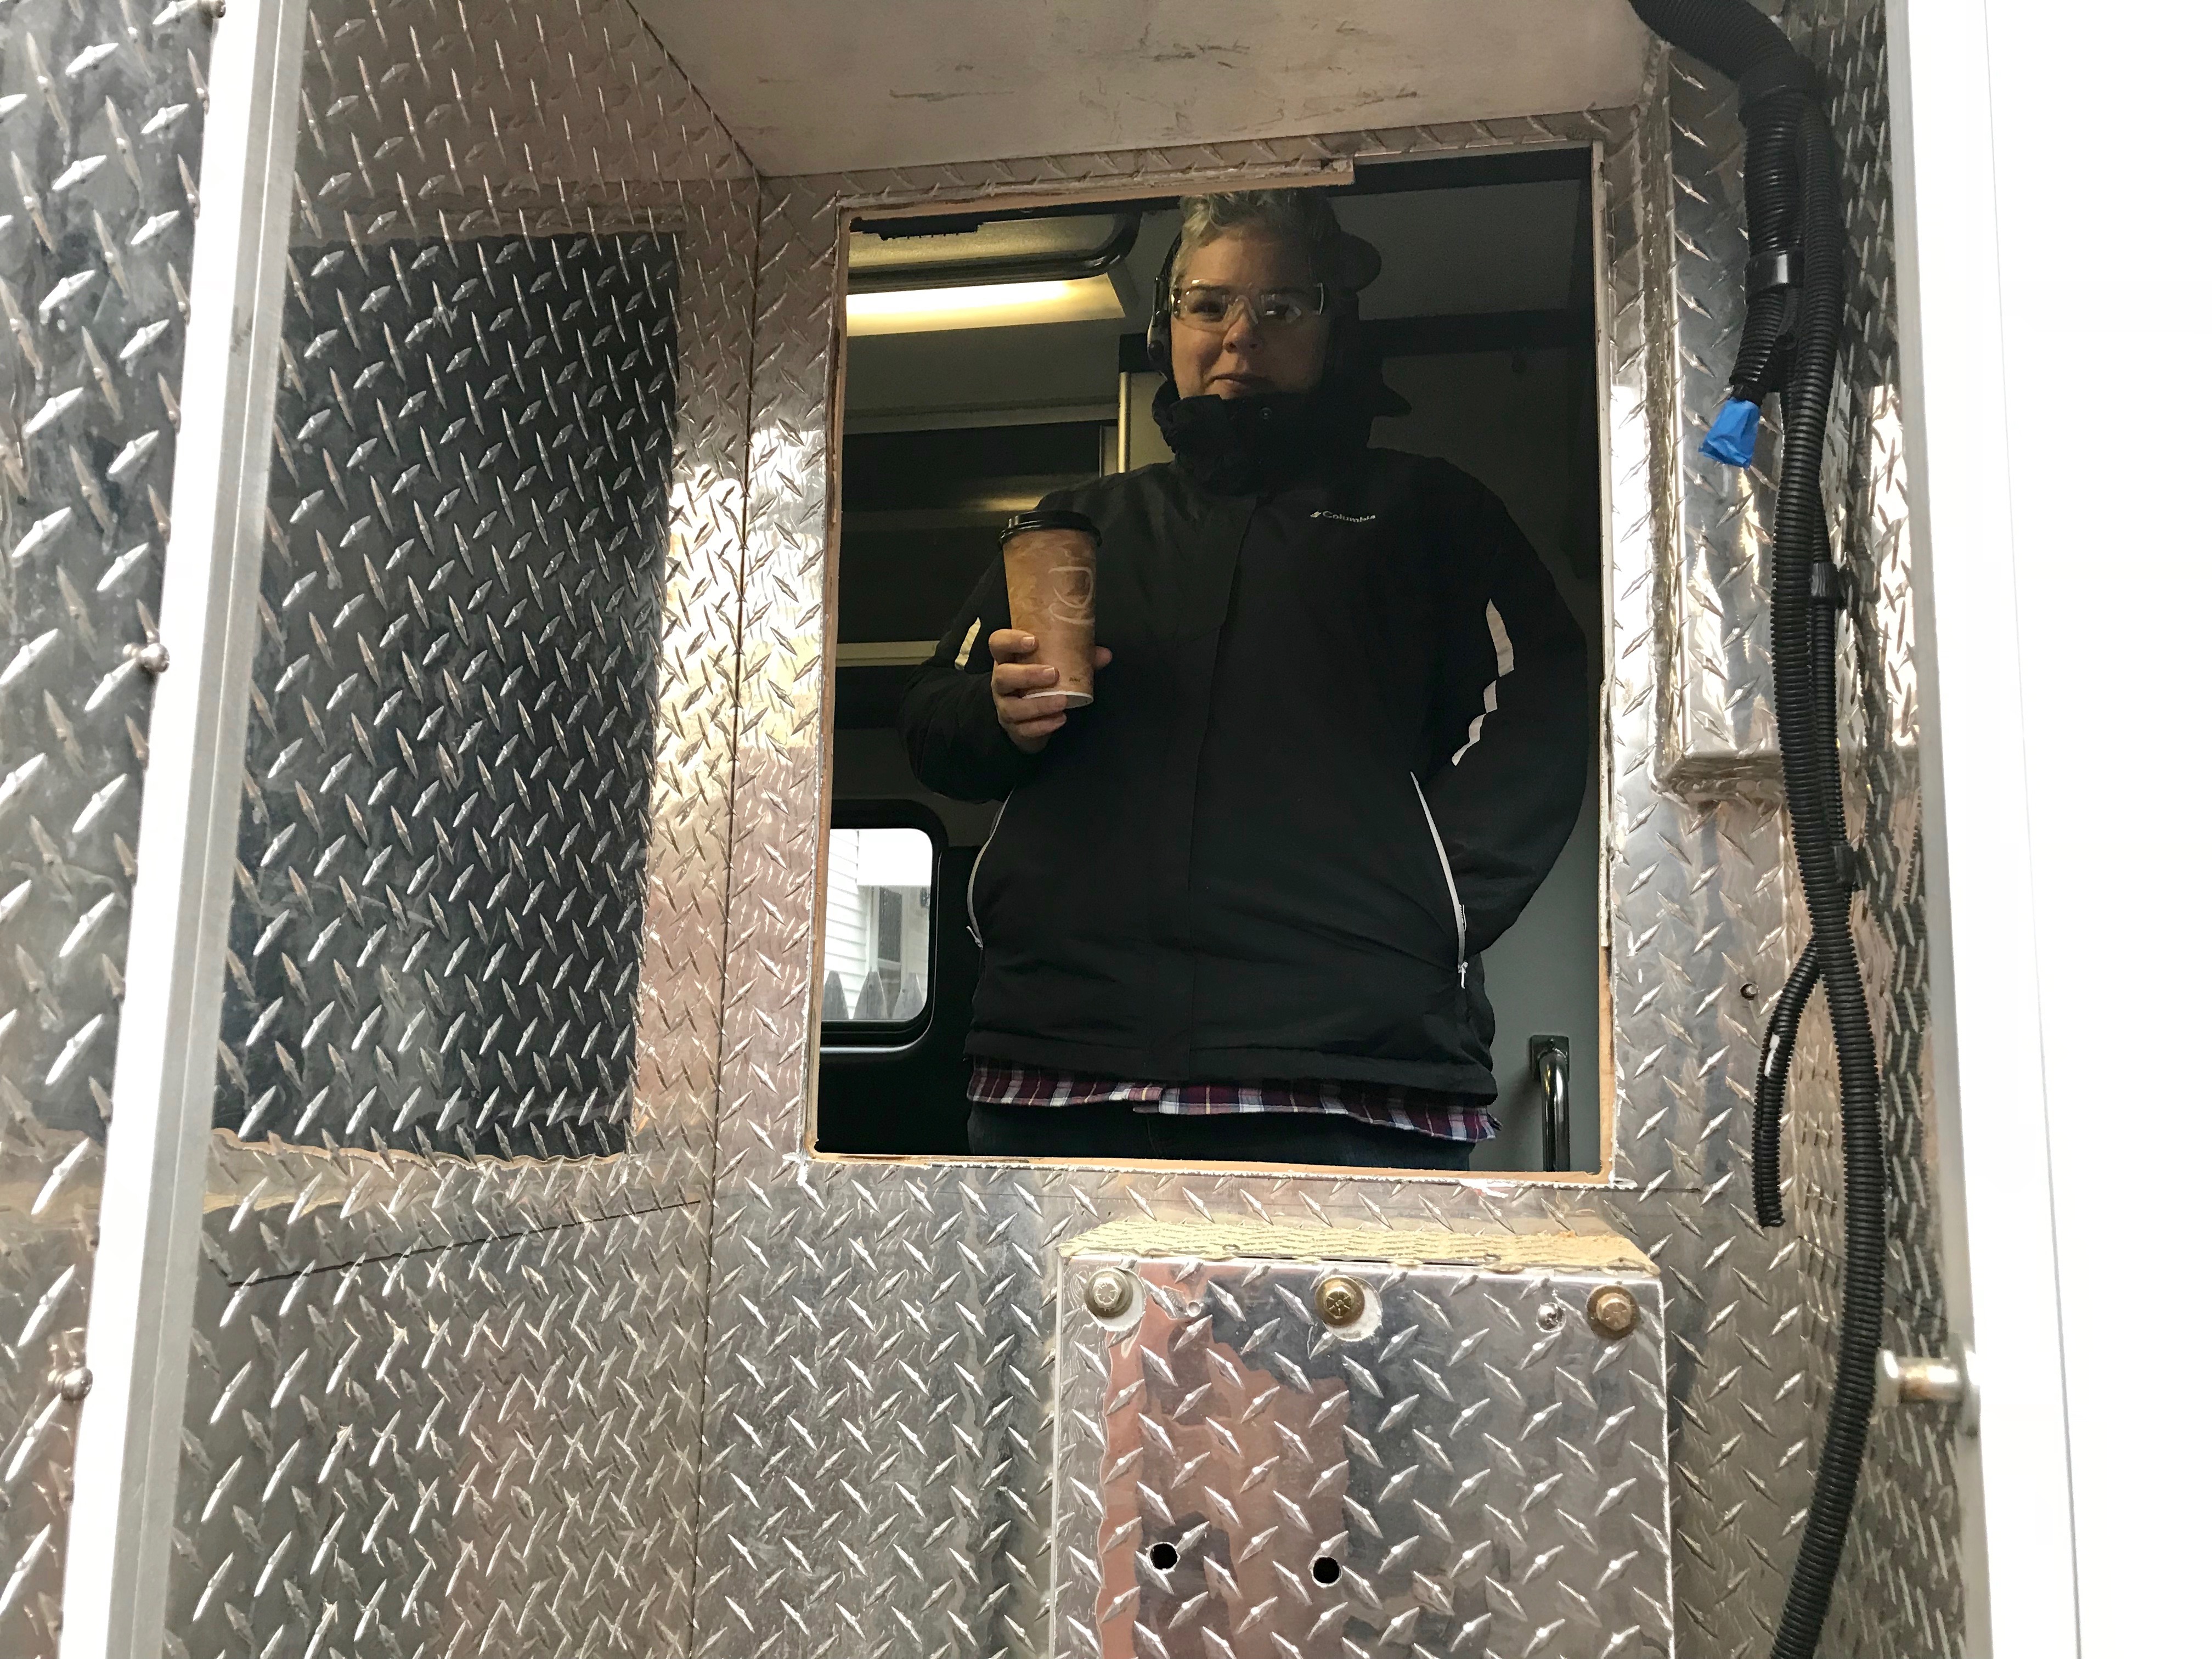
enjoying the fridge hole
I ground down the sharp edges.
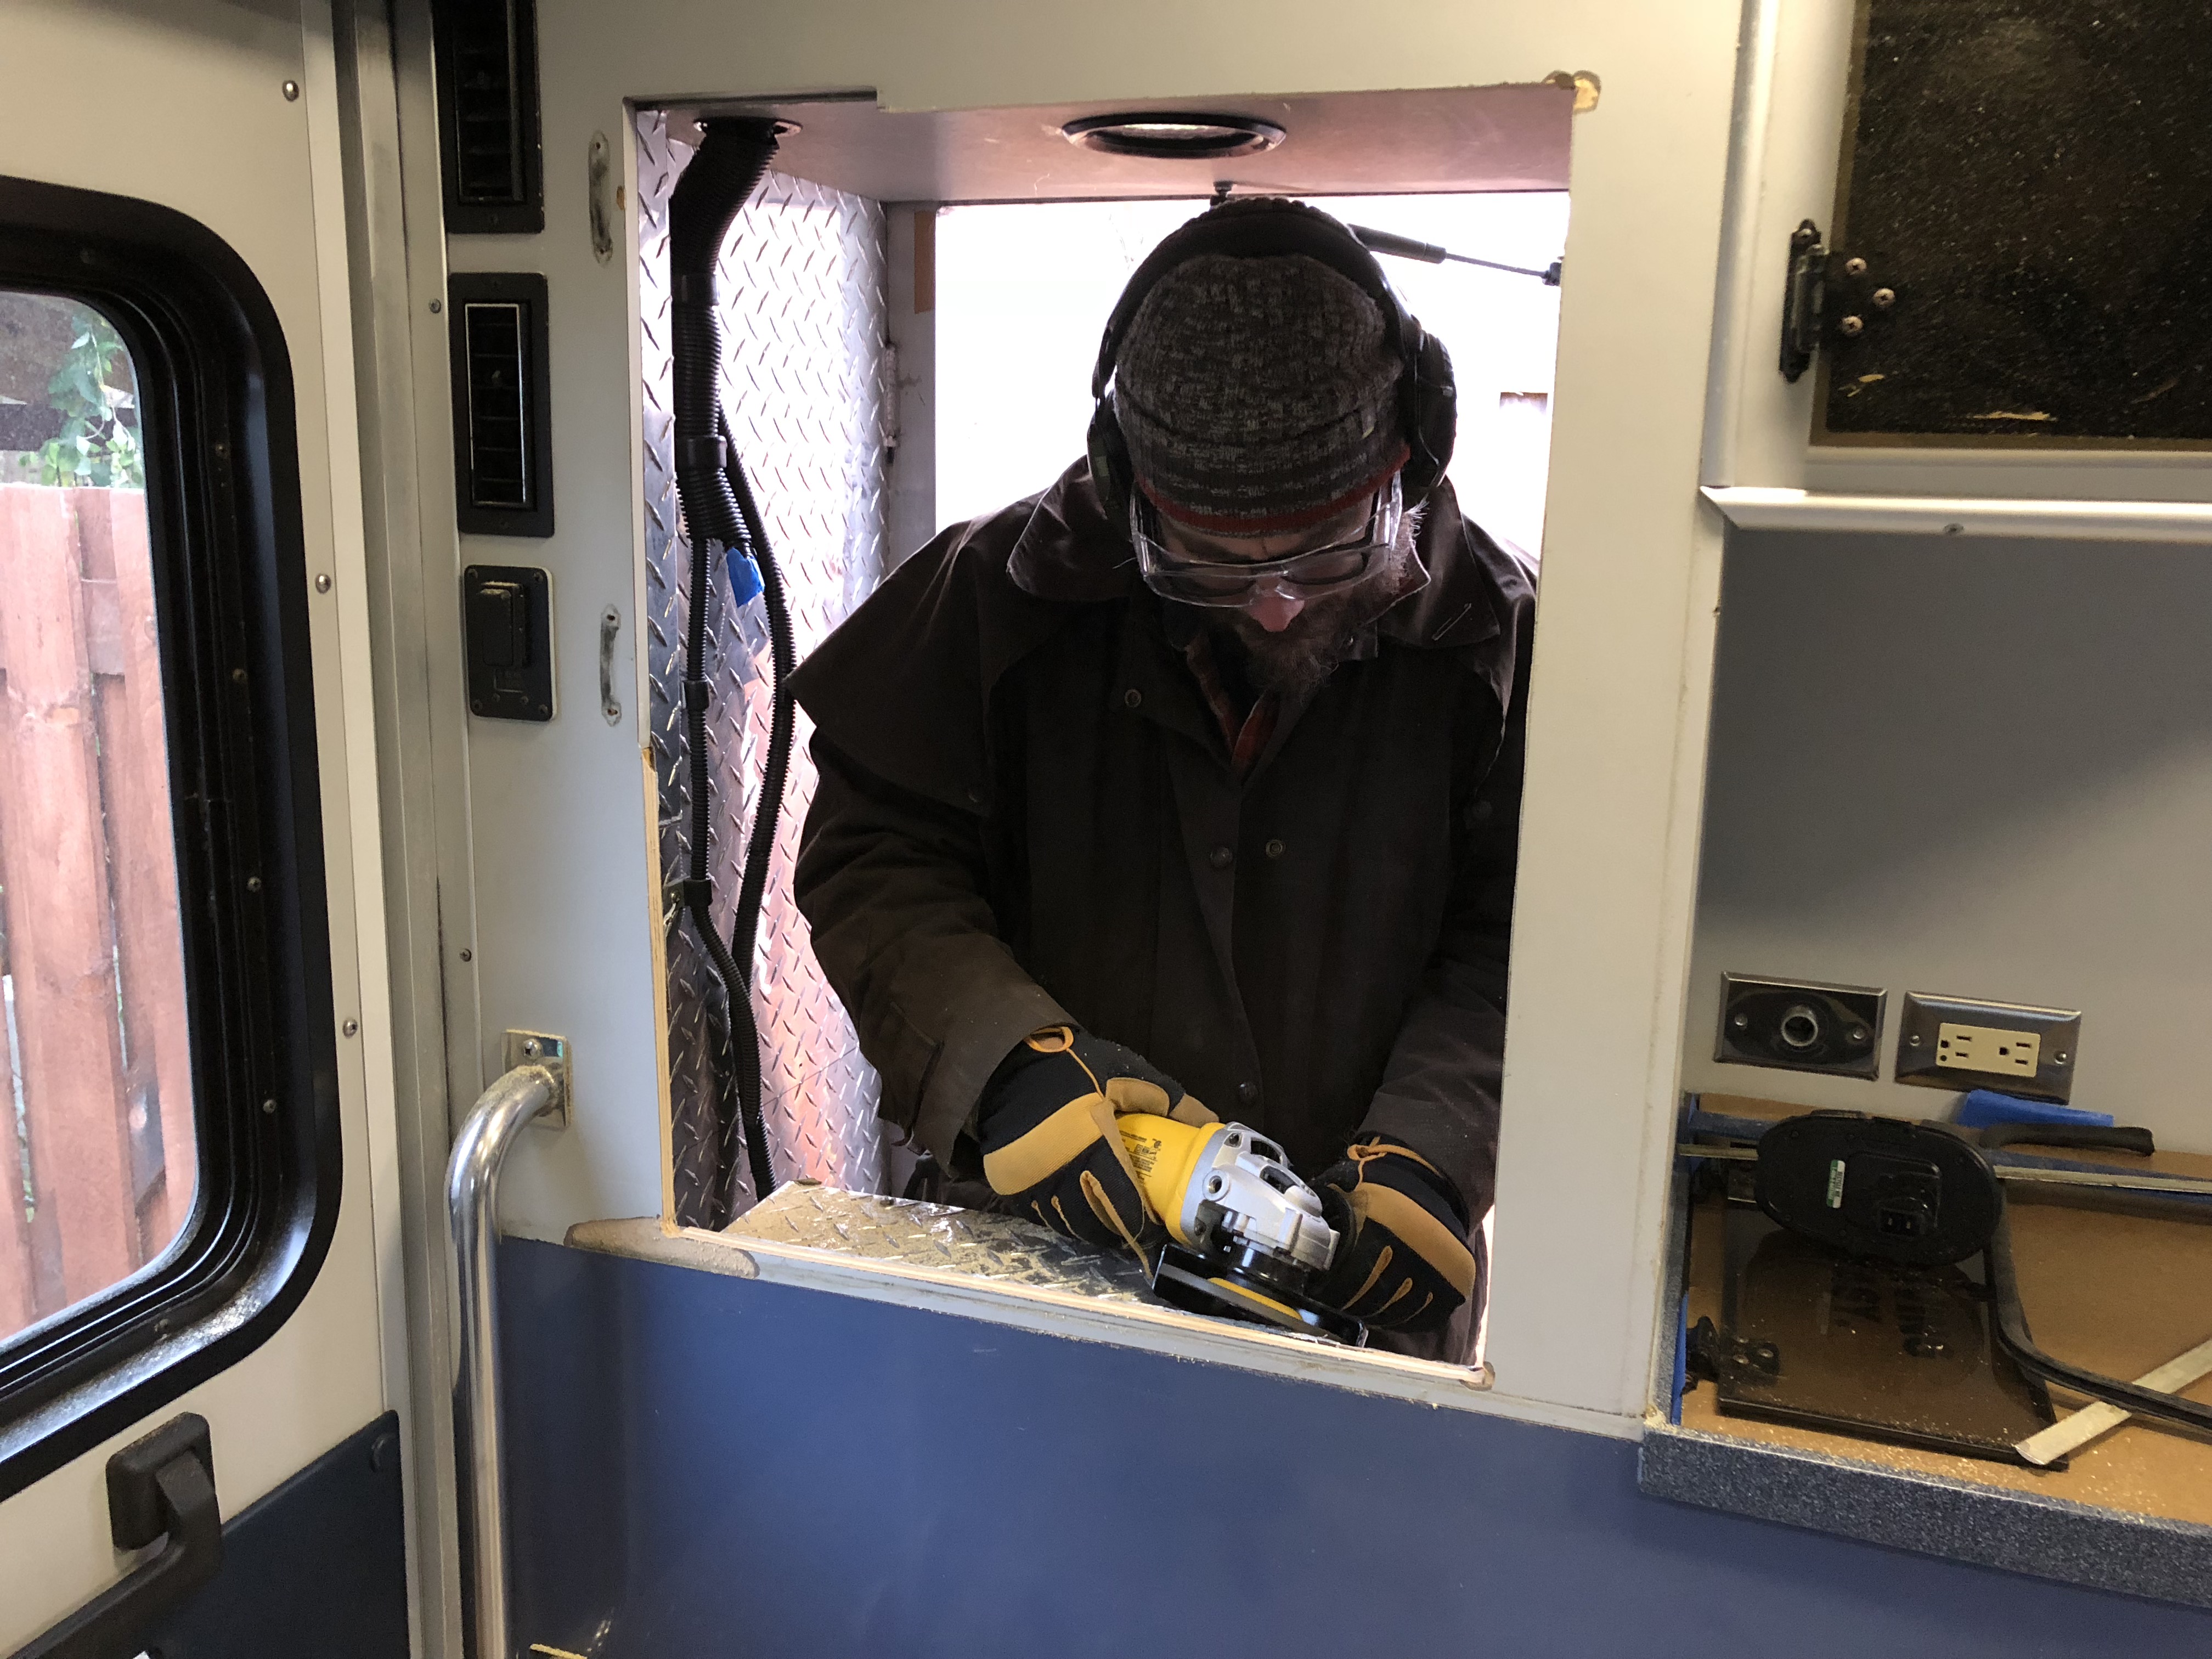
grinding rough edges
My duster became dusted with steel dust.
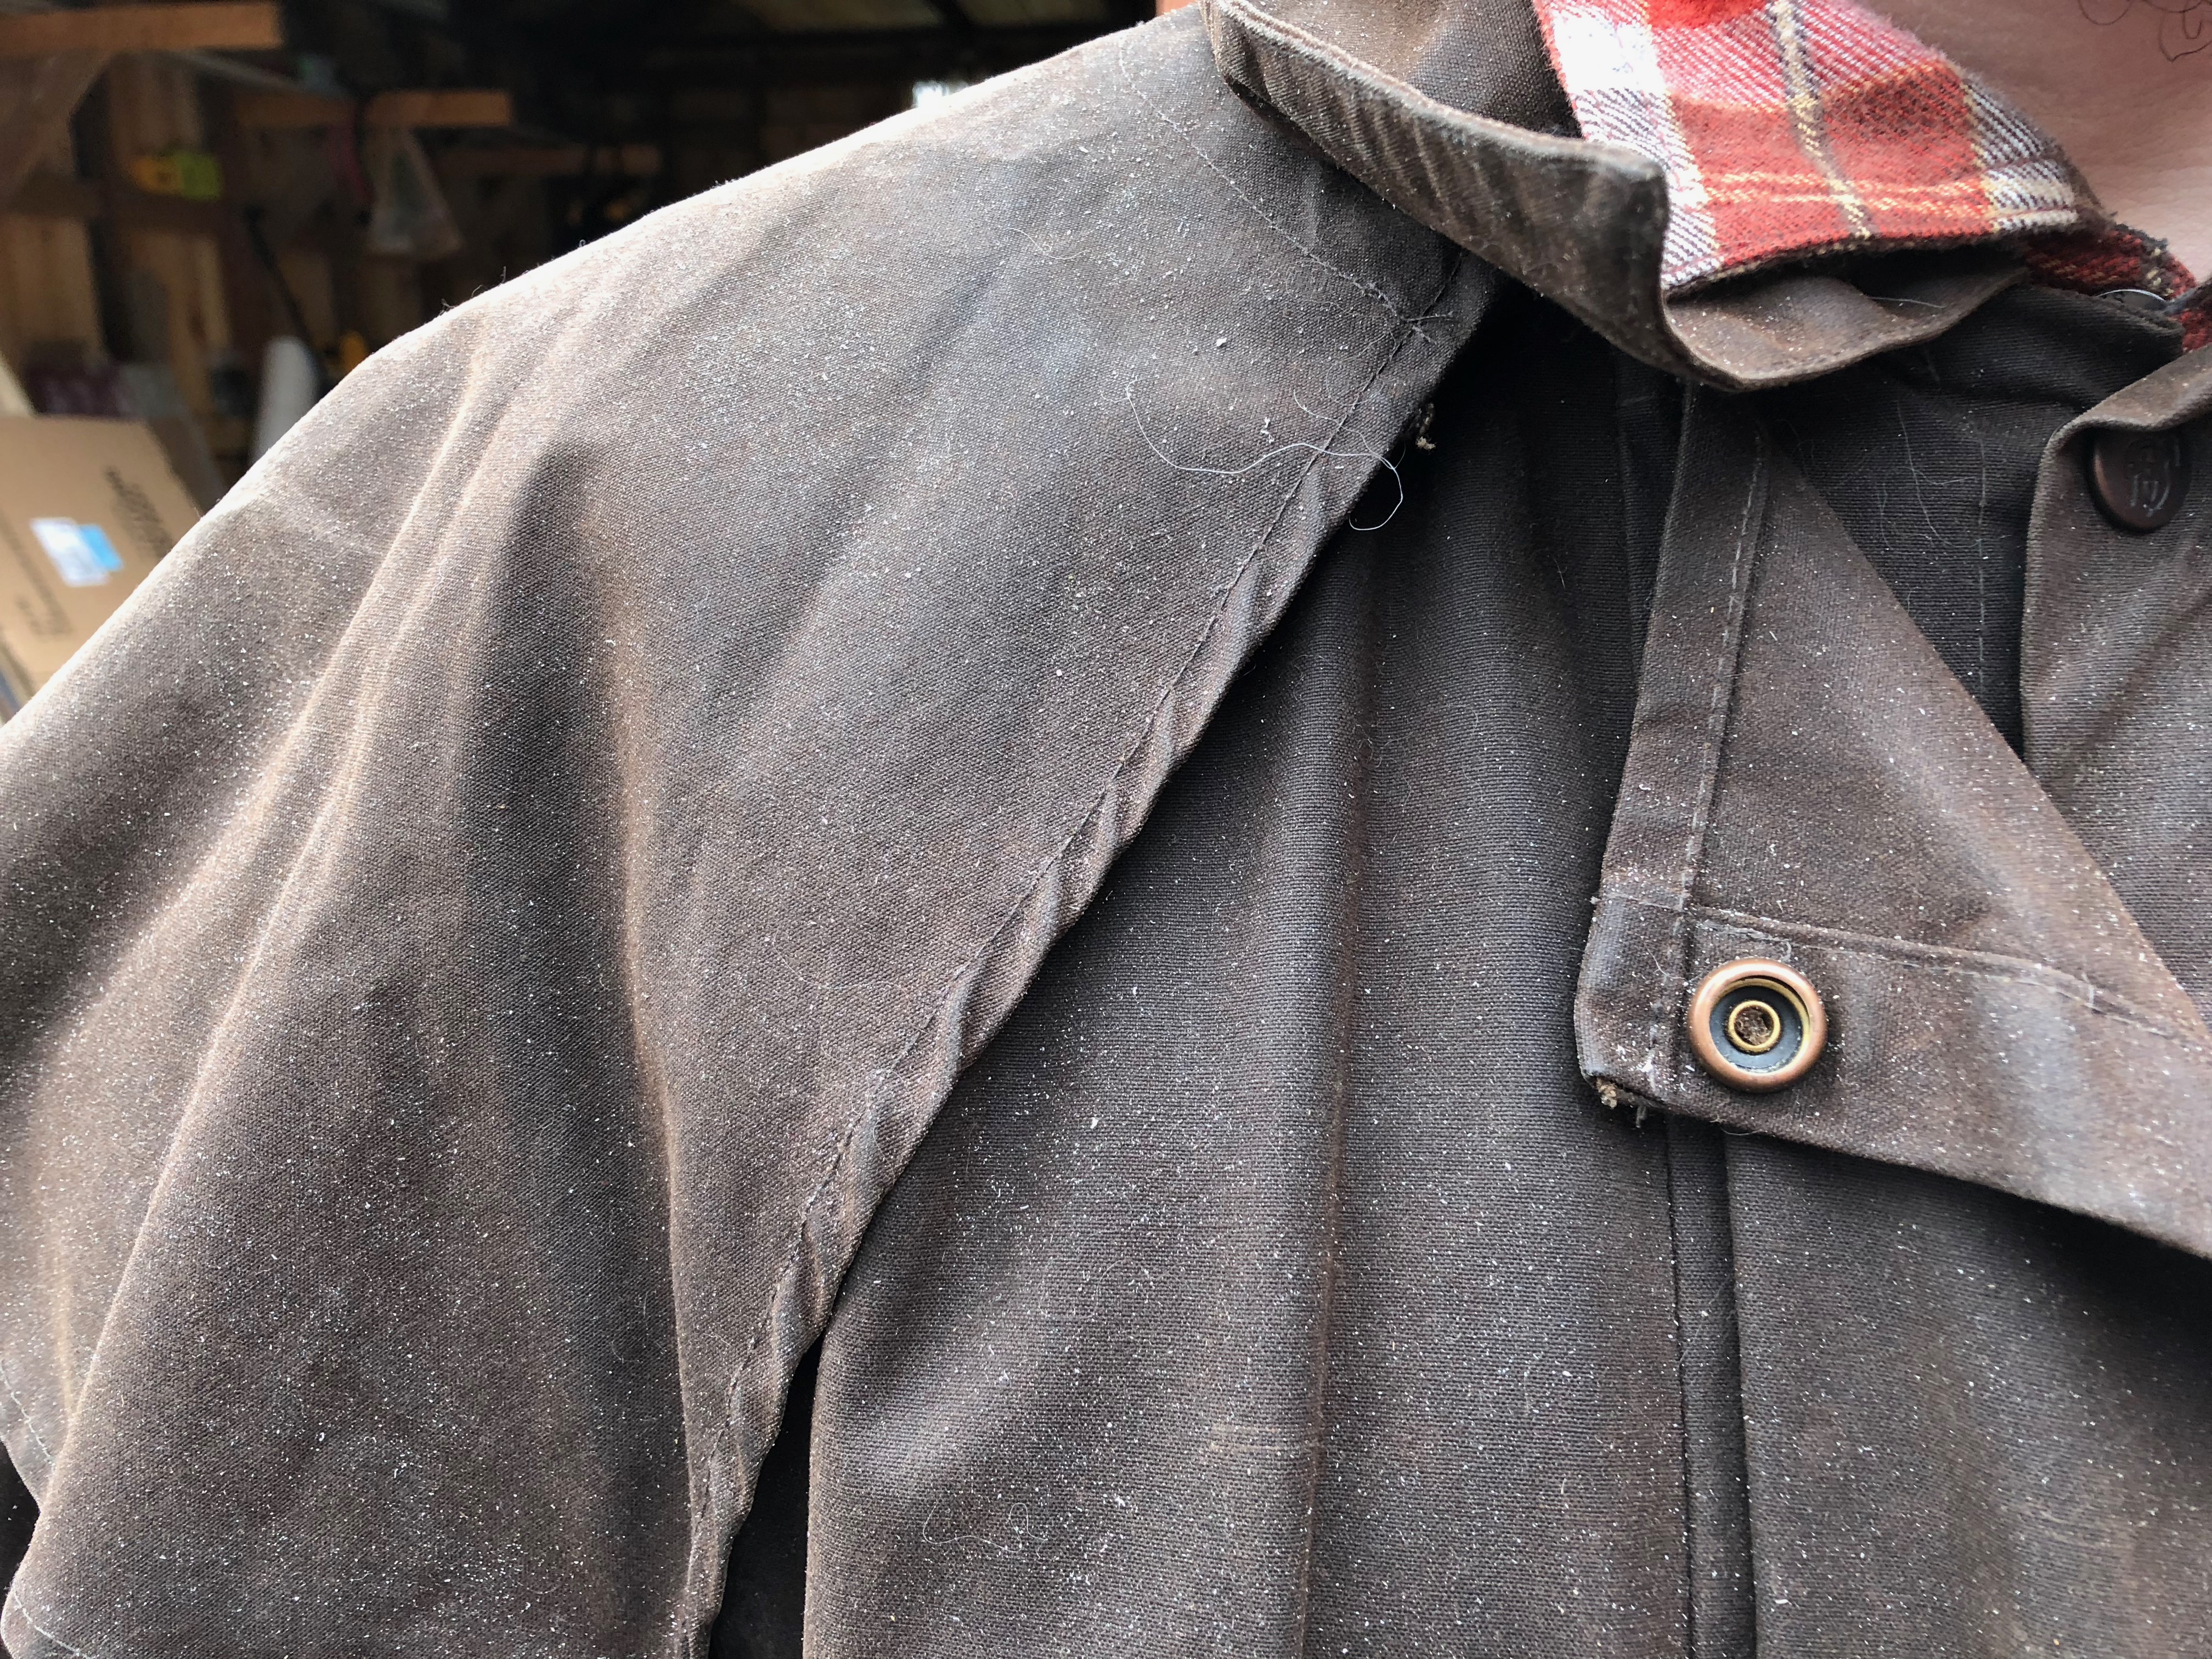
steel dusted duster
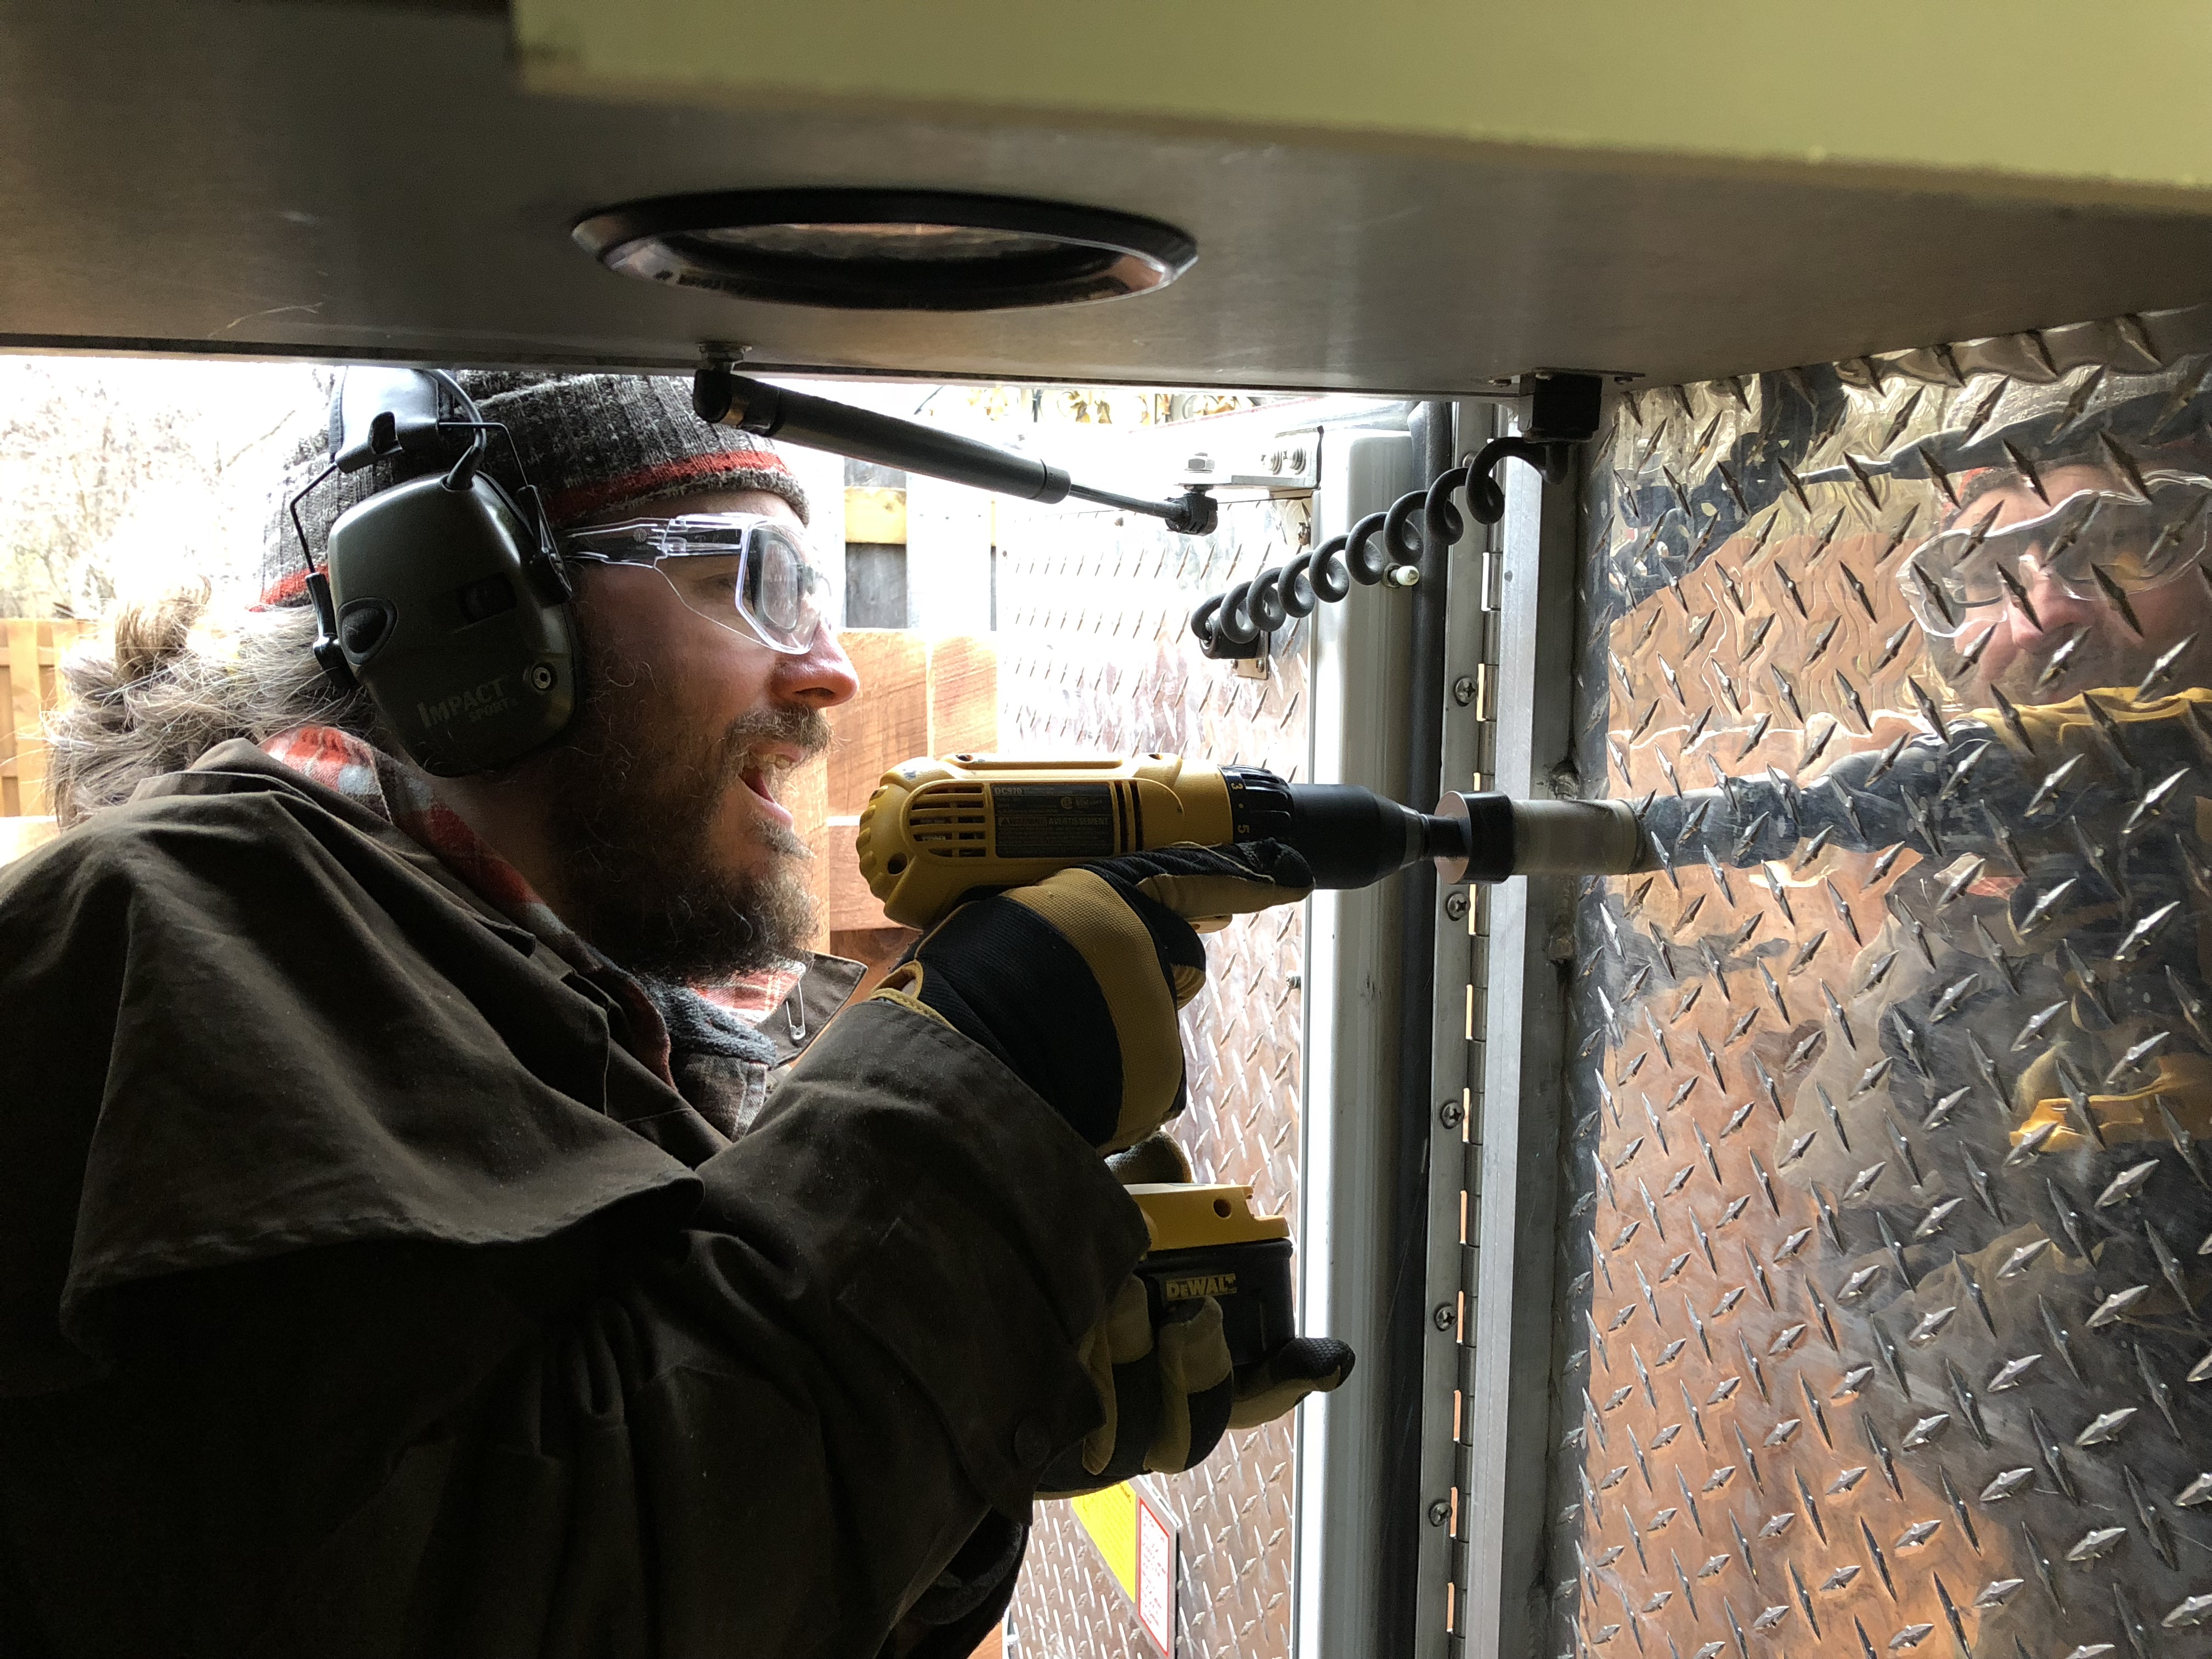
The fridge needs 120v and 12v power sources. Fortunately, There’s a 120v plug in a cabinet right next to where the fridge will live. I expected the diamond plate to be the hard part, but no, it was the wood. Once I got through the first piece, it plugged the hole saw, and sat there spinning against the other piece without giving any obvious indication that it wasn’t actually cutting. I didn’t even know there were two pieces. Going in the other direction to cut out the diamond plate was easy in comparison.
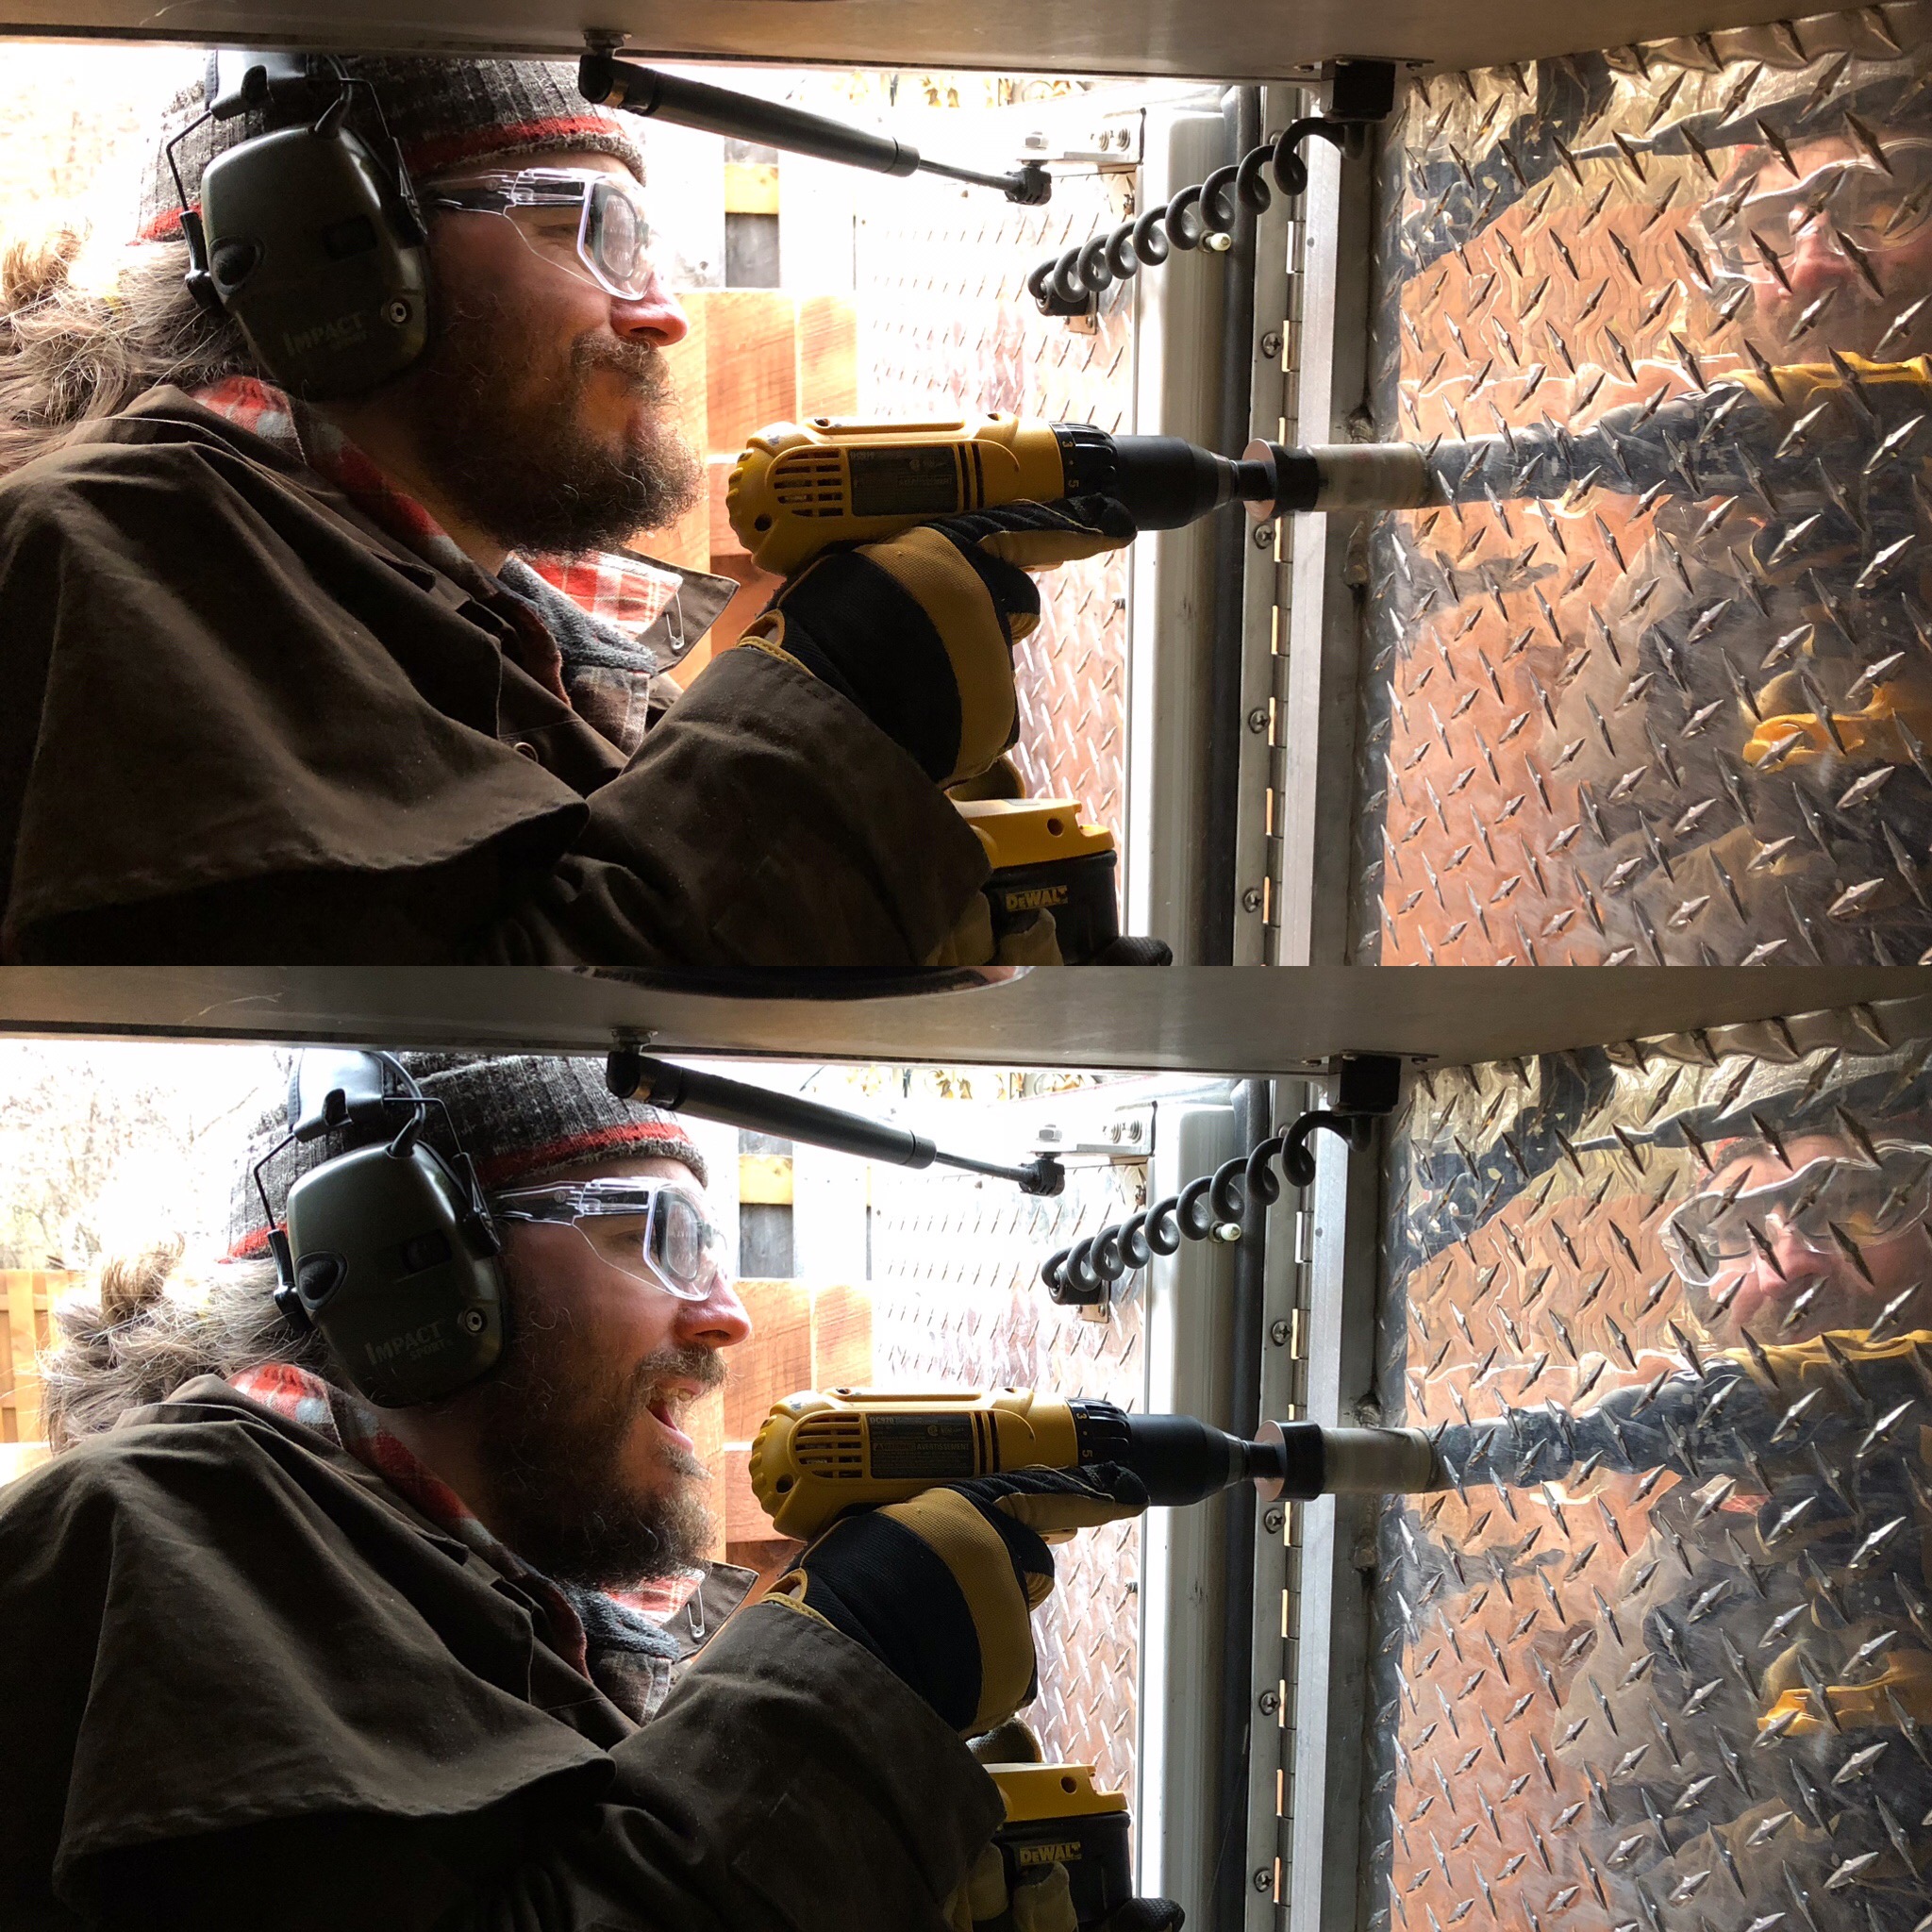
cutting a hole for 120v power


